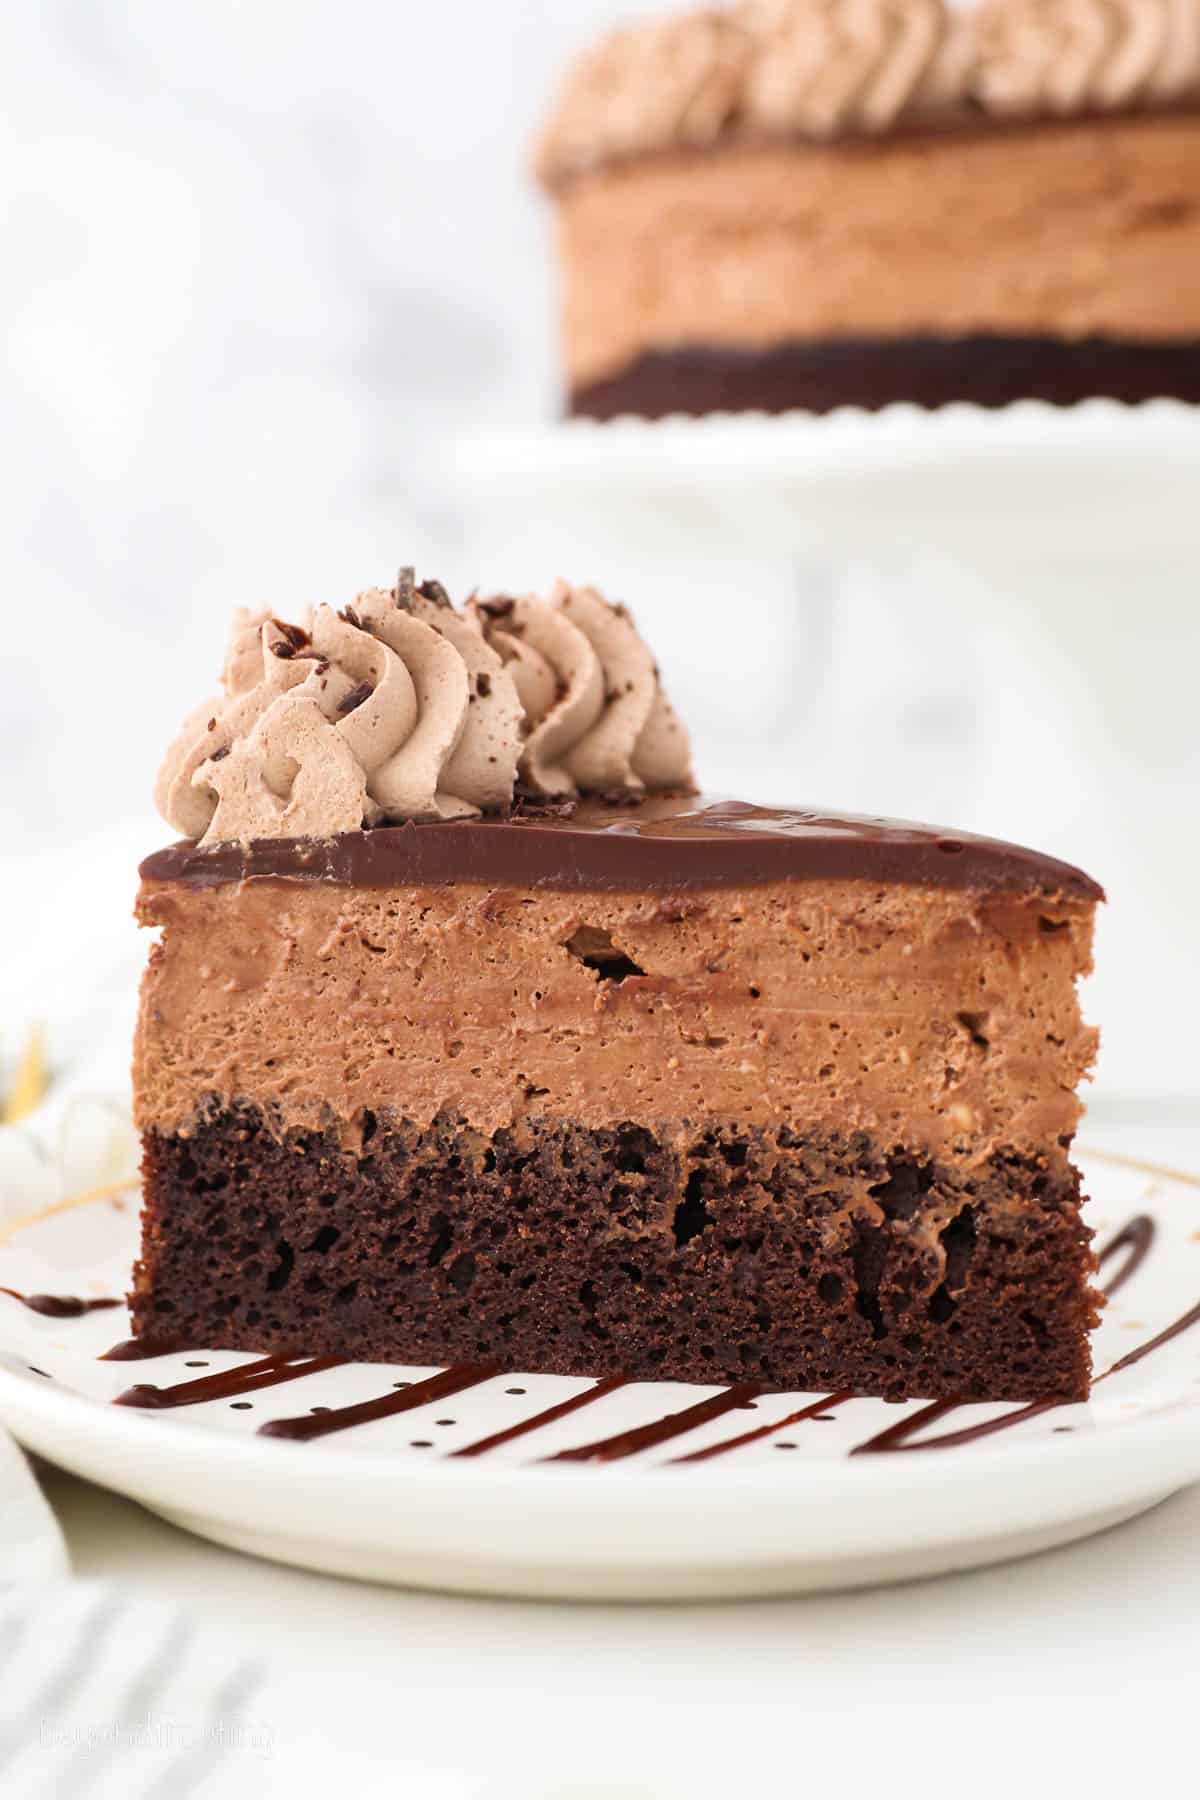
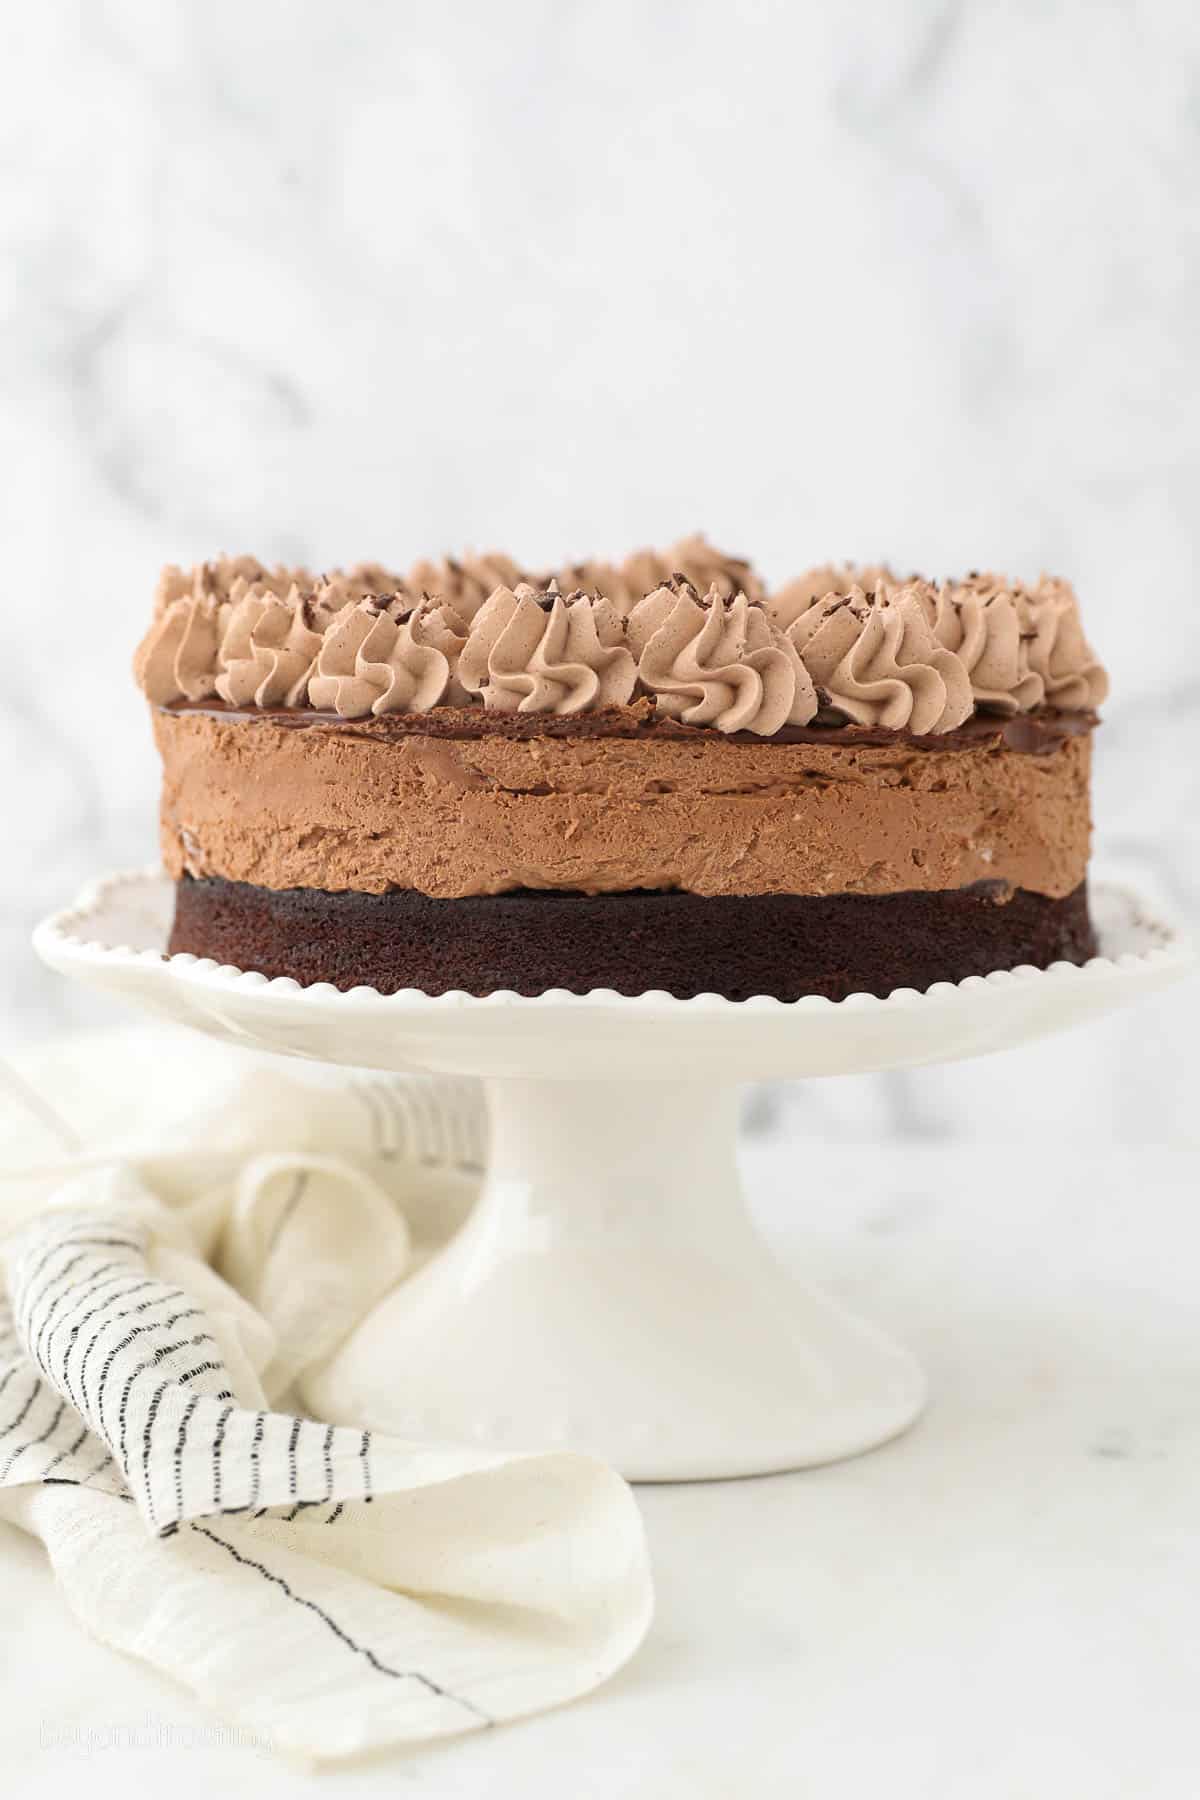
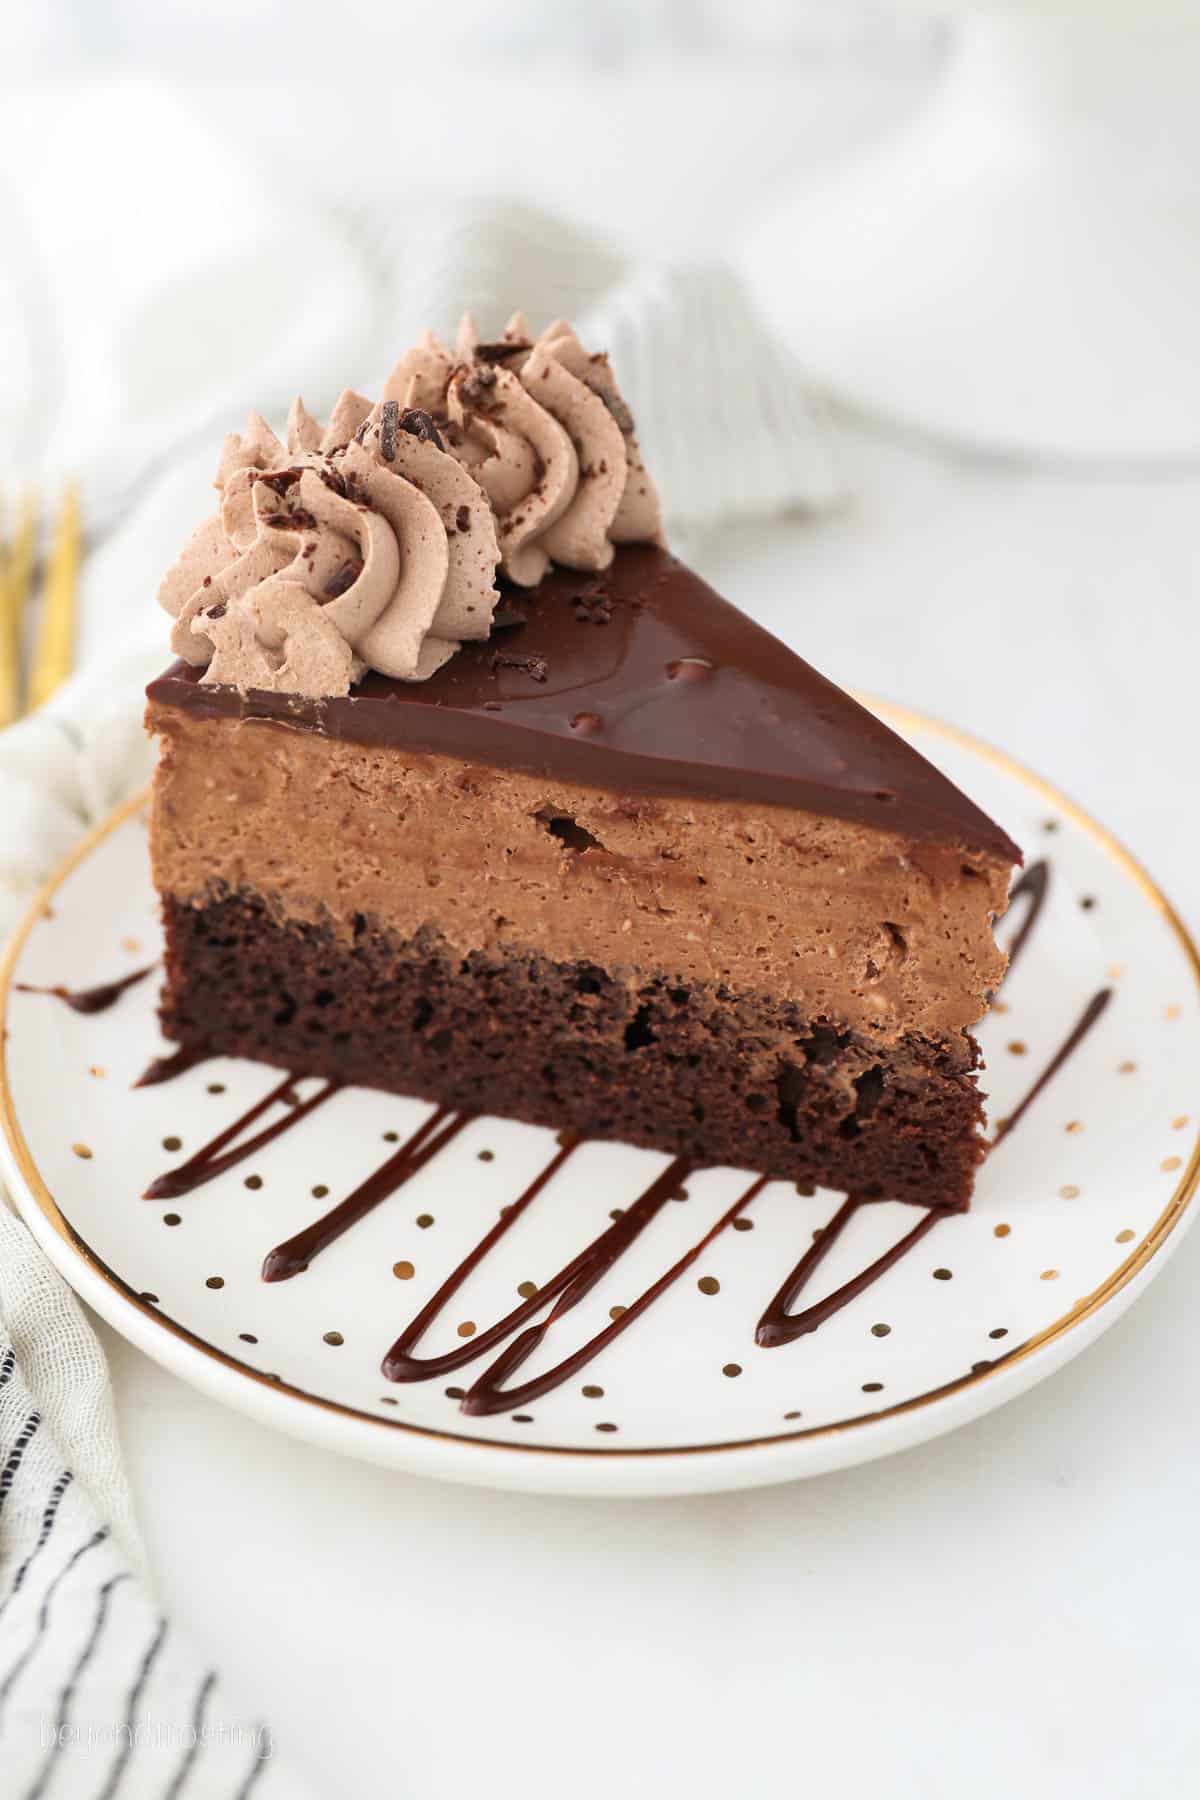
Rich and velvety Chocolate Mousse Cake is an impressive yet oh-so-easy cake recipe that’s sure to wow at the dessert table! It’s a triple threat made from layers of moist chocolate cake, fluffy chocolate mousse, and chocolate ganache, topped with chocolate whipped cream.
Do you love chocolate mousse? Try my other recipes for No-Bake Chocolate Oreo Mousse Cake and Triple Chocolate Brownie Mousse Cake, too!
Smooth and Decadent Chocolate Mousse Cake
I finally combined my best-ever Chocolate Cake with my all-time favorite chocolate mousse recipe, and can I just say: Fireworks!
This easy chocolate mousse cake layers moist chocolate cake with velvety chocolate mousse, that’s then covered with a rich homemade chocolate ganache. But why stop there? I go all out and top this cake with chocolate whipped cream. Bring on ALL the chocolate.
When approaching this recipe, just take it layer by layer. It’s easy to make from start to finish, and it always impresses!
Key Ingredients
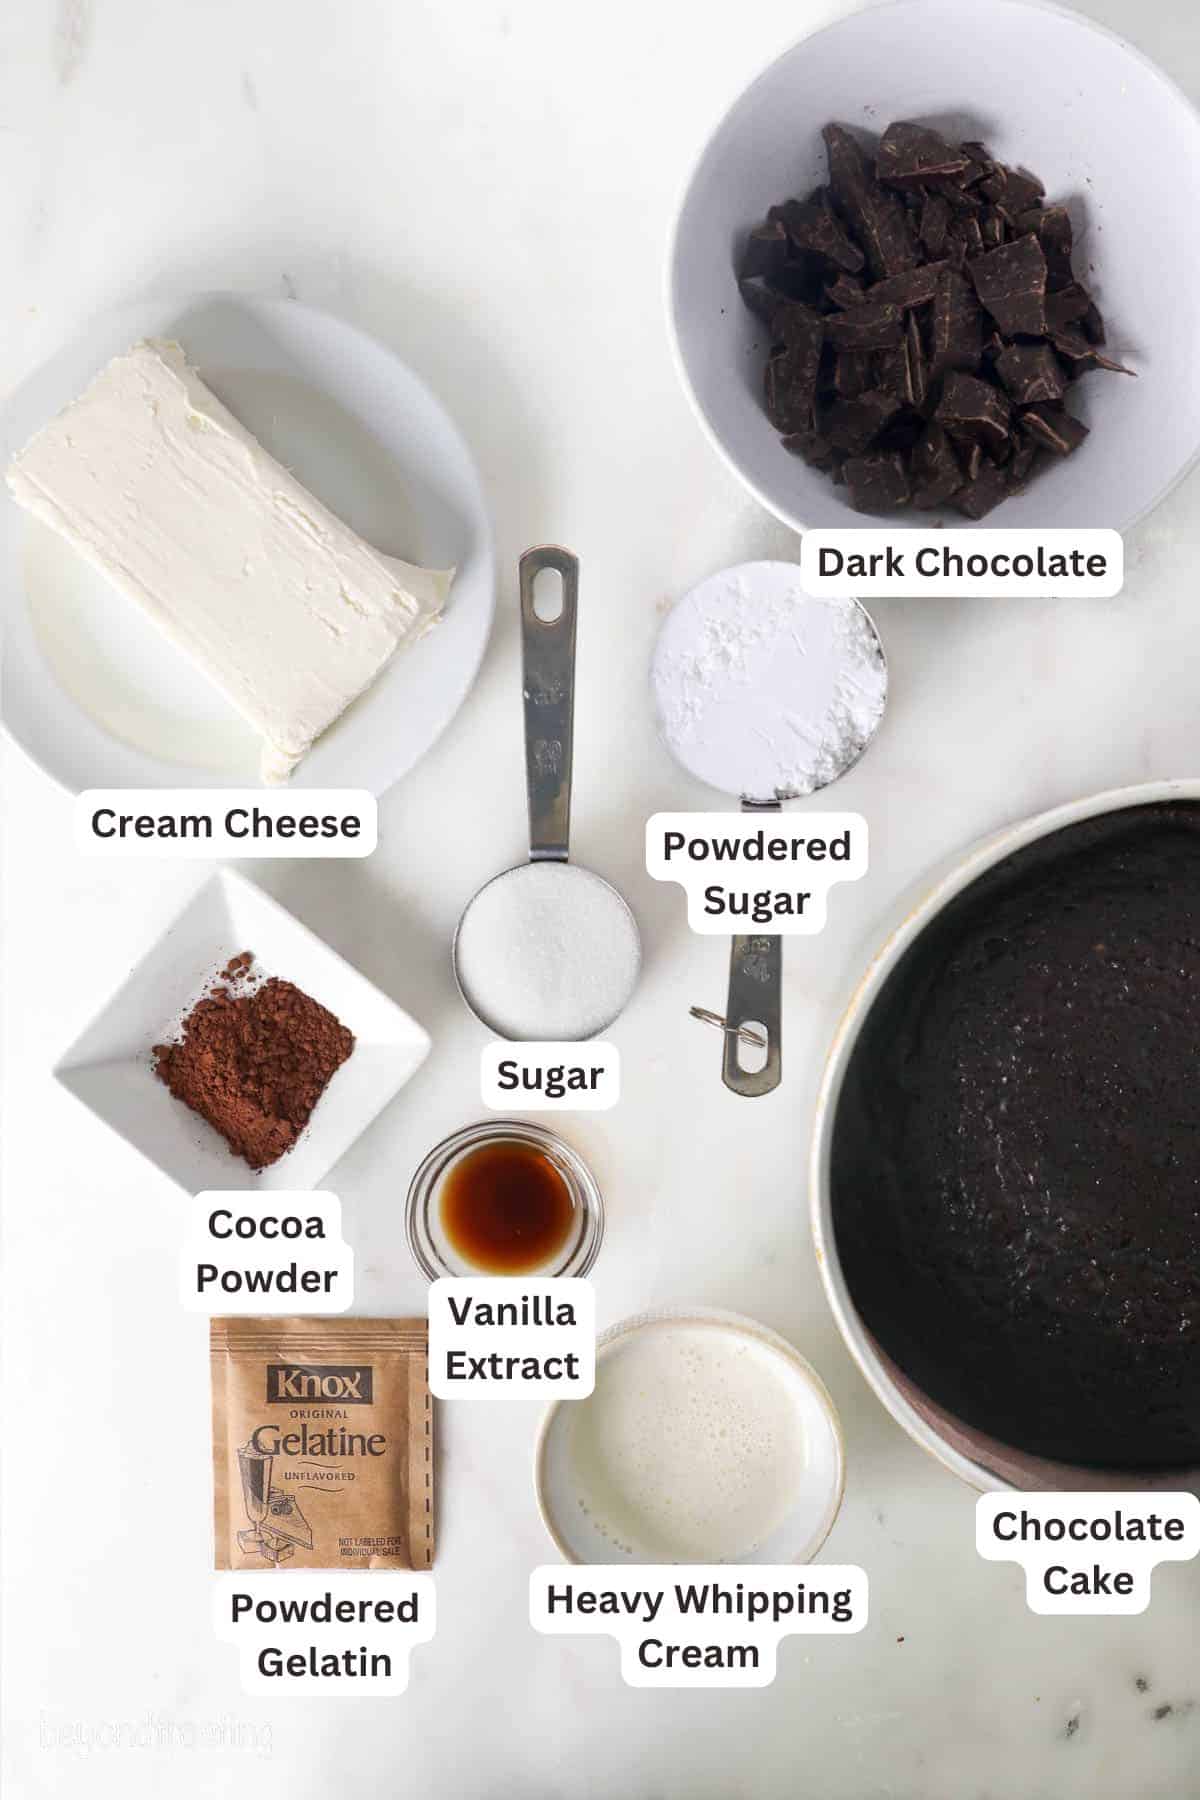
Aside from your usual baking staples (flour, sugar, baking powder, etc.), there are a few ingredients that set this mousse cake apart from other chocolate cakes. Below I’ve summarized the key ingredients, and don’t forget to refer to the recipe card for the full details at the bottom of this post.
For the Cake Layer
- Oil – Using vegetable oil in place of butter in cake recipes is key to a moist and tender cake crumb.
- Sour Cream – My second secret for ultra-moist chocolate cake. If you don’t have sour cream, use plain Greek yogurt instead.
- Cocoa Powder – You’ll need cocoa powder for the cake as well as the chocolate mousse and whipped topping. You can use regular unsweetened cocoa powder, I use Hershey’s Special Dark.
- Coffee – You won’t taste the brewed coffee added to this cake, but it does wonders to enhance the chocolate flavors! If you’d prefer to go without it, use equal parts milk.
For the Chocolate Mousse Layer and Topping
- Gelatin – I bloom powdered gelatin in cold water before adding it to the base of the chocolate mousse. Gelatin helps to stabilize the mousse filling so that it’s smooth and creamy.
- Heavy Cream – You’ll use heavy whipping cream in the mousse, in the ganache, and again when making the whipped topping.
- Chocolate – I recommend using a high-quality dark chocolate bar like Ghirardelli in both the mousse as well as the ganache, rather than chocolate chips. Chocolate bars tend to melt down more smoothly.
- Cream Cheese – I love the subtle tanginess and richness of cream cheese in this mousse. Take the cream cheese out of the fridge ahead of time to soften it.
How to Make Chocolate Mousse Cake
I love love love the chocolate cake recipe that’s the base for this mousse cake. It always makes fabulous sheet cakes, layer cakes, and Cupcakes. And it turns out that a half recipe makes the perfect thick, single-layer cake.
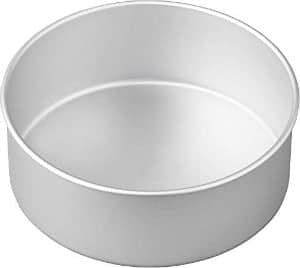
While the oven preheats, grease and line an 8-inch cake pan. Then, start by preparing your chocolate cake layer:
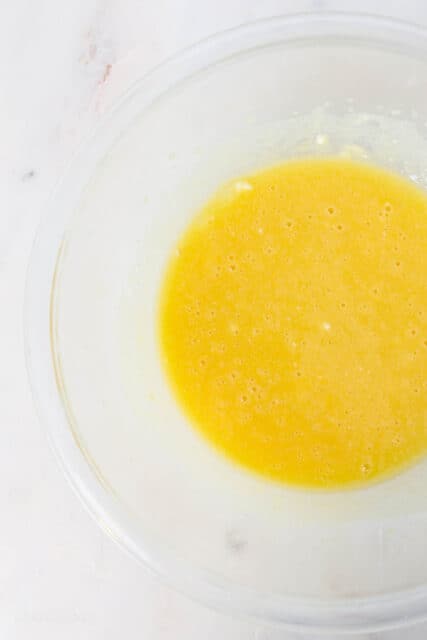
- Combine the wet ingredients. First, beat together the sugar, oil, eggs, and vanilla, followed by the sour cream.
- Add the dry ingredients. Next, sift the dry ingredients, including the cocoa powder, into a separate bowl. Add the dry ingredients to the wet batter, alternating with coffee, until just combined.
- Bake. Transfer the cake batter to your prepared baking pan. Bake at 350ºF for 28-30 minutes, then take the cake out to cool completely.
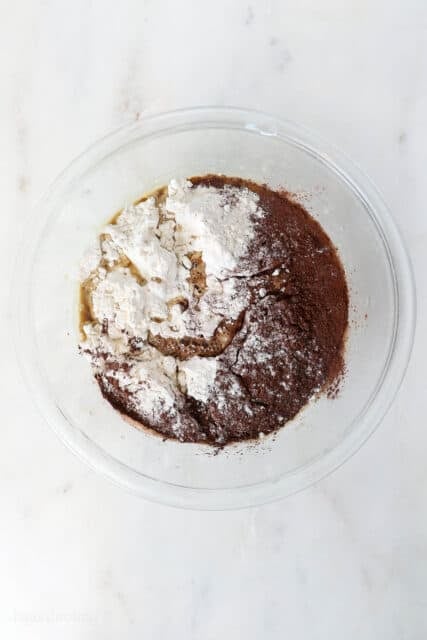
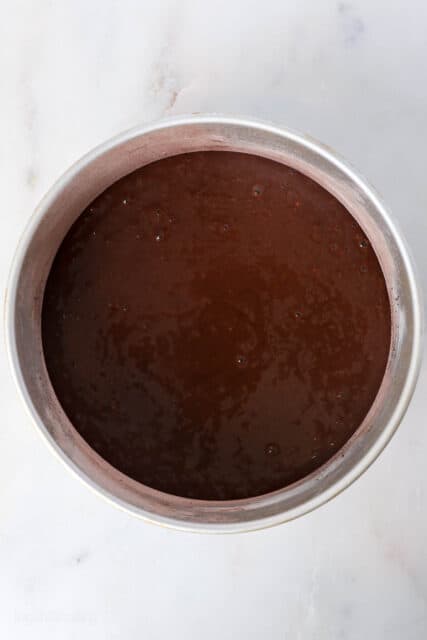
Preparing the Mousse Layer
Before you whip the cream for your chocolate mousse, you’ll need to chill the bowl. Pop the metal mixing bowl from your stand mixer into the freezer while you prepare the ingredients:
1. Bloom the gelatin. Combine the gelatin powder with one tablespoon of cold water. Let it sit for a couple of minutes as it thickens into a gummy, solid state. Then, heat the gelatin in the microwave for 5-7 seconds just until it’s melted. Make sure and remove any pieces that didn’t melt down.
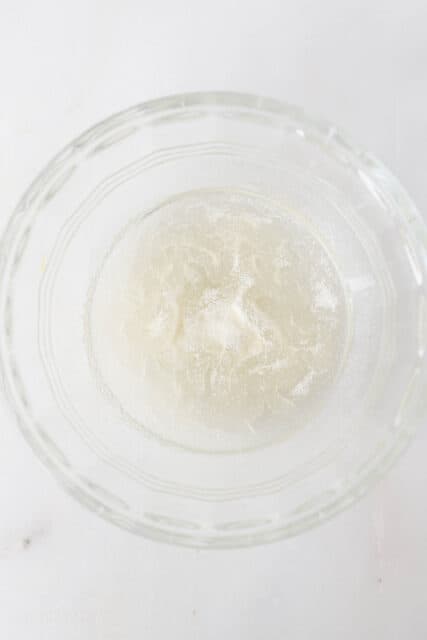
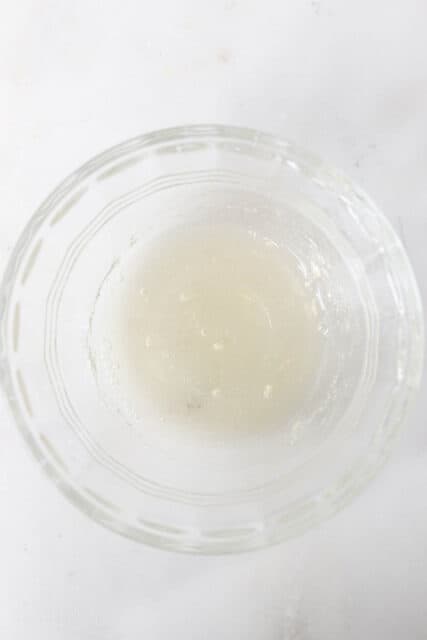
2. Melt the chocolate. Meanwhile, microwave the chocolate with heavy cream until melted. Then stir the liquid gelatin into your melted chocolate and set aside for now.
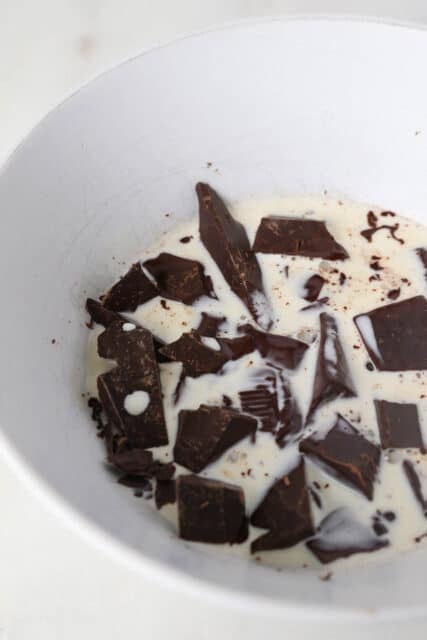
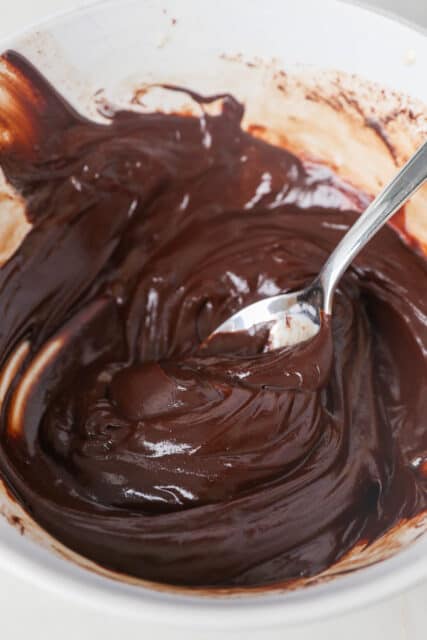
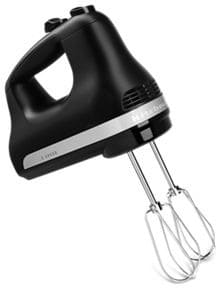
3. Prepare the whipped cream. Take your chilled bowl out from the freezer, and pour in the remaining heavy cream. Whip the cream using your stand mixer, then gradually beat in the powdered sugar until you get stiff peaks. Set this aside as well.
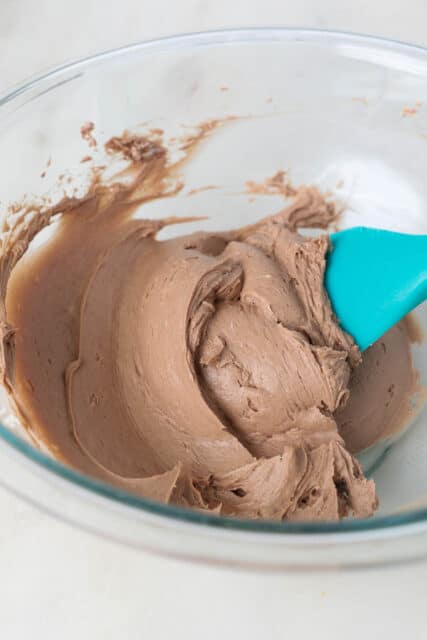
4. Prepare the cream cheese mixture. Next, beat the softened cream cheese together with sugar, cocoa, and vanilla.
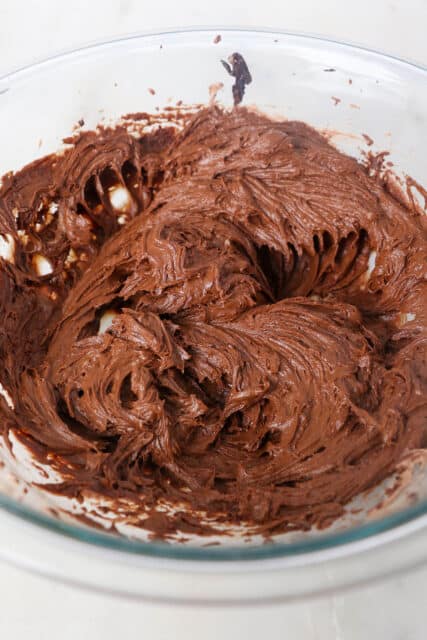
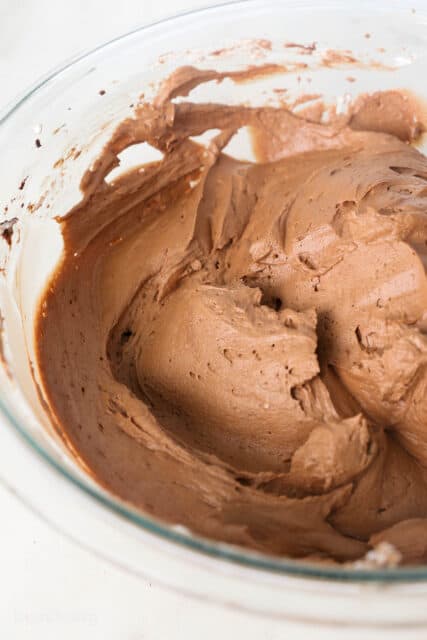
5. Combine. Fold the melted chocolate into the cream cheese until fully combined, followed by the whipped cream. Give everything a good final stir. Now, it’s time to assemble your chocolate mousse cake.
Assembling the Cake
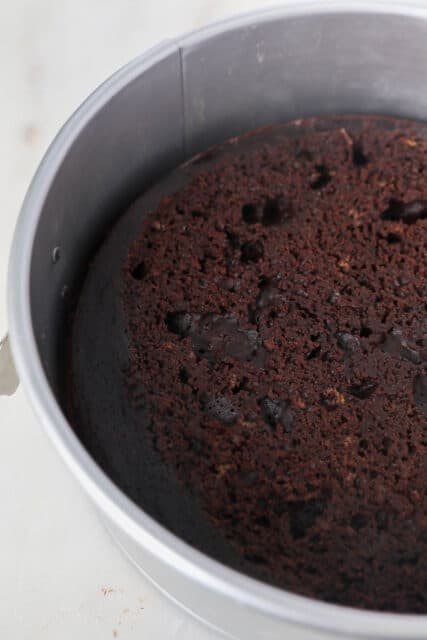
I find it’s easiest to assemble this cake in an 8-inch spring form pan. I’ll usually bake the cake layer in a regular cake pan (see above) and then transfer it to a springform pan afterward. Here’s how to prepare the chocolate mousse cake:
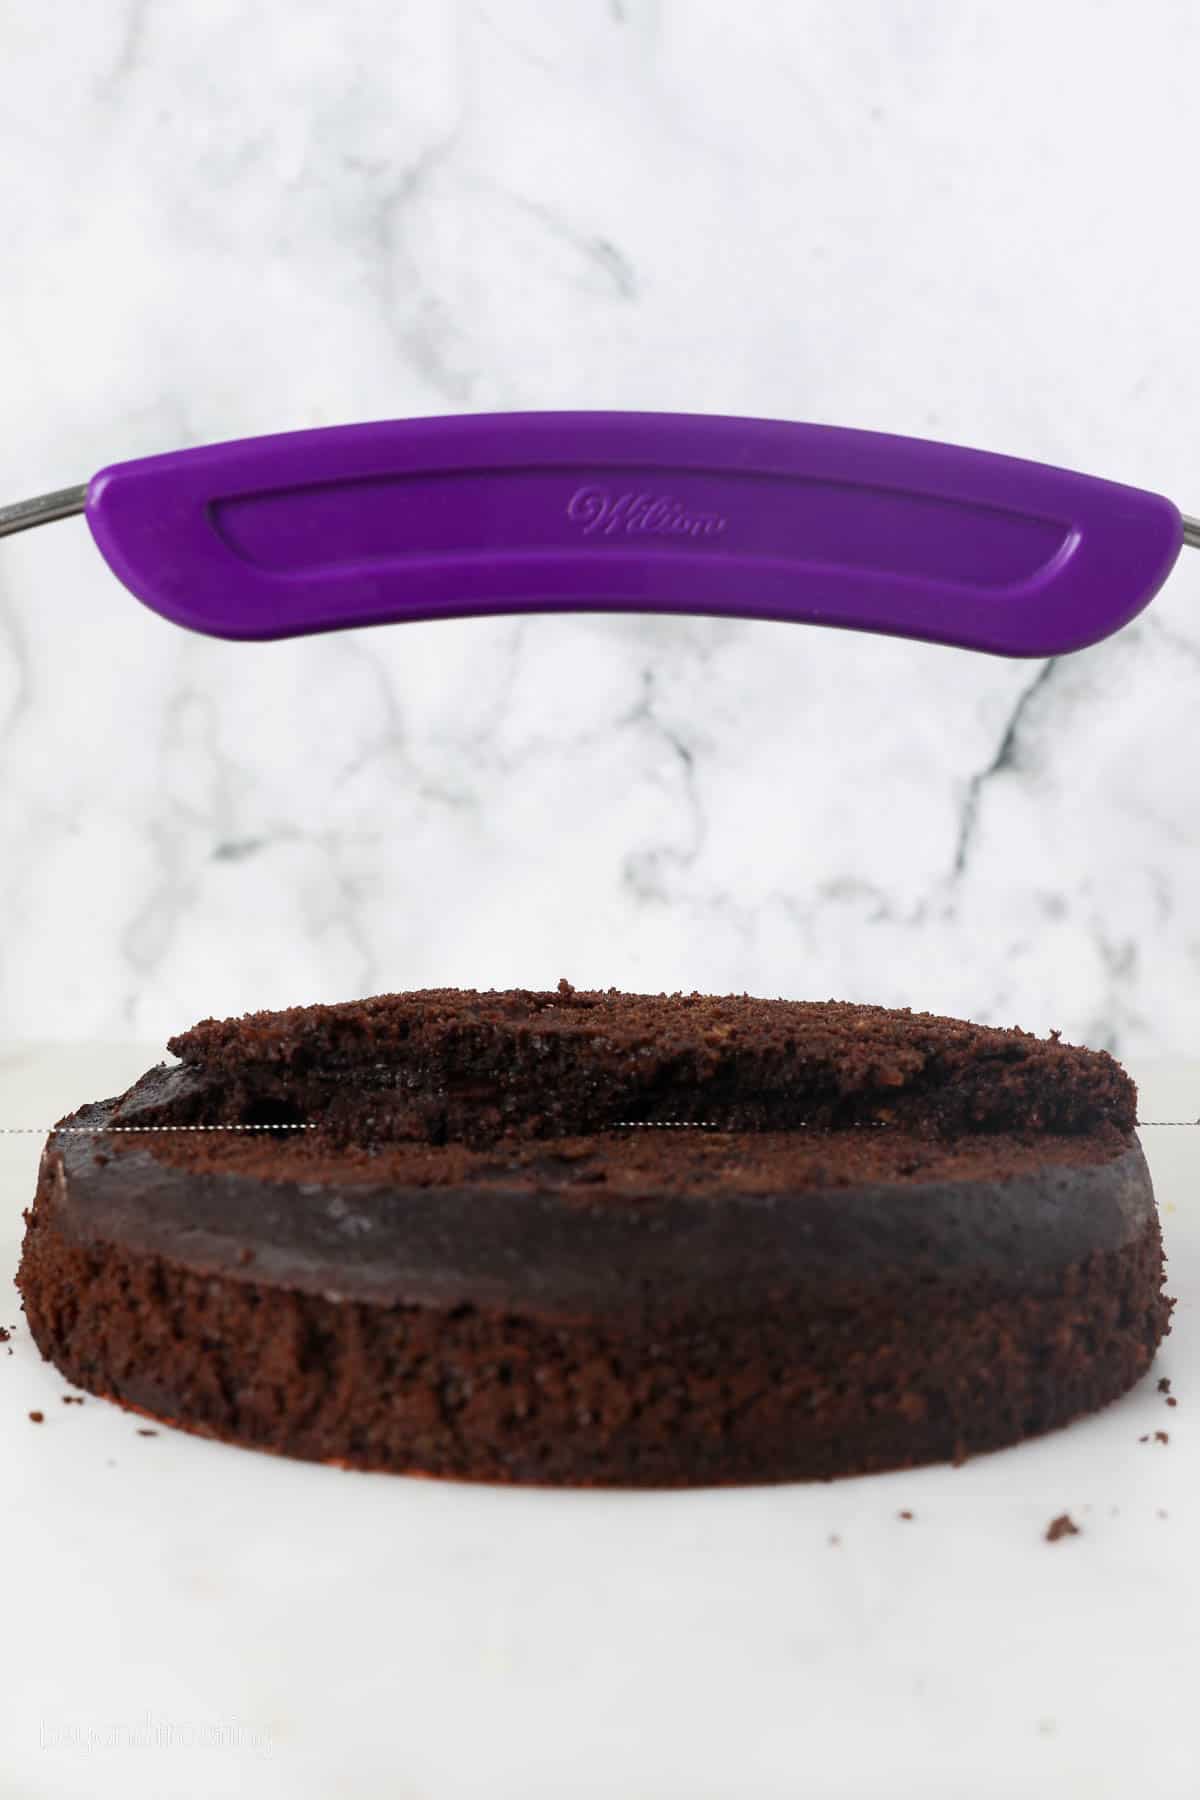
- Add the cake layer to the bottom of the pan. Sometimes you may want to torte the cake layer, meaning that you make it level. Because this is a single-layer cake, you may choose to leave the dome of the cake on. Either way is ok.
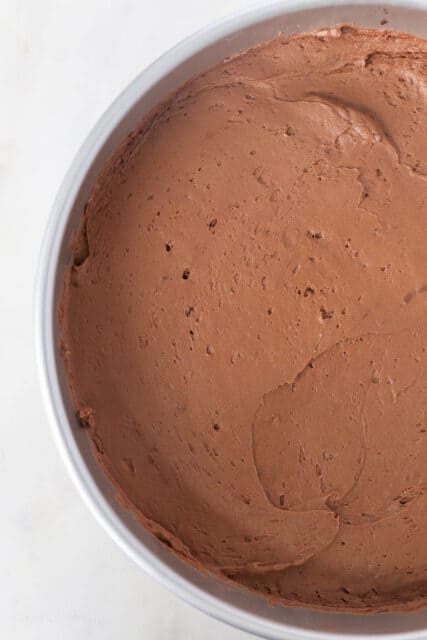
- Pour the chocolate mousse filling over the cake and spread it evenly.
- Finally, chill the cake in the fridge until the filling is set.
Adding the Toppings
Lastly, once the cake is fully set, we’ll top it with a silky smooth homemade ganache and pipe on some chocolate whipped cream. This is very easy to do:
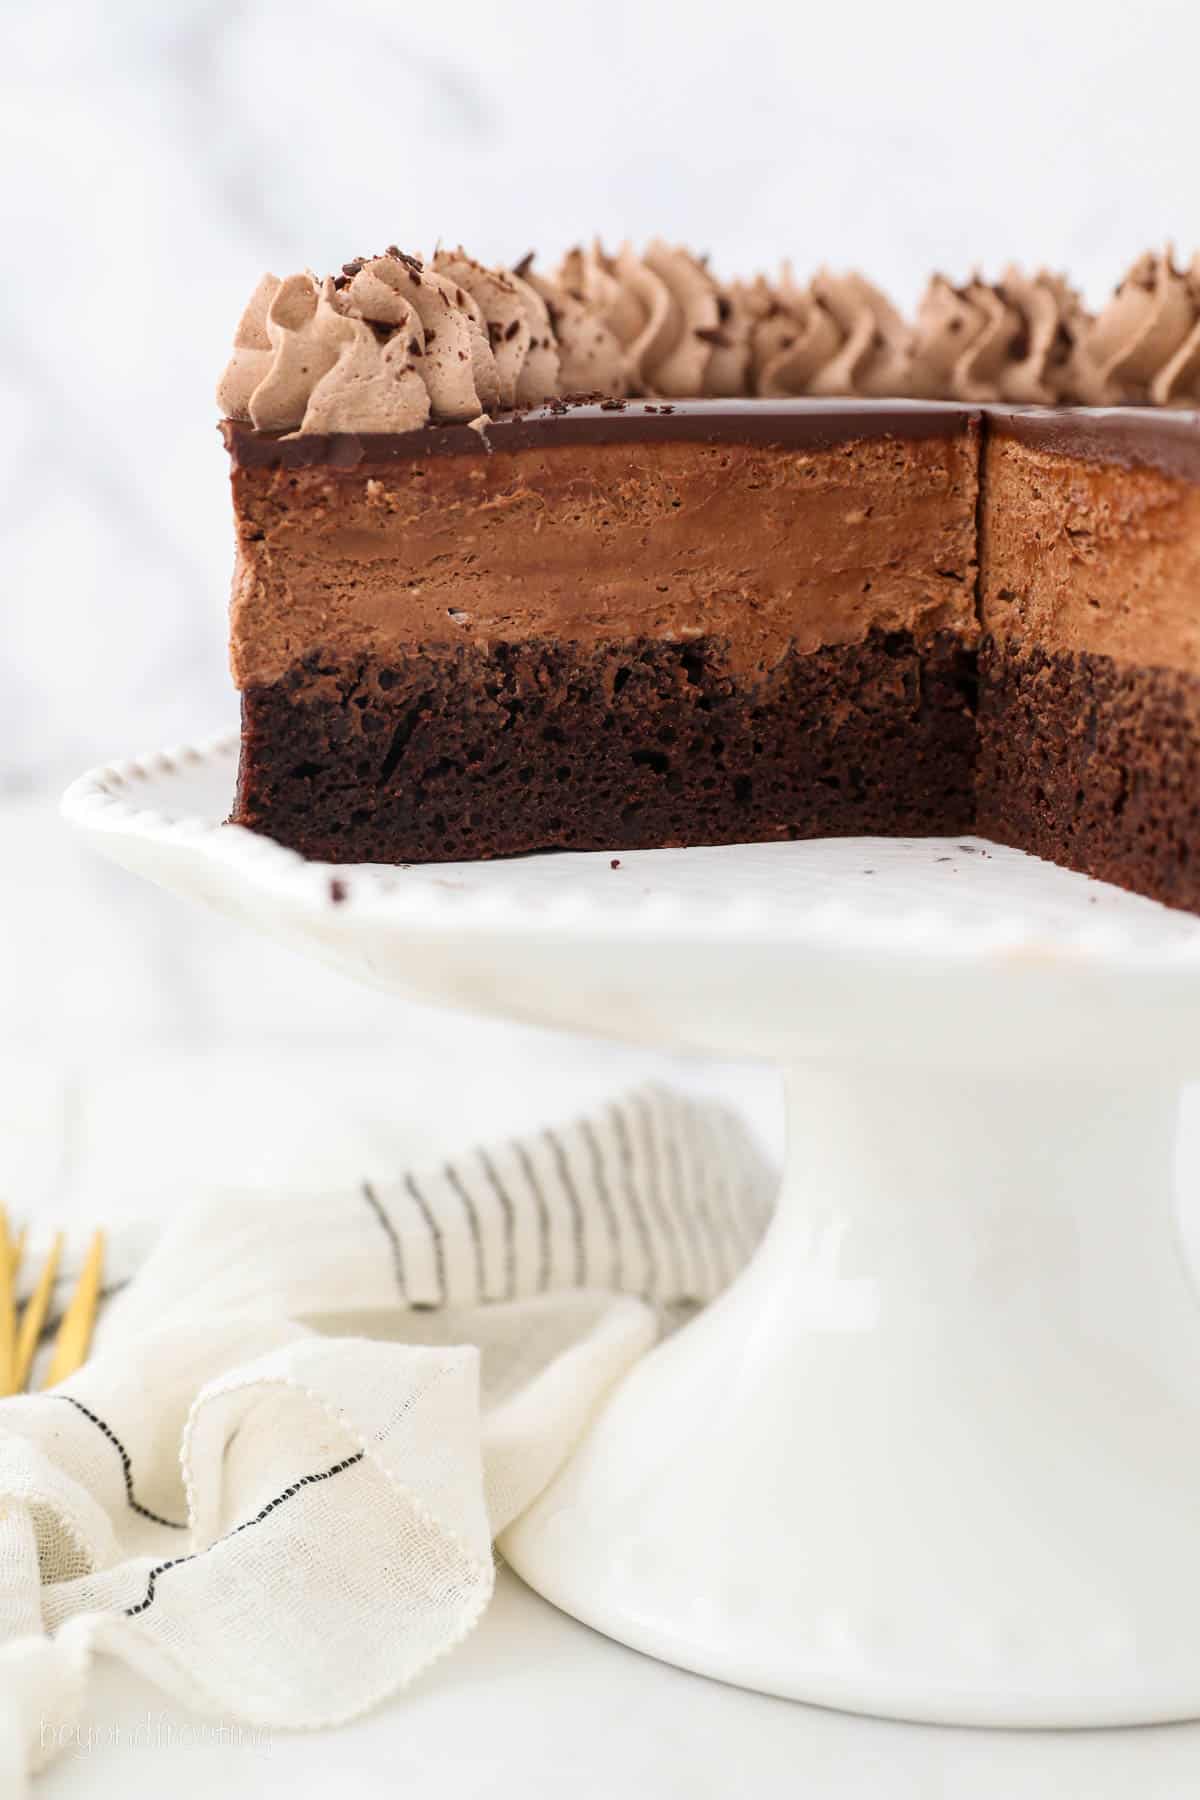
- Prepare the chocolate ganache. I recommend using a 3:1 ratio of heavy cream to chocolate. Heat the ingredients in the microwave in increments, until completely melted. Pour the ganache over the mousse layer and spread it out evenly with an angled spatula.
- Make the whipped topping. Following the directions from earlier, prepare a new batch of chocolate whipped cream. I use a piping bag with an open-star tip to pipe a neat little border around the edge of the cake. But there really is no right way to decorate a cake! See below for more ideas.
Tips for Success
I firmly believe that anyone can make this dessert! The cake itself is pretty simple, as is the mousse. Just take it one step, one layer at a time, and you’ll be golden. Here are some more helpful tips for making a layered chocolate mousse cake:
- Remove any lumps in the gelatin. After you’ve microwaved the gelatin so that it’s liquid again, use a toothpick to fish out any leftover gummy bits. You definitely don’t want to be chewing on those!
- Use a cake collar (affiliate link). I use a cake collar for all my no-bake desserts, even when they’re in a pan (though a pan isn’t necessary). This is because the cake sometimes shrinks and leaves gaps at the edges, and it also makes it easier to cleanly remove the sides of the pan. I’ll tape a cake collar tightly around the cake layer before pouring over the mousse.
- If you don’t have an 8-inch springform pan, you can still assemble the cake in your regular baking pan. I highly recommend removing the cooled cake and lining the whole pan with plastic wrap or parchment paper before you add the cake back in to assemble. This way you can lift it out after it’s set.
- Leveling the cake. It’s up to you if you want to level (remove the dome) of the cake. I bake my cakes using bake-even stripes which help it to bake more level. So I usually just remove the very top layer to have a flat surface to work with. This is totally optional. You’ll find more helpful resources for this in my how to make layer cake post.
More Decorating and Variation Ideas
I use whipped cream to decorate this cake, but there are so many possibilities! You can just as easily pipe on swirls of Chocolate Buttercream or Oreo Frosting. Even Peanut Butter Frosting or Nutella Frosting would be delicious.
When it comes to decorating your chocolate mousse cake, try adding rainbow sprinkles, chocolate shavings, or chopped chocolate for garnish.
For more tips on decorating cakes, I have handy tutorials for How to Use a Piping Bag as well as How to Use and Decorate with Piping Tips. I also have a whole category dedicated solely to Mousse Cakes that’s a treasure trove of inspiration!
Does Mousse Cake Have to Be Refrigerated?
Yes. When it comes time to store your chocolate mousse cake, keep it covered airtight in the fridge and enjoy it within 2 days.
Can I Freeze Mousse Cake?
You can freeze this chocolate mousse cake for up to 2 months. I recommend freezing it while it’s still in the pan, wrapped tightly in a layer of plastic wrap, plus foil. Note that because the mousse recipe contains gelatin, it will not freeze completely solid. Thaw the chocolate mousse cake in the fridge before removing it from the pan and serving.
Print
Chocolate Mousse Cake
- Prep Time: 4 hours
- Cook Time: 28 minutes
- Total Time: 4 hours 28 minutes
- Yield: 10 slices
- Category: Cake
- Method: Baked
- Cuisine: American
Description
Make this easy yet impressive Chocolate Mousse Cake with decadent layers of moist chocolate cake, fluffy chocolate mousse, and rich chocolate ganache topped with chocolate whipped cream.
Ingredients
For the cake:
- ¾ cup (143g) granulated sugar
- ¼ cup (59ml) vegetable oil
- 2 large eggs, at room temperature
- 2 teaspoons (10ml) vanilla extract
- ¼ cup (48g) sour cream, at room temperature
- 1 cup (140g) all-purpose flour, sifted
- ¼ cup (20g) cocoa powder, sifted (I use Hershey’s Special Dark)
- 1 ¼ teaspoons (4.6g) baking powder
- ¼ teaspoon baking soda
- ½ teaspoon salt
- 2/3 cup (157ml) hot brewed coffee
For the chocolate layer
- 1 tablespoon (15ml) cold water
- 1 teaspoon powdered gelatin
- 1 cup plus 2 tablespoons (266ml) heavy whipping cream, divided
- 4 ounces (113g) dark chocolate, roughly chopped
- ½ cup (65g) powdered sugar
- 8 ounces (226g) cream cheese, at room temperature
- ¼ cup (48g) granulated sugar
- 2 teaspoons (5g) cocoa powder
- 1 teaspoon (5ml) vanilla extract
For the ganache
- 2 ounces (75g) dark chocolate, chopped
- 6 tablespoons (90ml) heavy whipping cream
For the whipped topping
- 1 cup (236ml) heavy whipping cream, cold
- ½ cup (65g) powdered sugar
- 2 tablespoons (10g) cocoa powder
- 1 teaspoon (5ml) vanilla extract
Instructions
For the cake layer:
- Preheat the oven to 350°F. Line an 8-inch cake pan with parchment paper or a silicone baking mat and grease & flour the edges.
- In a large mixing bowl, combine the sugar, vegetable oil, eggs, and vanilla extract. Beat on medium speed until the eggs and oil are well incorporated and the batter is lighter in color. Next mix in the sour cream and beat until well combined.
- In a separate bowl, sift together the dry ingredients. Add half the dry ingredients to the wet ingredients, followed by half of the coffee, and mix until the flour is just incorporated at a low speed. Then add the remaining dry ingredients and coffee. Beat until all of the ingredients are well combined. Use a spatula to scrape down the sides of the bowl and stir the batter from the bottom to the top to ensure it’s well mixed.
- Bake at 350°F for 28-32 minutes. Test the cake for doneness by inserting a toothpick into the center of the cake. If the toothpick comes out clean, the cake is done. Cool Completely.
For the mousse layer:
- Place the mixing bowl and whisk attachment in the freezer for 5 to 10 minutes to chill while you are preparing the next steps.
- Place 1 tablespoon of cold water in a small dish. Sprinkle the gelatin over the cold water, trying to spread the powder evenly. Allow the gelatin to turn to a solid (about 2-3 minutes)
- In a microwave-safe bowl, combine the chocolate and 2 tablespoons of heavy whipping cream. Microwave in 30-second increments, stirring each time until the chocolate is melted.
- Next, melt the gelatin in the microwave for 5-8 seconds until it turns back into a liquid. Watch it closely! Remove any lumps that did not melt. Stir the liquid gelatin into the melted chocolate and set it aside to cool.
- Prepare the whipping cream. Using the chilled bowl, beat the heavy cream on high speed until it’s thickened to soft peaks. Next, add the powdered sugar and continue beating at high speed until stiff peaks form. Set the whipped cream aside.
- Beat the cream cheese until it’s completely smooth and free of lumps. Scrape down the sides of the bowl, add the granulated sugar, cocoa powder, and vanilla extract, and beat until well combined.
- Next add the melted chocolate, beating until it’s completely mixed into the cream cheese, scraping down the bowl as needed. Lastly, fold in the prepared whipped cream and mix until all ingredients are combined.
To assemble:
- Transfer the cake layer to an 8-inch springform pan, or line the cake pan with plastic wrap or parchment paper along the bottom and up the sides if you want to remove the cake from the pan. Place the cake in the bottom of the pan. Pour the chocolate filling over the chocolate cake, spread evenly, and refrigerate until the filling is set, 2-4 hours.
For the chocolate ganache:
- In a microwave-safe bowl, combine the chocolate and heavy whipping cream. Melt the chocolate in the microwave at 50% power in 30-second increments and stir until completely combined. Allow to cool.
- Pour the chocolate over the mousse layer and spread evenly. Allow the ganache to set a little bit before adding the topping.
For the Topping:
- Prepare a second batch of whipped cream following the same instructions above, adding the cocoa powder together with the powdered sugar and vanilla. Pipe the border using a large open star tip.
Notes
Substitutions:
- Sour cream: If you need to substitute the sour cream, use nonfat Greek Yogurt
- Coffee: If you need to substitute the coffee, use milk
- For the chocolate in the mousse and the ganache, I prefer to use a chocolate bar such as Ghirardelli or Bakers Chocolate as opposed to chocolate chips.
Storage Instructions
- The cake can be prepared up to 2 days in advance and stored in an airtight container at room temperature. Once assembled with the mousse, this needs to be refrigerated. Keep stored in an airtight container. It’s best served within 2-3 days of preparation but will last up to 5 days.
Nutrition
- Serving Size: 1 slice
- Calories: 634
- Sugar: 41g
- Sodium: 319mg
- Fat: 44g
- Saturated Fat: 27g
- Carbohydrates: 56g
- Fiber: 2.8g
- Protein: 7.8g
- Cholesterol: 130mg


Could you double this in a 10″ springform pan?
Hi Chris, yes you could try that. I have not personally done it, but you should get a nice thick cake layer.
I think it’s perfect just the way it is, everything together was delicious. I would most definitely make it again.
Wow Charla, thank you so very much!
I made this according to directions. The cheesecake mousse was lovely. It tastes just like you expect it to, but it has a nicer texture than just regular no bake cheese cake, smooth and beautiful.
The cake itself was not as good. It’s soft and moist with a tight crumb, but the flavour doesn’t hold up with the mousse. The cake is there, but adds nothing. I used Rodelle organic Dutched cocoa.
Thank you for the recipe. I would make it again with a different base. ⭐️⭐️⭐️1/2
Hi Nicole, thanks for sharing your feedback. I personally enjoy the cake, I would be interested to hear where the flavor was lacking for you.
Whole family loved it, was a hit. I thought my cake layer was a little dense for my liking, but still tasted very good. Could’ve been that I overmixed batter. All good reviews from family & friends who tried it. In conclusion, I did LOVE it and WILL make it again. Thank you for sharing your recipe.
Thank you Yannet. Could the denseness be from the regridgerator? The cake itself has a tighter crumb but shouldn’t be too gummy or anything like that
Made this today for my son’s birthday since he love mouse desserts. He did not like the dense chocolate cake, it’s more like a brownie. What can I adjust to make it like a softer/fluffy chocolate cake so I can try again next time? Thanks in advance.
Hi Marissa, I sent you an email to ask additional questions. This cake actually should be softer and fluffier. I am wondering how it was when you took it out of the oven
Hello, have just finished making the middle layer to go in a chocolate biscuit tart case. It tastes yum! As I finished, I realised it looks and tastes like a no-bake chocolate cheesecake I used to make years ago! Have lost the recipe so can’t compare ingreds. I am interested as to whether this layer could also be called a cheesecake, or if not, I am interested in why? As you can probably tell, I am not an experienced cook but keen to learn! Thank you xo
Hi Mari, yes this could absolutely be a no-bake cheesecake. It’s also similar to my usual no-bake chocolate cheesecake, but this has less cream cheese. Here’s the no-bake chocolate cheesecake if you’d like to check it out
https://beyondfrosting.com/best-ever-no-bake-chocolate-cheesecake/
Thank you for replying, I will check that recipe out 🙂
SO good, a little effort as far as prep goes because of the extra bowls, but did I mention that it was SO good? Rich, and only a little needed to satisfy. I made it for a dinner with friends and they all loved it.
Thank you so much Sandy! A labor of love, yes, but SO good!
Thank you for a well written recipe. It was easy to follow. I followed it to the letter. Came out very well. It is a dense, moist, rich dessert the whipped cream finishes it for sure.
Thank you for sharing