

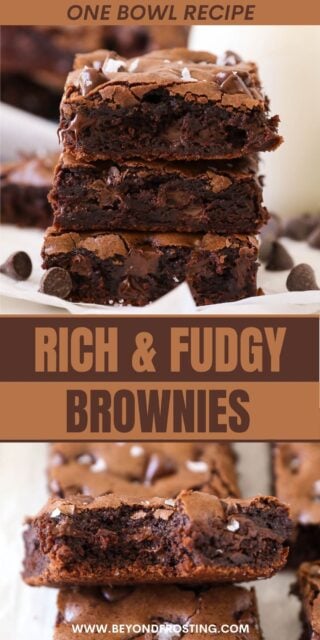
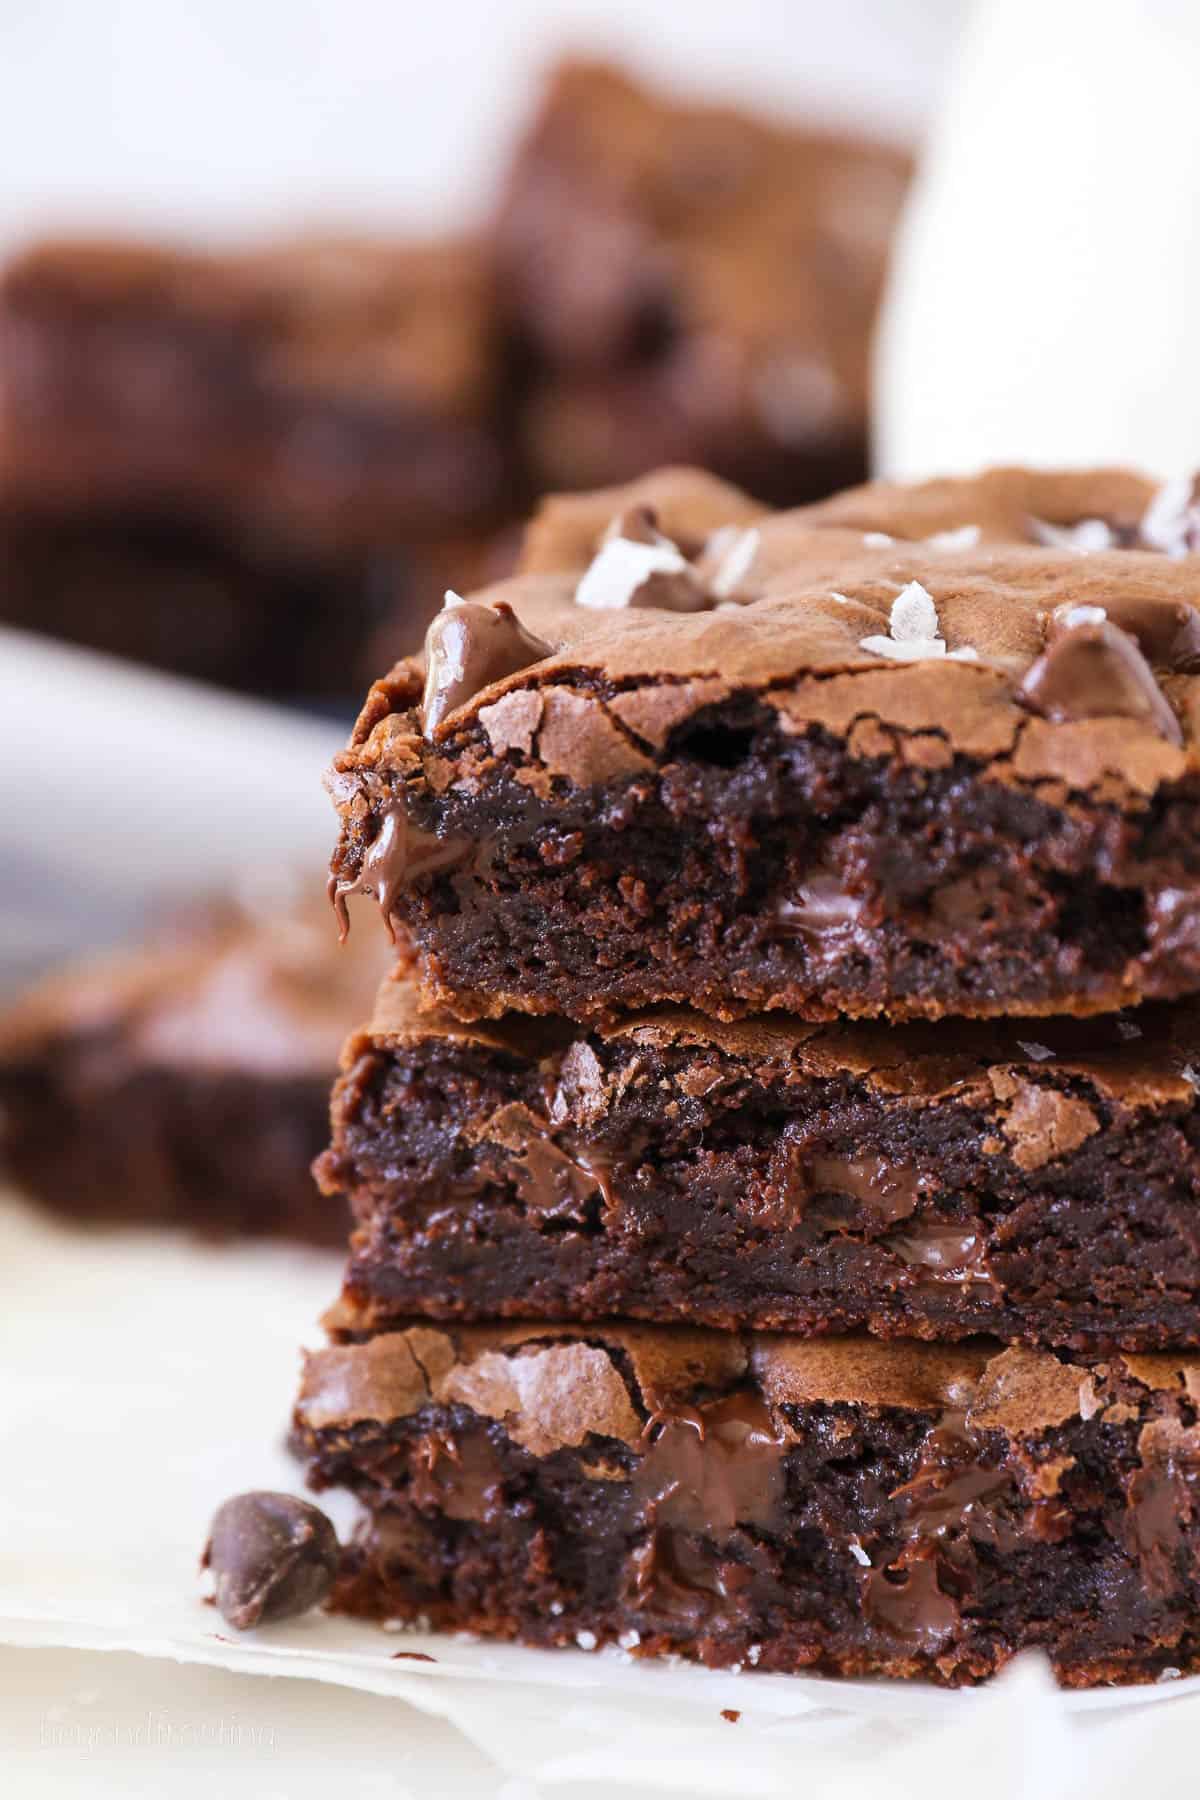
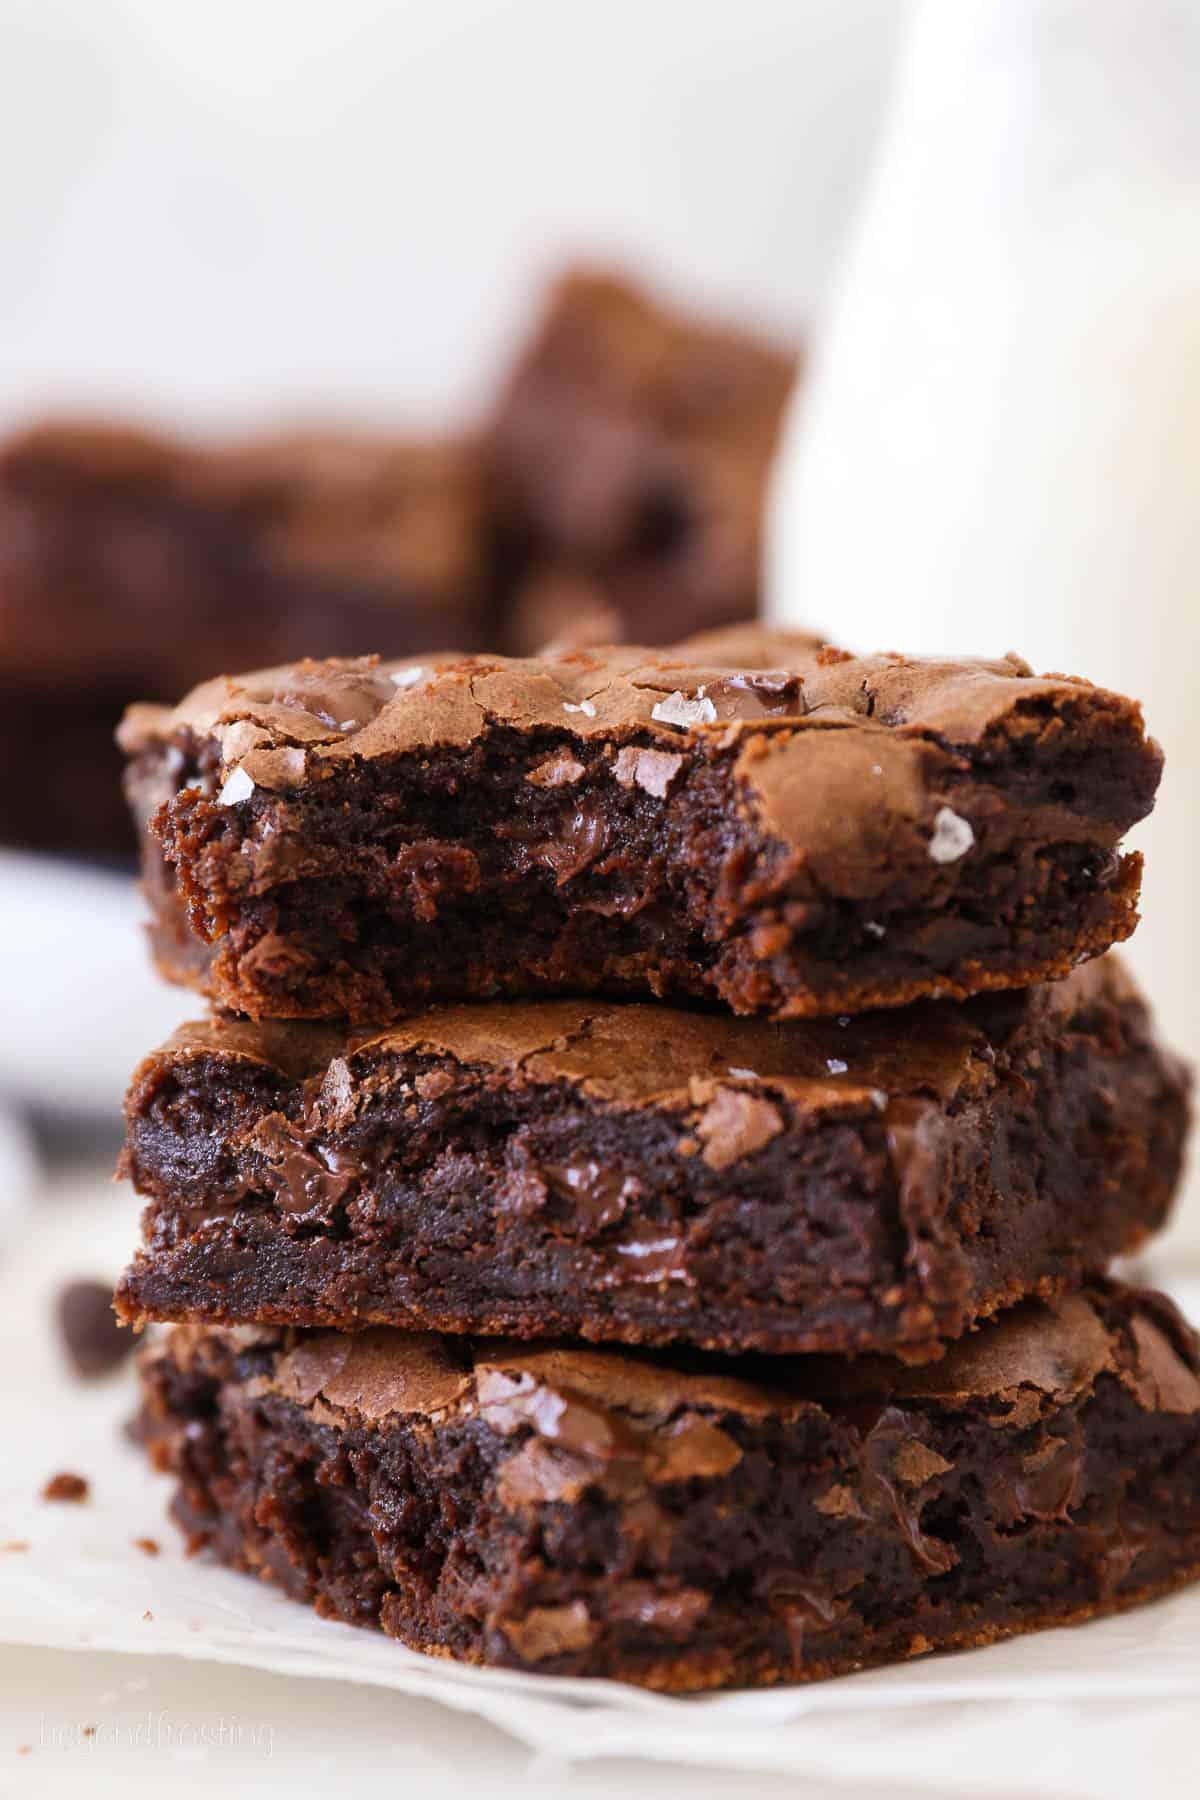
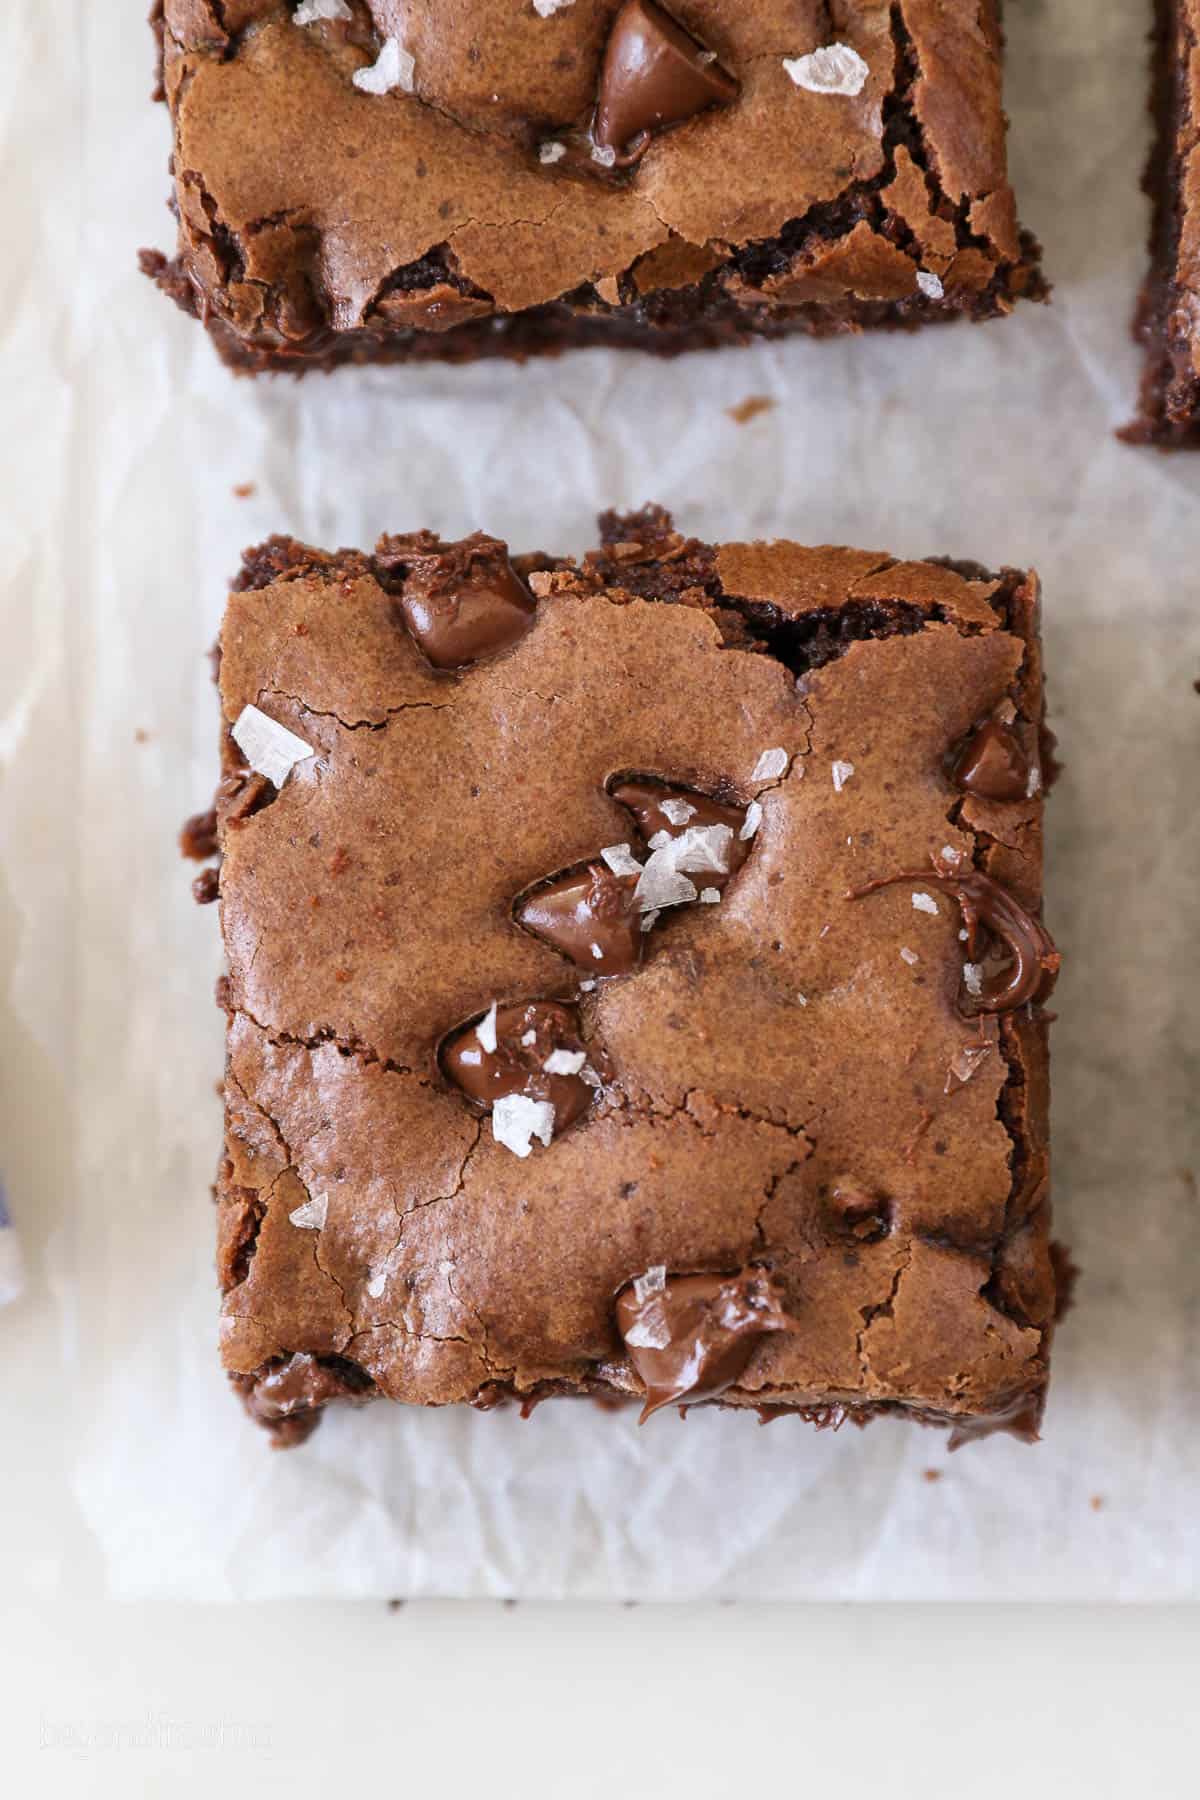
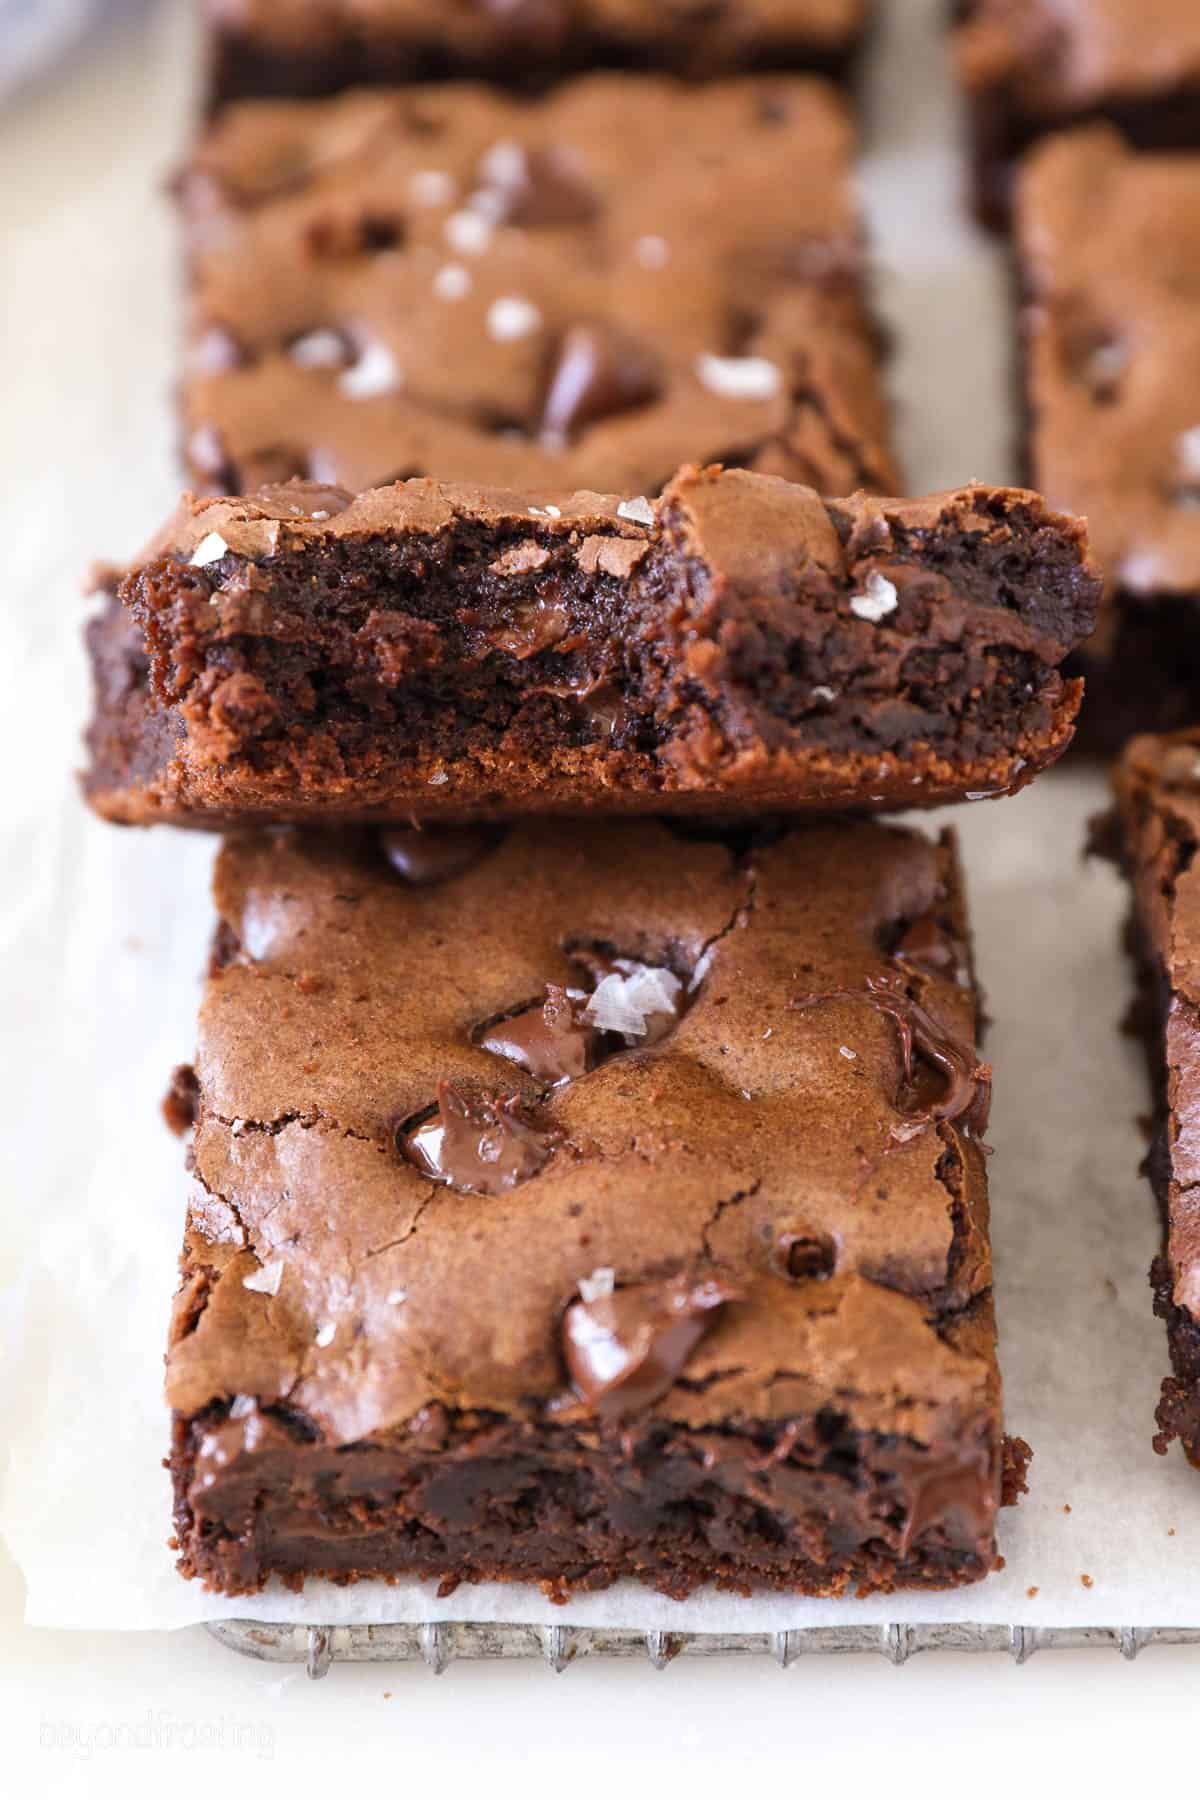
Quick and easy, this fudgy cocoa powder brownies recipe makes rich, chocolatey homemade brownies that taste even better than your favorite boxed brownie mix! They’re made with pantry staples and ready in 45 minutes, with shiny, crackly tops and gooey chocolate chips in every bite.
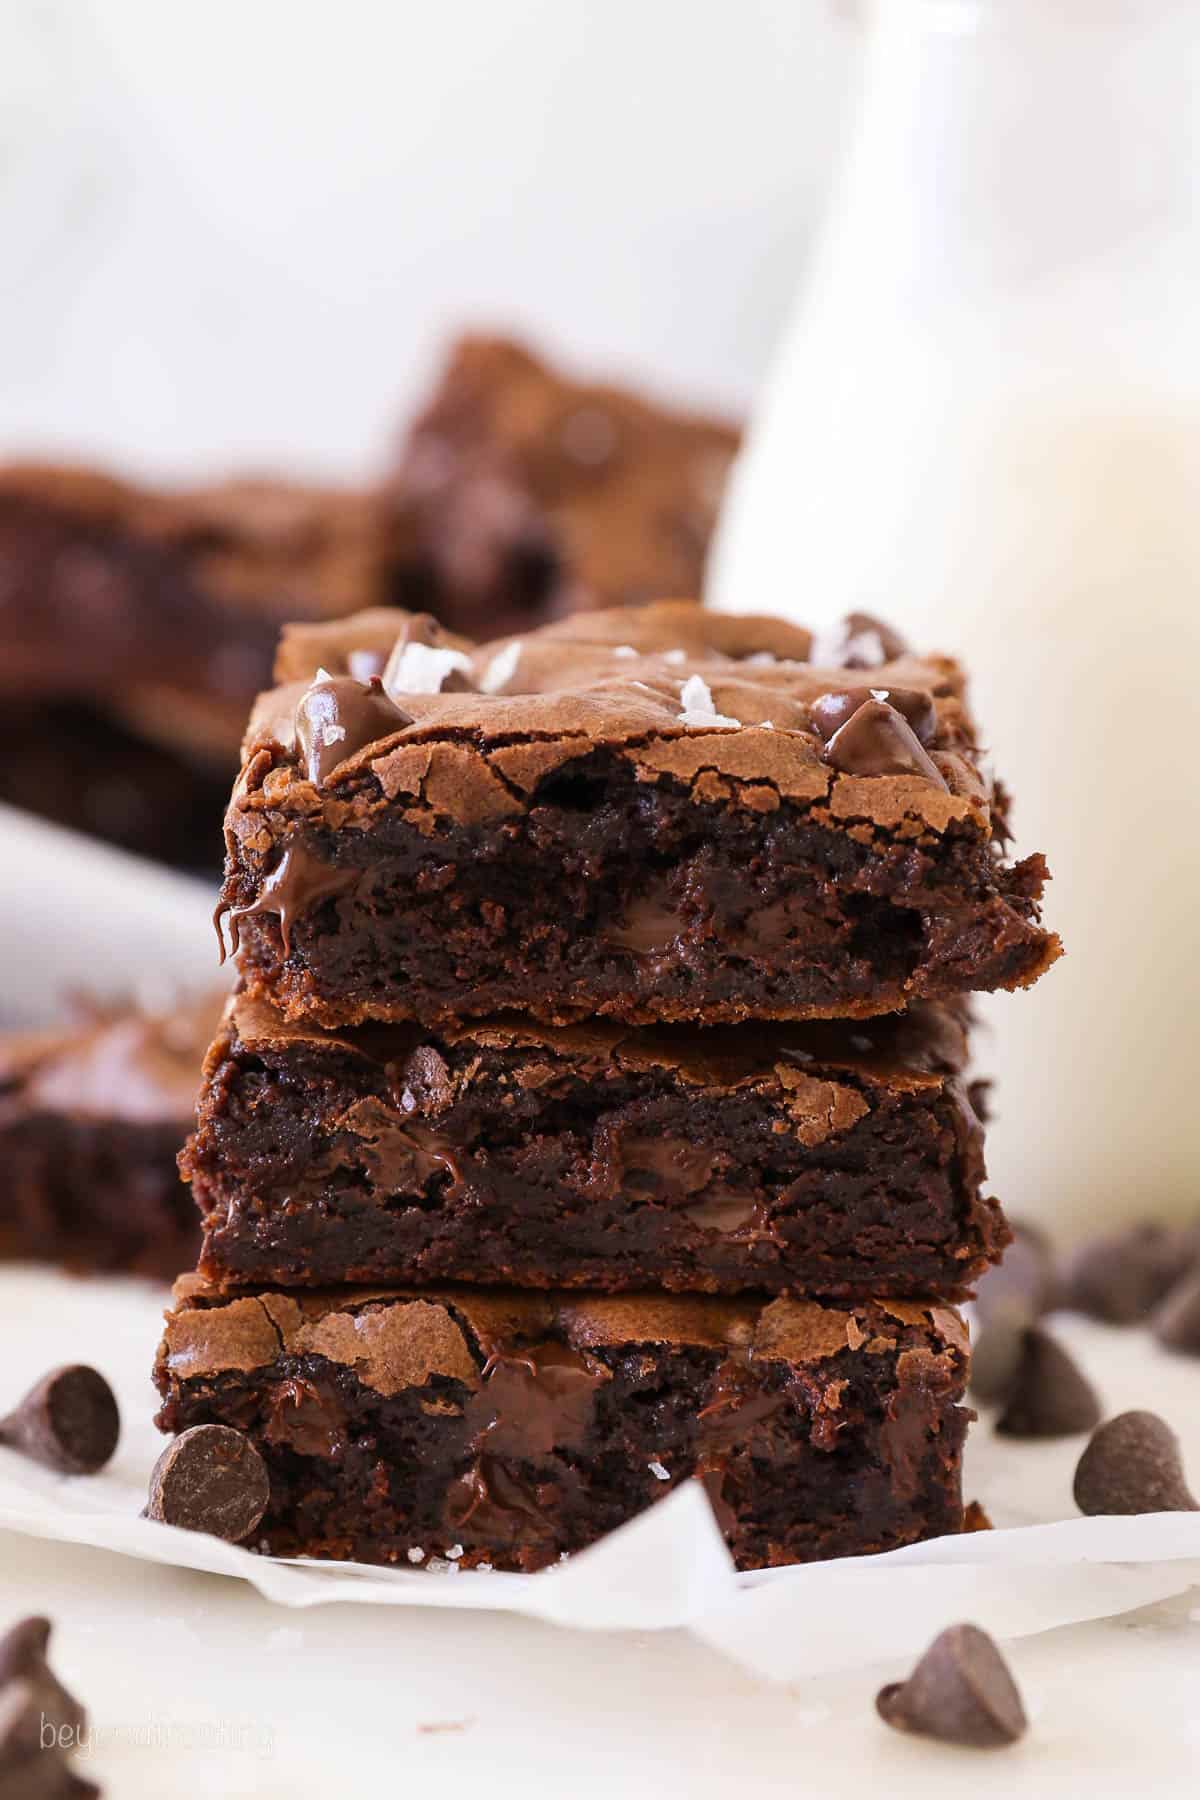
I started baking these cocoa powder brownies years ago. I created the recipe to mimic a boxed brownie mix, with the goal being a homemade version that was just as quick and easy.
There’s a time and a place for brownie mix, and I know I’ve definitely reached for a box from time to time. With most mixes, you’d typically add oil, water, and eggs. This recipe is nearly identical. Instead of water, I use milk for richness.
Another small tweak is using leavening in these fudgy cocoa brownies. Most homemade brownie recipes don’t include leavening ingredients like baking soda, but I intentionally added it to this recipe. Baking soda gives these brownies lift, though they’re definitely not cakey. They’re moist, chocolatey, and just fudgy enough with perfect crinkled tops.
These cocoa powder brownies are the base recipe for my Oreo brownies. You can also use this brownie recipe in desserts that would normally use boxed mix as a shortcut, including homemade brookies, Slutty Brownies, a brownie bottom in cakes, and more!
What Makes These Cocoa Powder Brownies Different?
- This recipe is quicker and easier to prepare with less dishes.
- These have crackly, glossy tops, and they’re a little less rich than my classic fudgy brownies.
- There’s no melted chocolate in this batter. They’re made with cocoa powder for a less dense, not-so-heavy texture.
- These chewy but still fudgy brownies are my version of our favorite boxed brownie mix.
- Oil instead of butter, which keeps these homemade brownies extra moist.
Ingredient Notes
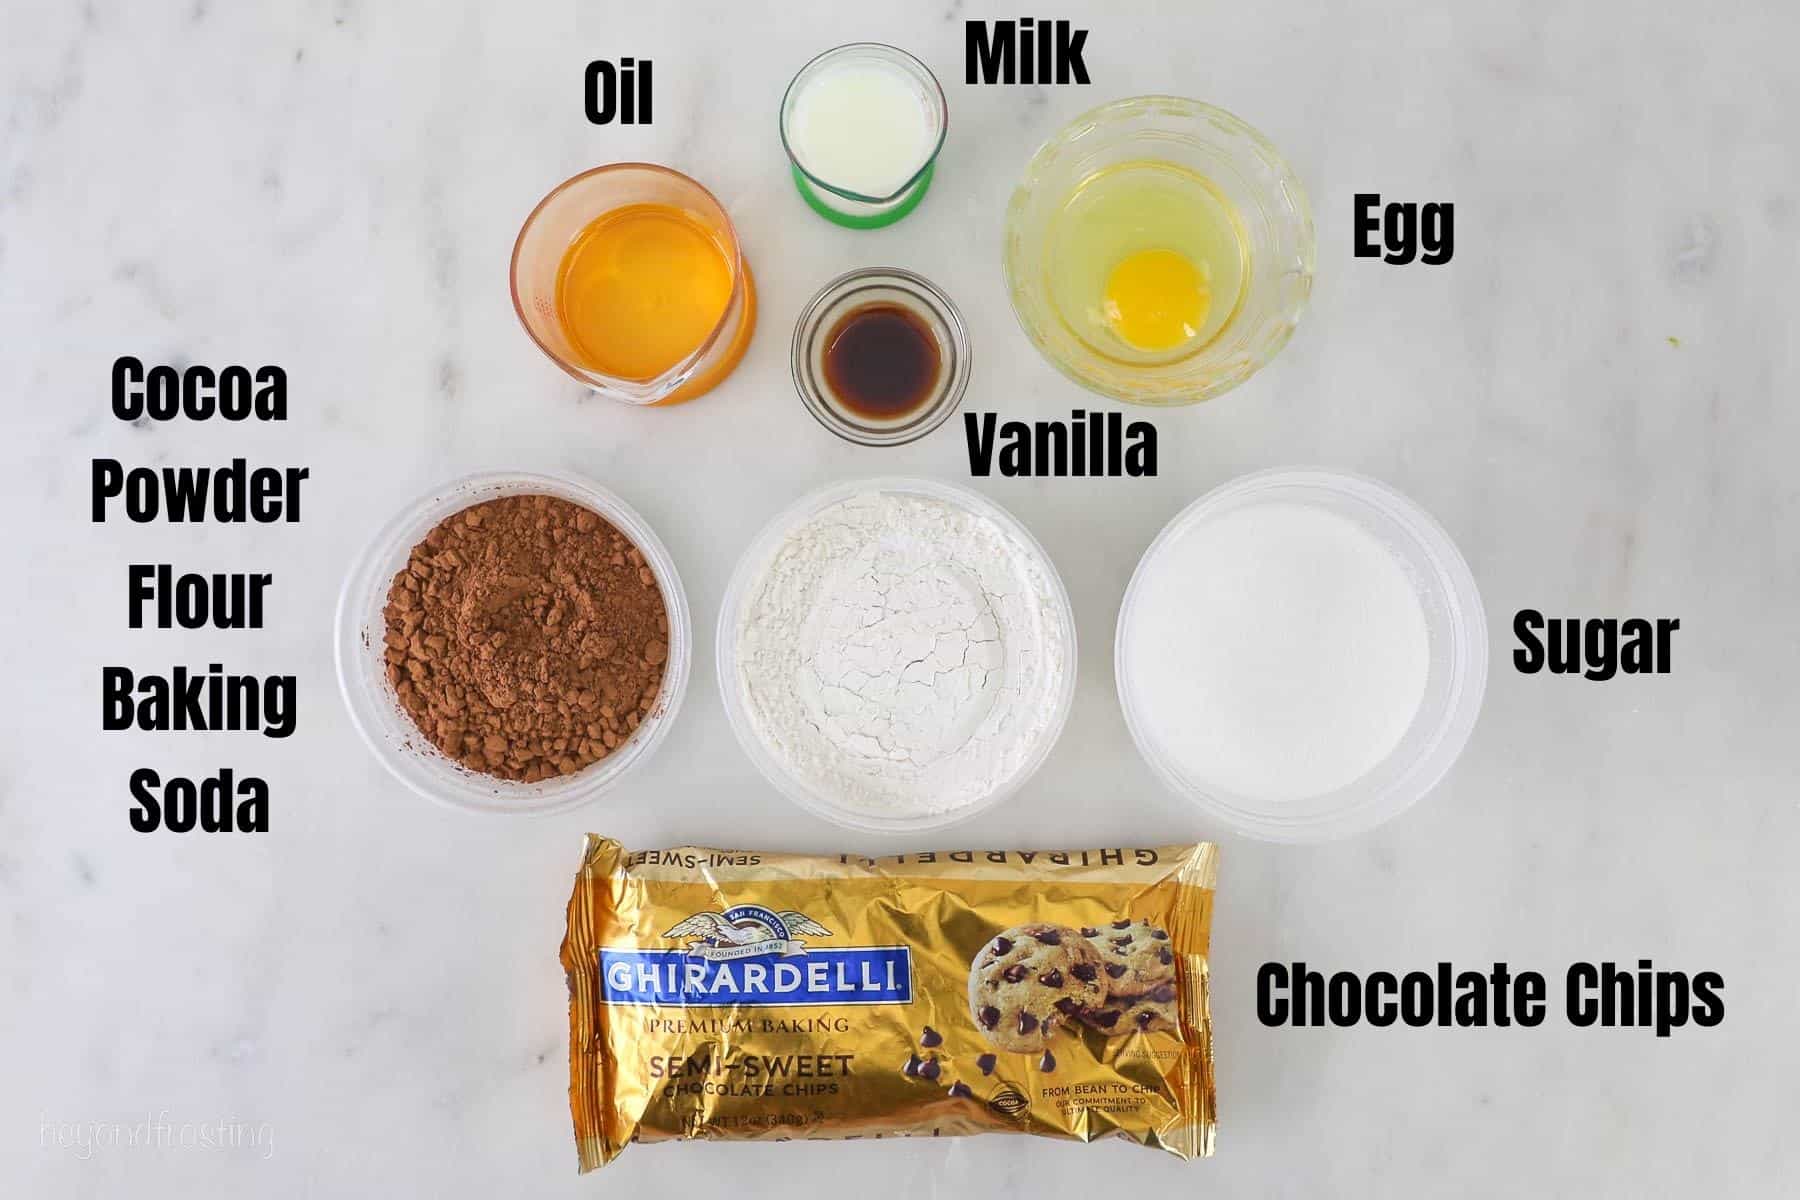
Here are the key ingredients you’ll need for these homemade brownies, why you need them, and possible substitutes. Scroll to the recipe card to see the exact measurements and full ingredient list.
- Oil – Vegetable oil helps keep the brownies moist. I don’t recommend substituting melted butter.
- Milk – Thins the batter without diluting the flavor. For even more richness, you could swap regular milk with buttermilk (or a buttermilk substitute), as you’ll find in my red velvet brownies.
- All-purpose Flour – Measure the flour correctly using a kitchen scale or the spoon and level method. Overmeasuring leads to dry, crumbly brownies.
- Cocoa Powder – It’s important to use natural, unsweetened cocoa powder for these cocoa powder brownies due to the baking soda in the recipe. See notes below.
- Baking Soda – A touch of baking soda provides just enough air pockets in these brownies to mimic my favorite Ghirardelli Double Chocolate boxed brownie mix, which also contains baking soda.
- Semi-sweet Chocolate Chips – You could also use dark chocolate chips, white chocolate, or milk chocolate. Chocolate chips are easy enough to swap with your favorite add-ins, like chopped Oreo cookies, M&Ms, peanut butter chips, pecans or walnuts, or crushed candy canes for holiday baking.
- Flaky Salt – Optional but I LOVE the salty-sweet finish from a sprinkle of flaked sea salt on my brownies.
What Cocoa Powder Is Best for Cocoa Brownies?
Natural cocoa powder is essential for these fudgy cocoa brownies. Do not use dutch-processed cocoa powder (learn more about the differences between the two here). The reason for this is the baking soda in the recipe:
- Baking soda reacts with the acidity in natural cocoa powder. This reaction neutralizes the acidity and leads to soft, risen, chocolatey brownies.
- Dutch-processed cocoa is treated to remove acidity. Therefore, the baking soda won’t activate, and you’ll end up with a flat dessert and a metallic aftertaste.
How to Make Cocoa Powder Brownies From Scratch
These may be the easiest (almost) one-bowl brownies out there. They come together in just a few quick steps, no mixer required.
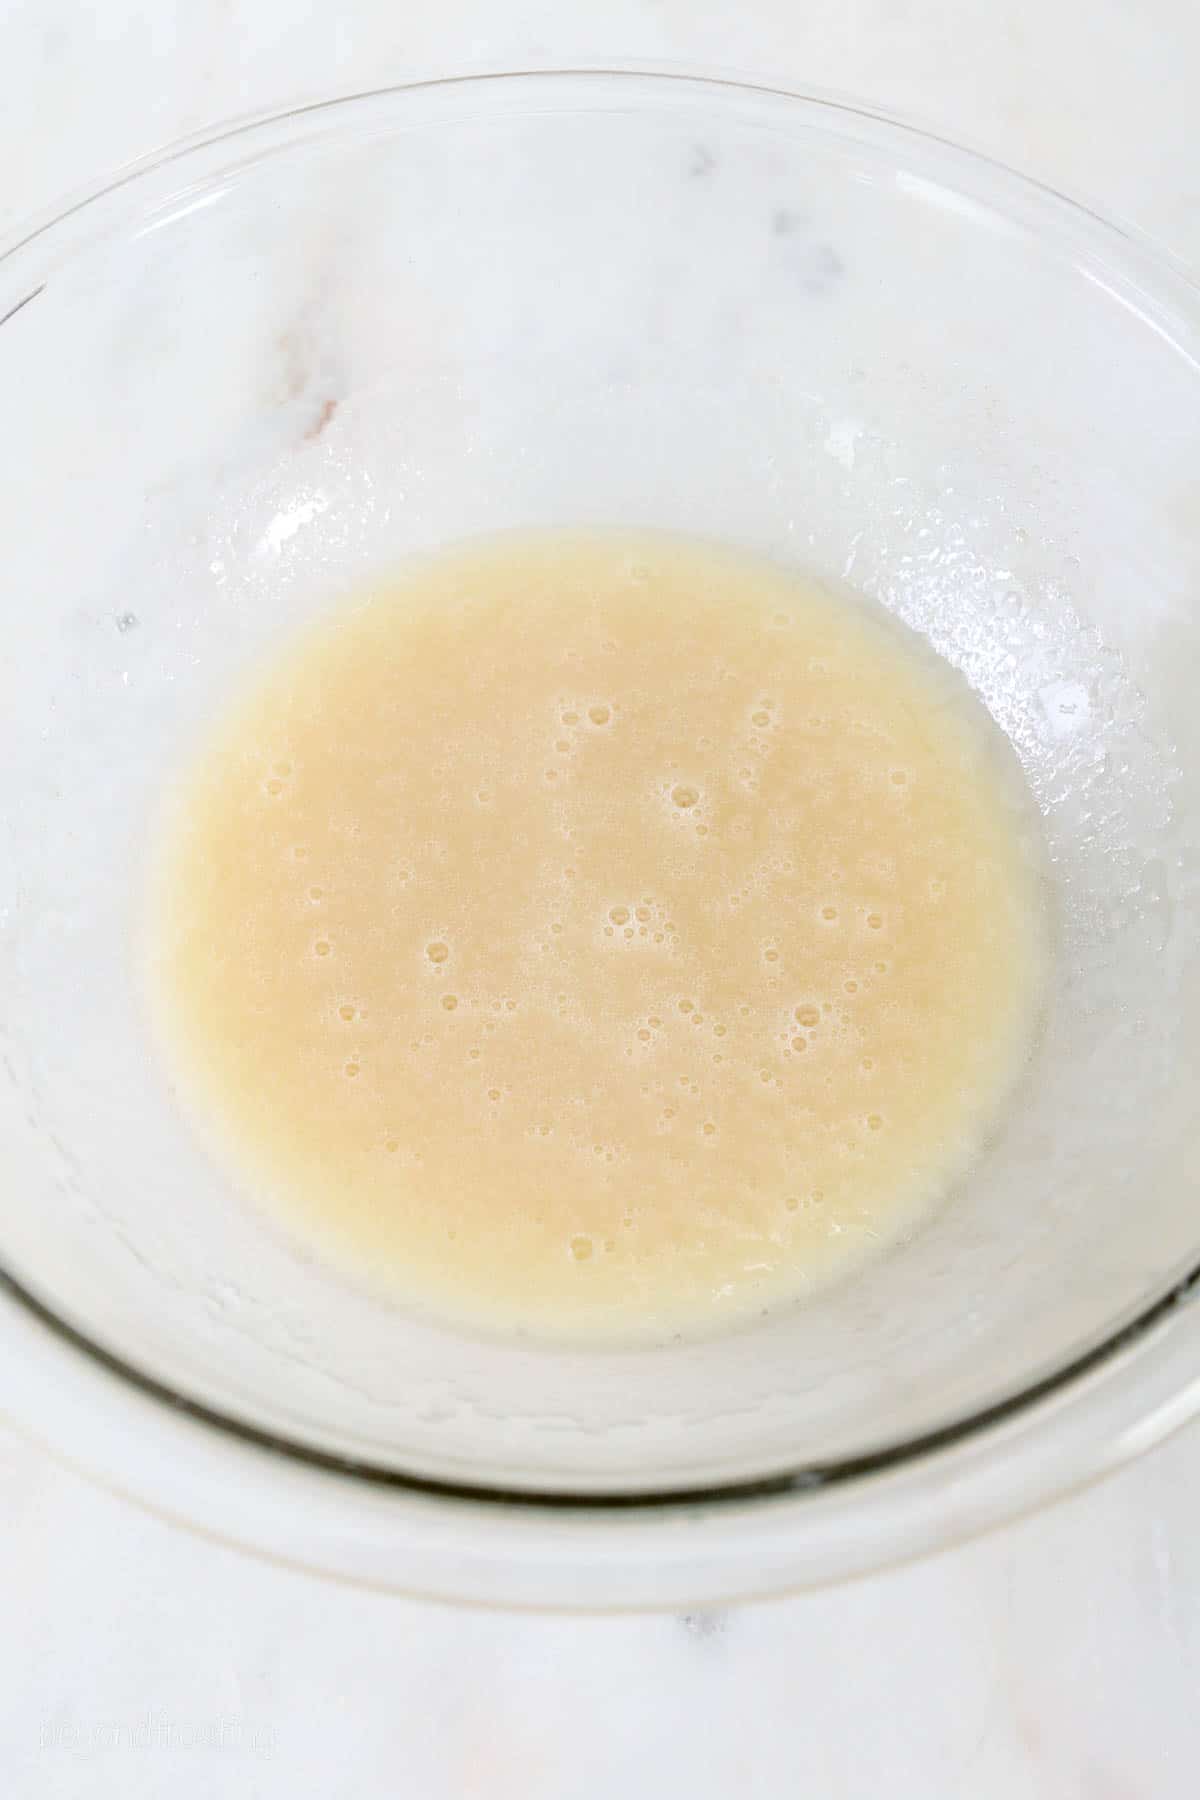
- Combine the wet ingredients. Beat the granulated sugar with the oil, milk, and vanilla extract. Add the egg. Take care not to overbeat the eggs; beat just until combined.
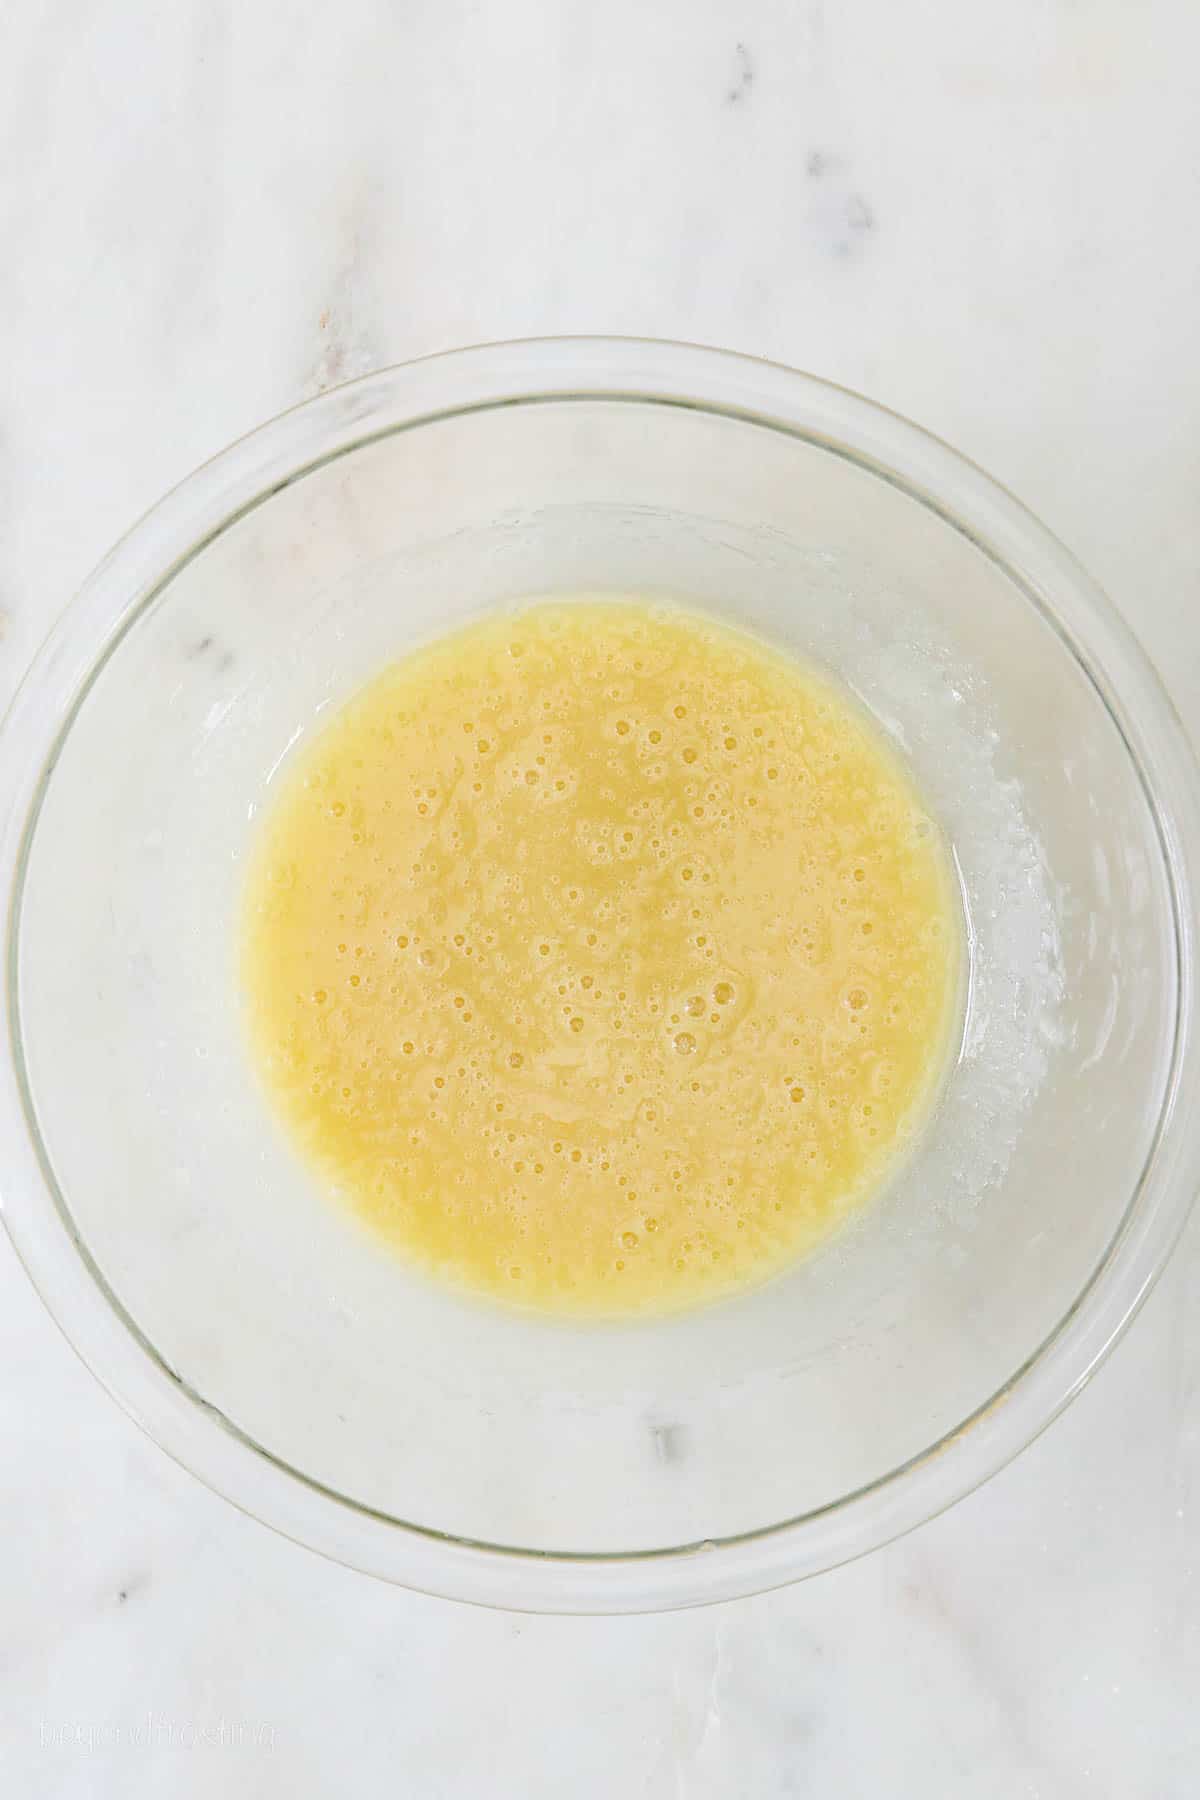
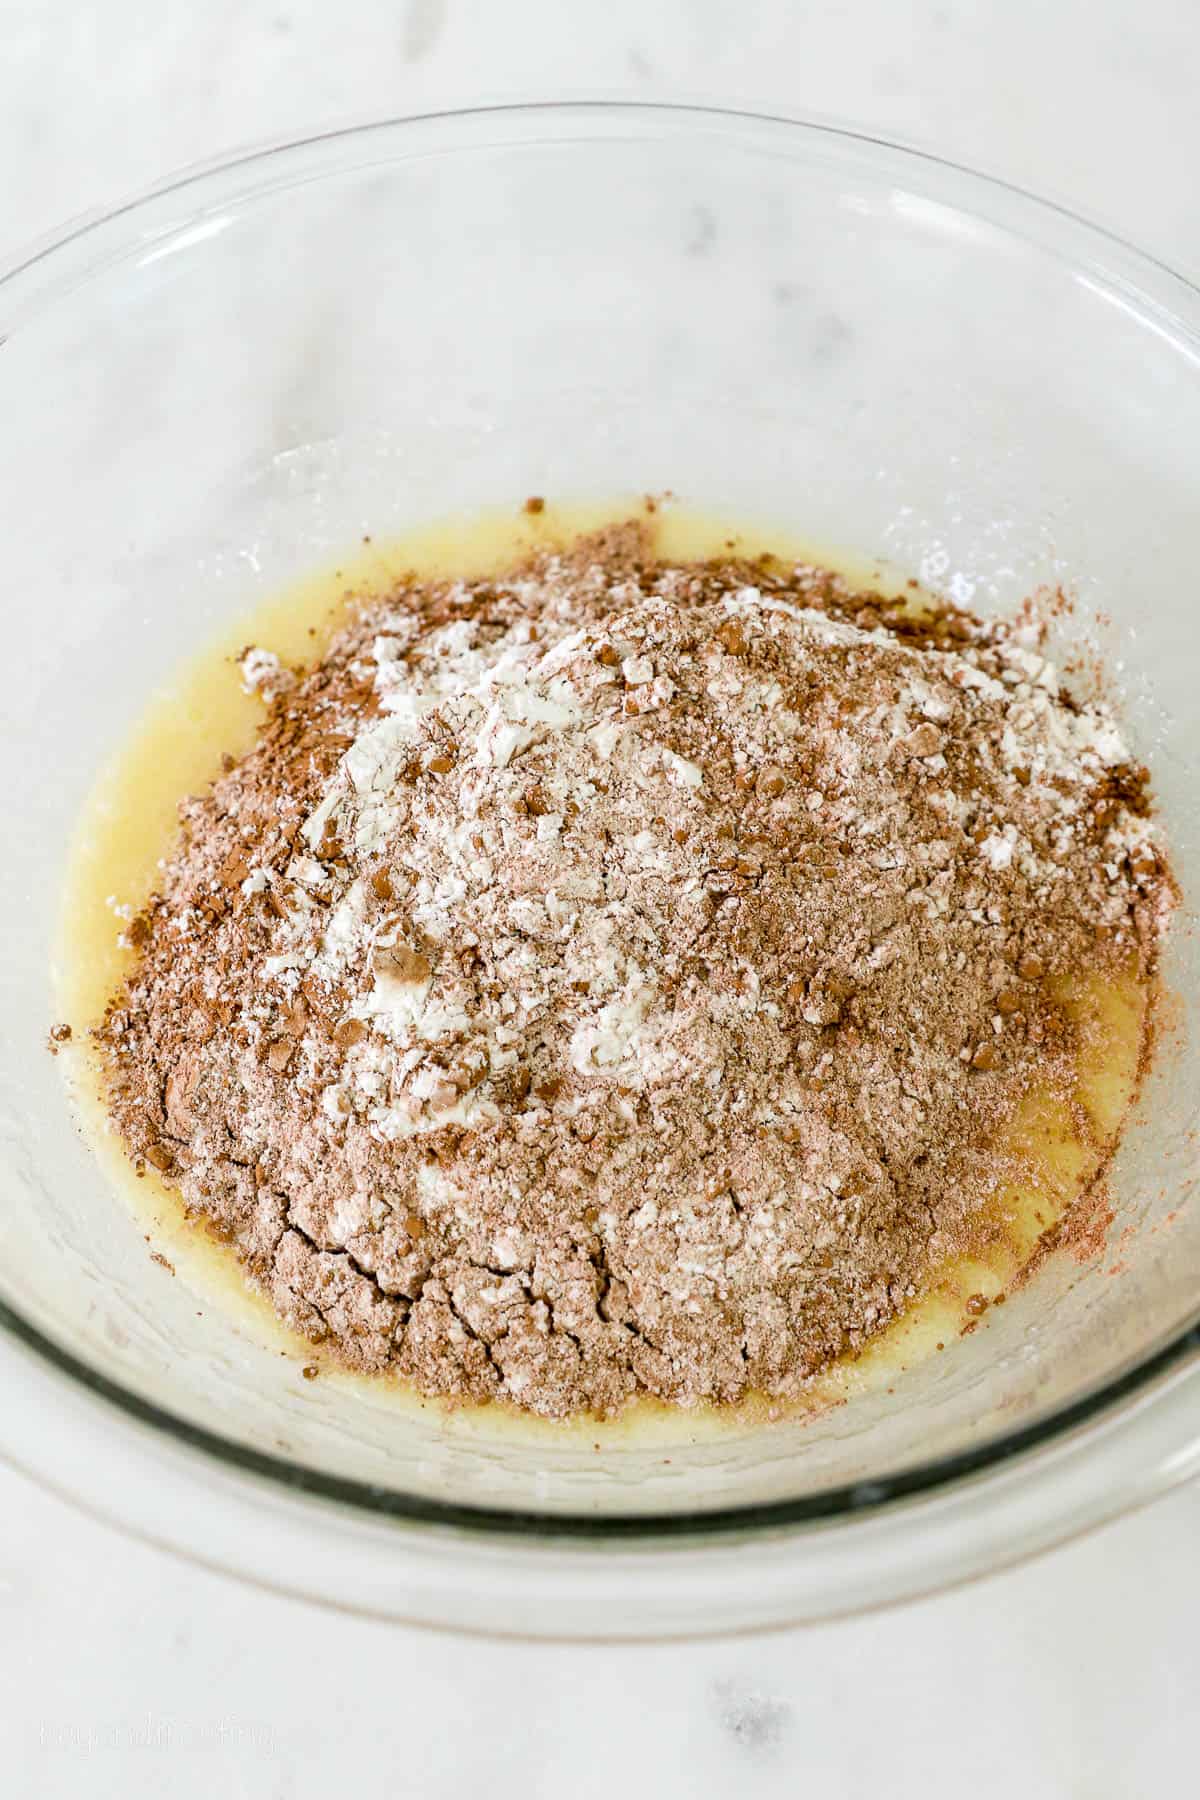
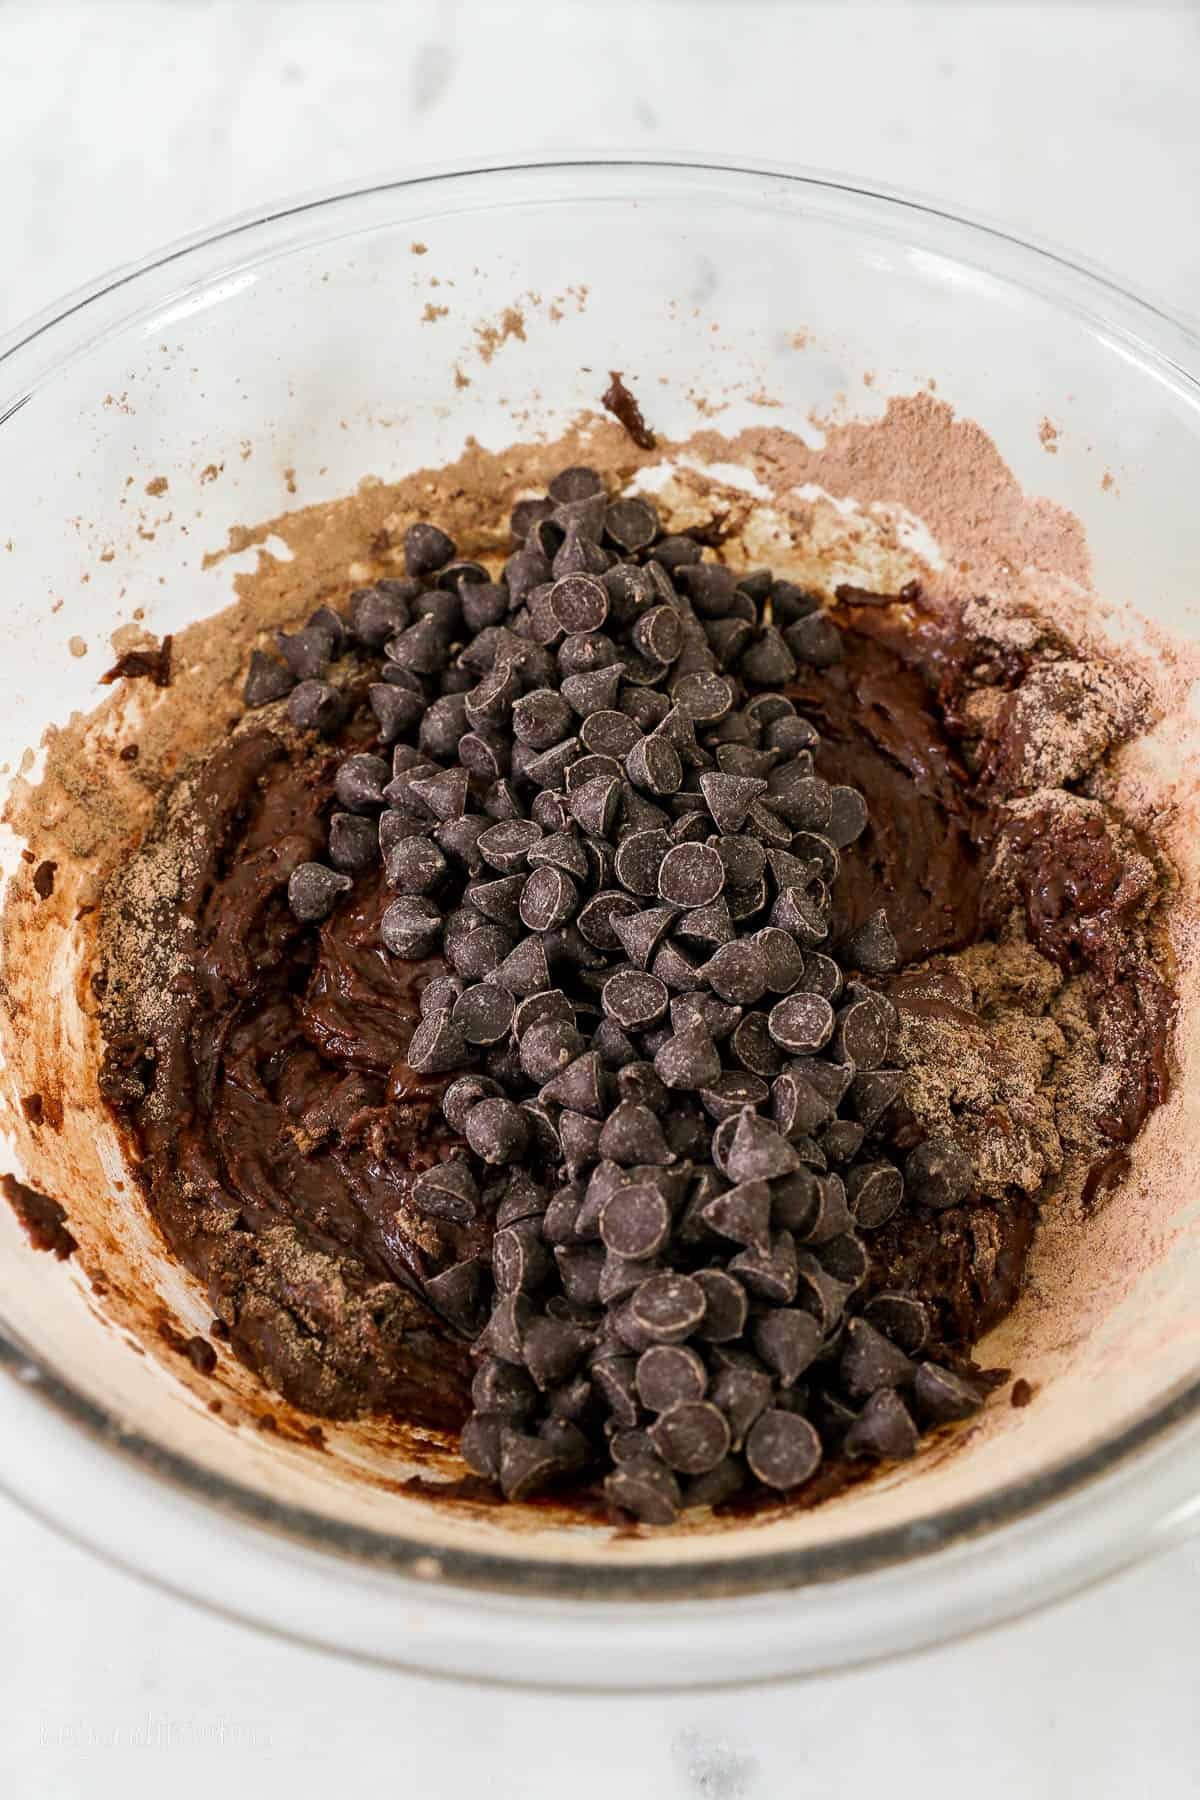
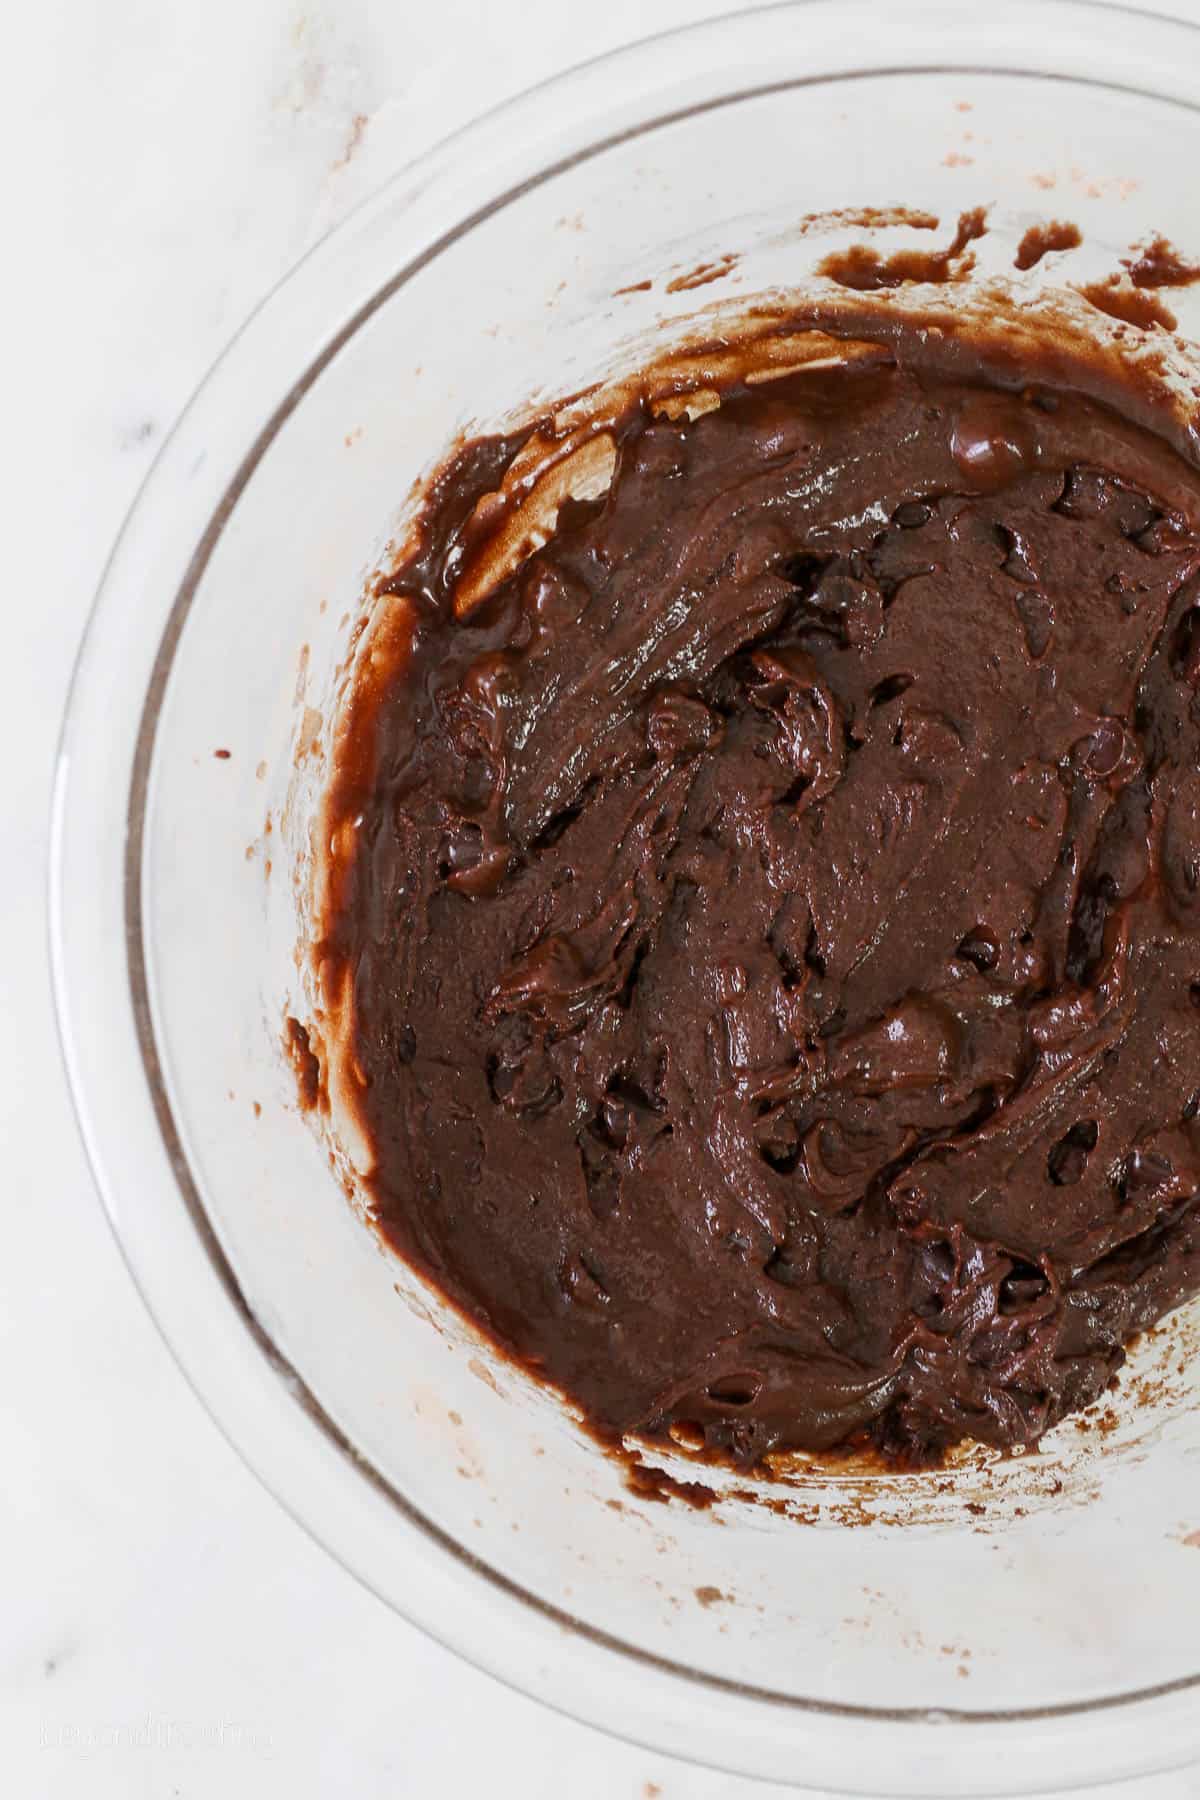
- Add the dry ingredients. Next, combine the dry ingredients in a separate bowl. Add to the batter and mix until just combined. Fold in the chocolate chips last.
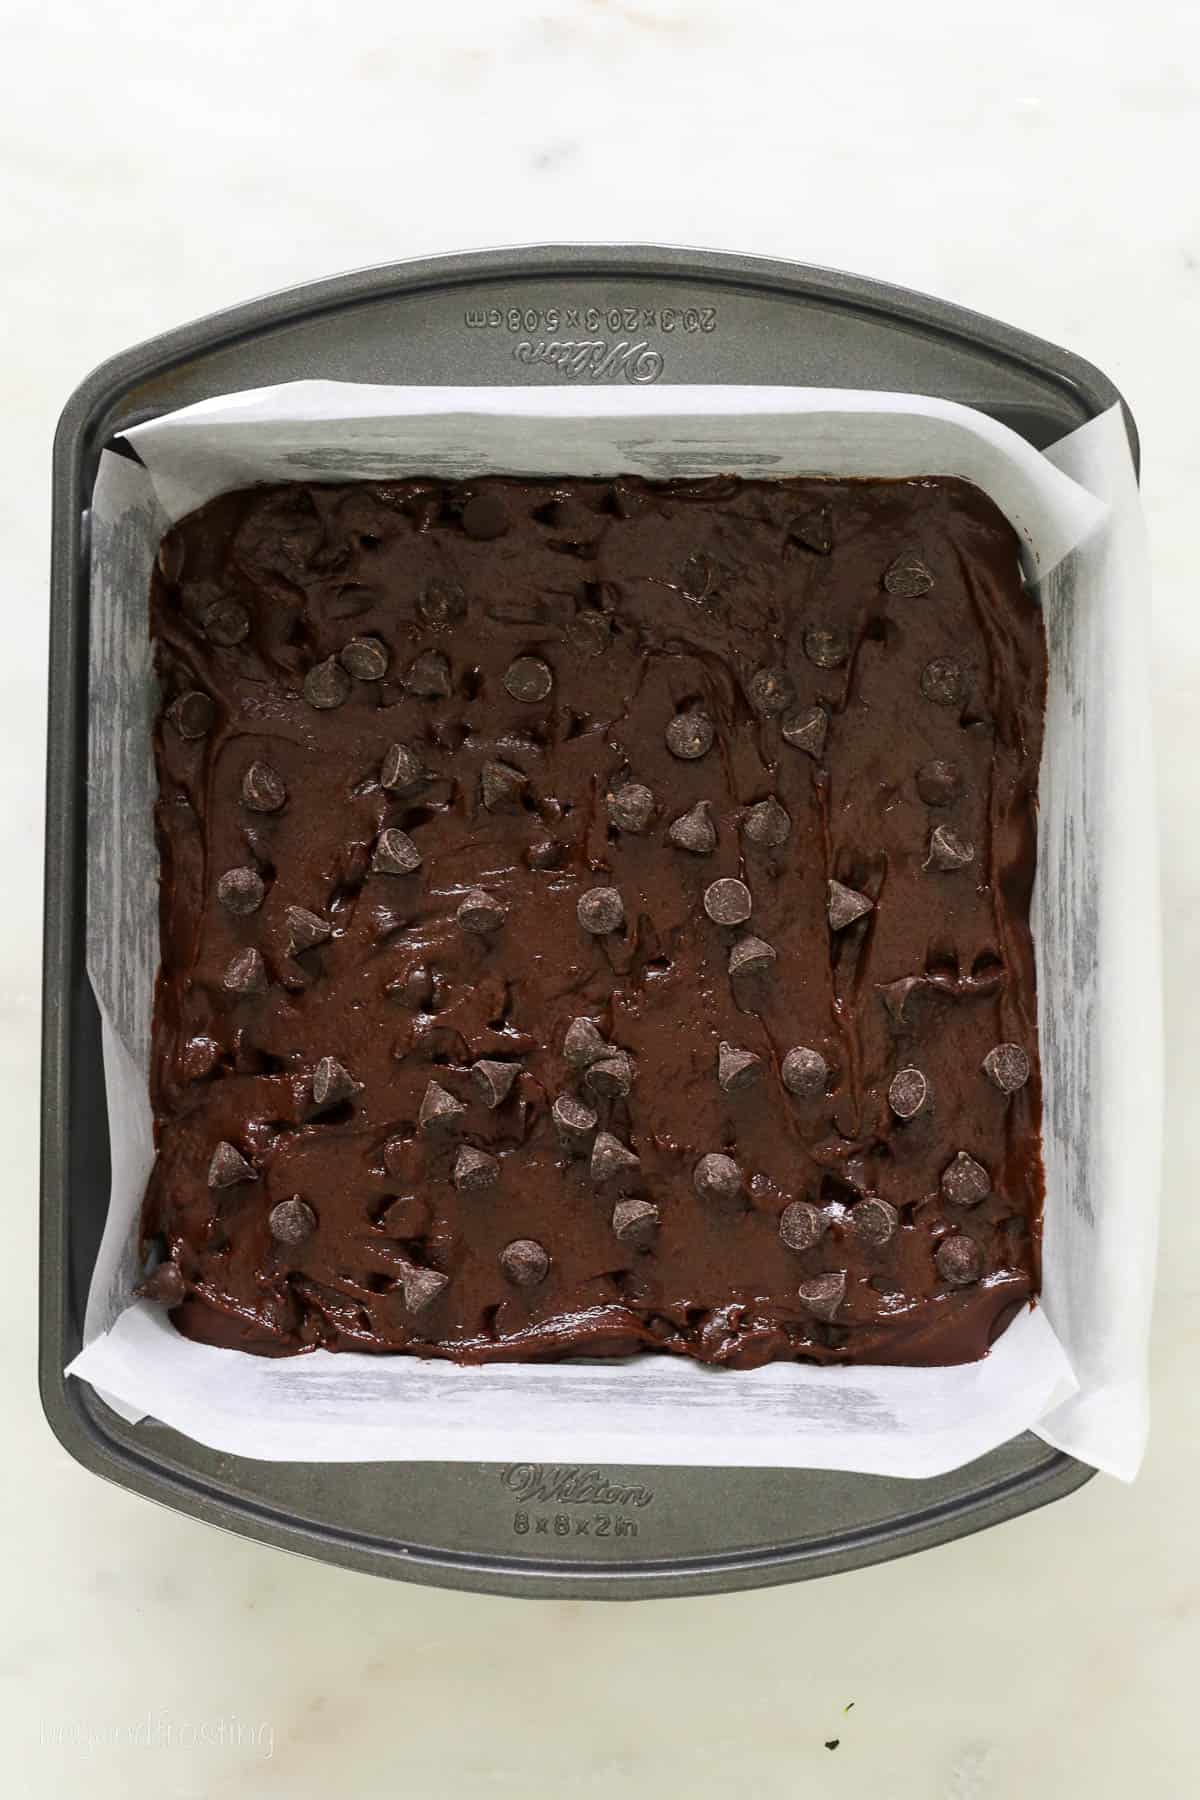
- Bake. Now, transfer the batter to the greased baking sheet lined with parchment paper. Add some extra chocolate chips on top. Bake these cocoa brownies at 350ºF for 25-30 minutes (see below to check when they’re done) then cool before cutting.
The Easiest Way to Tell When Brownies Are Done
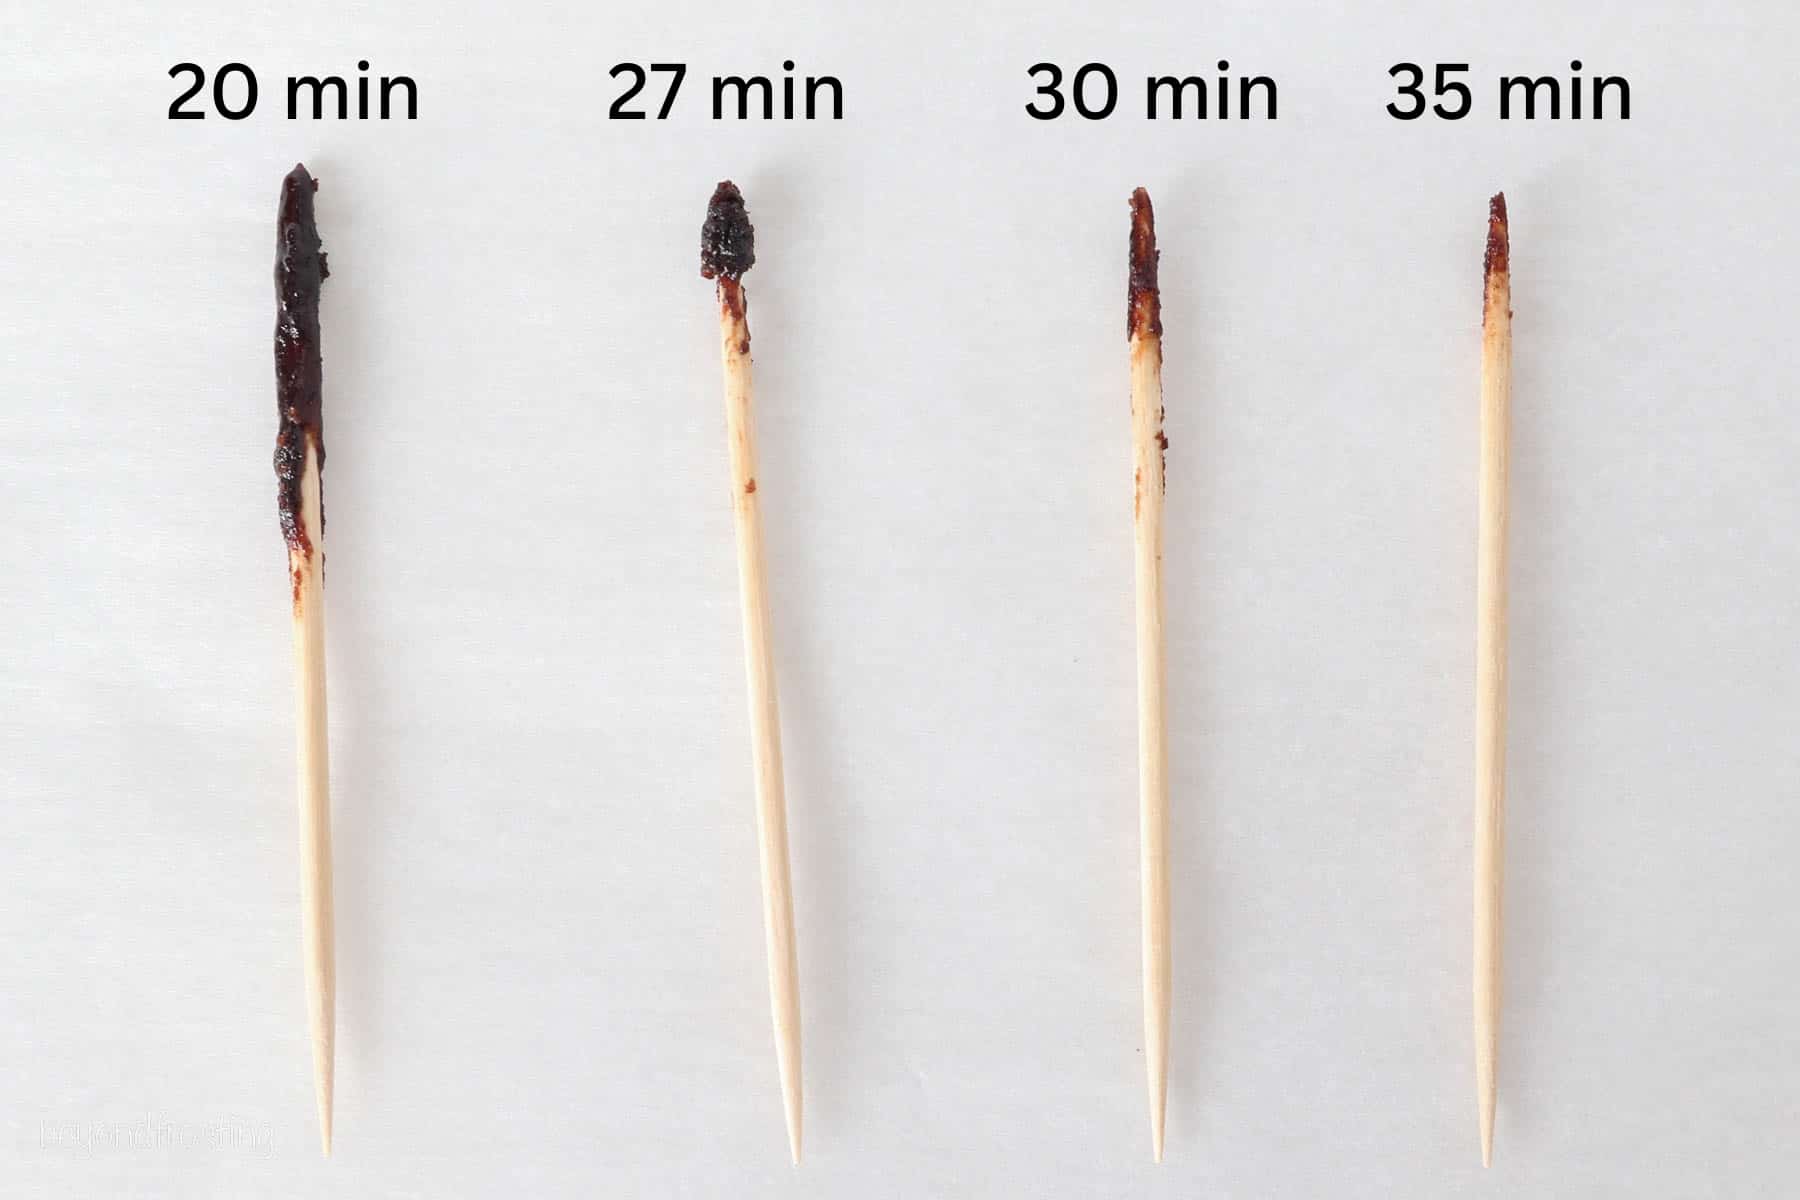
Brownies, unlike cake, should be pulled when they are slightly underdone, as they will finish off baking as they cool. You often hear, insert until the toothpick comes out clean. But that’s not the case with brownies.
- How to tell when they’re done: You are looking for a toothpick that is still slightly damp, with some crumbs sticking. It should not be gooey or wet.
- How long do cocoa powder brownies bake? For me, I pull my brownies around 25-27 minutes, I like them to be really fudgy once they cool. If you prefer a drier, less fudgy brownie, maybe you would go for 30 minutes. In my opinion, at 35 minutes, these brownies are overdone and would be much drier.
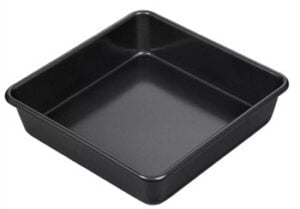
- Material matters. It’s important to note I use a metal baking dish, not glass. Glass baking dishes do not conduct heat as quickly as metal pans, and therefore it extends the baking time.
Baking In Different Pan Sizes
I recommend an 8-inch square pan for the optimal thickness. However, you can adapt this cocoa brownies recipe to another pan in a pinch.
- 9-inch square pan: The brownies will be thinner, so you’ll need to reduce the baking time by a few minutes.
- 9×13-inch: Double the recipe and also reduce the baking time slightly. See my tips above for testing your brownies for doneness.
Tips for the Best Cocoa Powder Brownies
After making countless brownies over the years, I’ve picked up the follwing tips for making the best cocoa powder brownies, which may be different from what you would do for regular brownies.
- Don’t overbeat the batter once the egg has been added. Typically a well-beaten egg will help to create the meringue or flakey layer you traditionally find on the top of brownies. However, since this has baking soda, overbeating the eggs will cause the brownies to puff up too much in the centers and then sink as they cool. You’ll still get a thin crisp layer on top that cracks when you cut it.
- How to easily cut brownies. For clean-cut brownies, wash and dry the knife after each cut.
- Can I use butter instead of oil? While butter is an acceptable substitute for oil in brownies, I found that with the melted butter, these brownies came our drier than the oil version.
- Don’t overbake. A toothpick inserted in the middle should still come out damp, though not gooey or wet.
- Add sea salt. I love a touch of flaky sea salt on top to finish these off. It helps cut the sweetness and salty sweet is my favorite combo.
Serving Cocoa Brownies
I don’t believe there’s a wrong way to enjoy a brownie… but I will say, that since these aren’t quite as dense and rich as fudgy brownies, they are perfect for making an ice cream sundae! Add a scoop of vanilla ice cream, drizzle with chocolate syrup or salted caramel sauce, and top with a maraschino cherry. Or just enjoy this easy chocolate dessert with a glass of milk (bonus points if your brownie is warm!)
How to Store & Freeze
- Store them airtight. These homemade brownies will last for up to 3 days when stored on the counter in an airtight container. If you want them for a few extra days, store them in the fridge where they’ll last for up to 5 days.
- To freeze the brownies, I recommend wrapping each one individually in plastic wrap. You can thaw in the fridge, on the counter, or pop them in the microwave for 15-30 seconds for warm brownies.
More Brownie Recipes To Love
Cocoa Powder Brownies
- Prep Time: 15 minutes
- Cook Time: 25 minutes
- Total Time: 40 minutes
- Yield: 12 brownies
- Category: Dessert
- Method: Baking
- Cuisine: American
Description
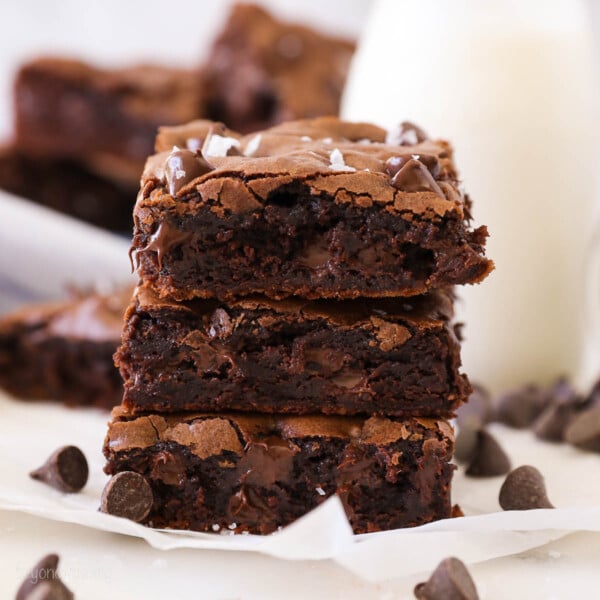
This cocoa powder brownies recipe makes fudgy homemade brownies with shiny, crackly tops that taste even better than a boxed brownie mix! Quick and easy to make with pantry staples, and ready in 35 minutes.
Ingredients
- 1 ¼ cups (238g) granulated sugar
- 1/3 cup (78ml) vegetable oil
- ¼ cup (59ml) milk
- 2 teaspoons (10ml) pure vanilla extract
- 1 large egg
- 1 cup (140g) all-purpose flour
- ½ cup (40g) natural unsweetened cocoa powder
- ¼ teaspoon baking soda
- ½ teaspoon salt
- ¾ cup (168g) semi-sweet chocolate chips, plus additional for garnish
- Flaky sea salt garnish (optional)
Instructions
- Preheat the oven to 350°F. Generously grease an 8-inch baking pan and line with parchment paper.
- In a medium-sized mixing bowl, combine the granulated sugar with the oil, milk, and vanilla extract and beat together until well combined.
- Next, add the egg and beat just until combined, about 30 seconds or so.
- Combine the dry ingredients in a separate bowl and stir to combine. Add the dry ingredients to the batter and mix just until combined. Fold in the chocolate chips with a spatula.
- Spread the batter evenly in the prepared pan and sprinkle another handful of chocolate chips over top. Bake at 350°F for 25-30 minutes. A toothpick inserted into the center will be damp but not gooey or wet. Remove from the oven and allow to cool before cutting.
Notes
- Baking times: several people have reported longer baking time. Refer back to the blog post section with the toothpick test to determine about how long the brownies should cook for. Use a metal baking pan and ensure the oven is properly preheated. To bake in a 9-inch pan, reduce the baking time by a few minutes.
- Storing: Brownies are best for 3 days when stored on the counter in an airtight container, or up to 5 days in the refrigerator.
- Freezing: I recommend wrapping each one individually in plastic wrap. You can thaw in the fridge, on the counter, or pop frozen brownies in the microwave for 15-30 seconds to warm.
Nutrition
- Serving Size: 1
- Calories: 259
- Sugar: 29.2 g
- Sodium: 35.5 mg
- Fat: 11 g
- Carbohydrates: 40.2 g
- Fiber: 2.6 g
- Protein: 3.5 g
- Cholesterol: 15.6 mg
Can I use cocoa powder instead of chocolate chips? If so how much would I use?
There is already cocoa powder in this recipe. If you don’t want to add chocolate chips, I would just not add them.
Nice and chocolaty. I made these today, and they were easy to assemble. I added nuts, pecans.
I made them in an 8 inch metal pan. Done at 29 minutes. I like the sweet and salty flavors. Really enjoy your recipes.
Why does the 1st page of your recipes not print; yet, the rest do?
Hi Kay, love to hear that! I am so glad you enjoyed them! I am not sure about the printing, I don’t have that issue, you might check your settings
I love this recipe! I always get so many compliments about how delicious the brownies are. I always double the recipe and I always use a 9 x 13 pan.
Amazing! Thank you Rachele!
These were delicious – my family loved them
Thank you Pam!
These were delicious! My husband said all other brownies are ruined for him. Great texture, and I loved the chocolate chips and sea salt on top!
That’s amazing!! Thank you so much Megan!
Haven’t made yet but can the vegetable oil be substituted with EVOO?
In general yes, but flavor and texture may vary due the difference in the properties of each oil
I’m deployed with the Army and do t have access to boxed brownie mix, so I had to make from scratch. Had to swap a packet of hot cocoa mix for cocoa powder because we ran a bit short, and I chopped a milk chocolate candy bar in lieu of chocolate chips. Topped with a drizzle of honey and crunchy salt, and they were wonderful. Thank you.
Thank you for your service Kat. I am so glad you found this recipe and smart thinking to swap out the hot cocoa mix.
Absolutely, hands down, the best brownies! I added 1/2 cup of pecans and 3/4 cup of both dark chocolate chips and dark chocolate chunks from Aldi. Thank you for sharing. This will be my go to brownie recipe for sure!
I mean I love those upgrades! Thank you for sharing!
Tried this recipe, but did one thing slightly wrong and they turned out questionable. We tried it again making sure that everything was right, and they still buy the results didn’t change much. The ingredients separated and didn’t look anything like the picture. I’m not sure if it was the oven or something else we did wrong, we are just confused.
Hi there, I sent you an email to get further information but never heard back. What is the one thing you did slightly wrong? Is there any ingredients you used that was different than mine? Like melted butter instead of oil or gluten-free flour etc?
Love it very tasty 😋, the best brownies
Thank you so much Justine!
This recipe was incredible! As a home baker whose just realised she hasn’t made brownies EVER I was searching for a perfect beginner friendly recipe that actually tasted good, at these didn’t disappoint! The middle is perfectly chewy, the chocolate chips add a lovely texture and the edges are crispy, it was enjoyed by all my friends and I would defo recommend!
Amazing Annie! Thank you so much!
I really wanted to love these. There were so many reviews saying how good they were.
Unfortunately, I got to where I had to mix in the dry ingredients with the wet ingredients and found myself left with some very dry mixture. That is when I realize that the flower measurement listed in the ingredients is wrong and says that it’s 140 g for one cup of flour. Well, one cup of flour actually only weighs 120 g so I added 80 g more flour than I needed. it turned out being extremely dry. I was very disappointed since I doubled the recipe and wasted all those ingredients.
Currently standing in my kitchen eating one of these brownies when I see your comment come in. 😅😅😅
So fun fact, there is not a standard flour, some flour companies go off 120 g but you’ll find that one cup of flour varies up to 140-145grams.
Early on in my recipe development I based most of my recipes on 140 g. A couple years ago I switched and started using 120g, and I did notice that my recipes did not translate the same. Most home bakers that measure flour from the container without a scale are not getting 120 g they’re actually getting more flour.
So that is why I always provide the gram measurements that I use in my recipes.
And this one is in fact based on 140 g a cup.
The one I baked today was a double batch (280g) Not dry whatsoever.
I use a mixer and then at the very end when I add my chocolate chips, I switched to a spatula and there’s usually oil at the bottom of the pan that didn’t get incorporated, the batter would be very thick but you shouldn’t have any loose dry Ingredients.
The very BEST brownies I have made.very easy to make and delicious. Thank you @beyondfrosting
I-have made many of the recipes and have never been disappointed.
You are too kind, thank you Denise!
We have tried a few versions of homemade brownies, and these are by far the best. They have a very good flavor and taste a lot like fudge brownies from a box.
Thank you so much Matt! I appreciate that so much!
Just made them, they are cooling. I got the dreaded sinking in the middle. I did my hand so has not to overbeat. They still look good and hoping they will still taste good. Brownies are my nemisis.
Hi Jo-Ann, sounds like you did everything right. You will see some sinking with these brownies, especially if the centers are unbaked. The small amount of leavening in this recipe gives it a lift, but as it sets, it will have some sinking, but it will leave you with the most incredible texture!
I followed the recipe to a T, and we LOVED them. Better than any boxed mix and just the perfect amount of richness, chewiness, and crunchy top layer.
I love this so much!! Thank you Katie!
I “made” a pan of brown construction paper E’s to april fools prank my kids that I made them “brown E’s”. I also made these brownies so they are not disappointed. And we were NOT disappointed. These are great, came together easy and were a nice surprise after the prank “Brown E’s”. Now I have to watch my back. 😂
Oh that is so fun!! I have to remember this one for next year!
This is what I’m doing tomorrow and will have these brownies as a backup!! Great minds…
I made them today and was an instant hit with my kids.i had been searching for perfect fudge brownies recipe for a long time and this recipe lives up. I would definitely be baking more.
So happy to hear that, thank you!
I am yet another baker who is new to baking brownies from scratch. These are superb and the best brownies by far! Thank you so much for sharing your recipes and knowledge, Julianne. I have been searching your website for cookie ideas to bake for my grandson’s wedding. If you have any suggestions for cookies that are great for the Pittsburgh cookie table tradition, I thank you in advance.
I love this so much Cathy! Thank you for sharing your feedback!
I doubled the recipe and used a metal baking pan. I baked them for 30 minutes, and the edges and top were done, but the center looked slightly sunken in. When I did the toothpick test, it looked like the 20-minute one in your photo. I had hoped that if I let the brownies cool all the way in the pan the center would eventually cook, but that was not the case. I’d attach a picture of my finished product, but unfortunately, the option is unavailable.
I was able to salvage the outer edges and they taste pretty incredible!
Hi Rhonda, if it looked like the toothpick at 20 minutes, it would have needed longer to bake. Baking pans and oven will always vary but if it’s too underdone when it’s pulled out, it won’t fully finish cooking.