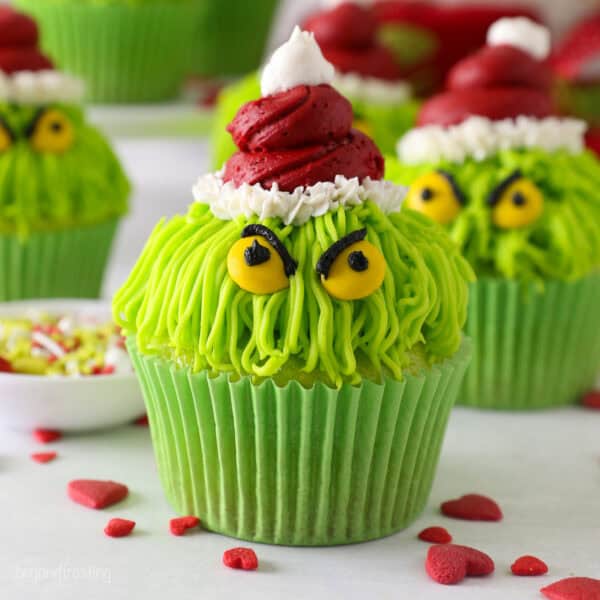
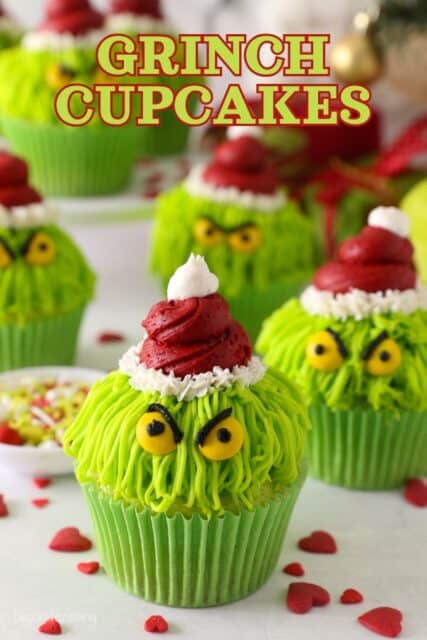
These festive Grinch cupcakes are so adorable that hearts are bound to grow three sizes this Christmas! Using simple decorating techniques, I’ll show you how to turn classic cupcakes and buttercream into delicious green holiday Grinches.
If you love these Grinch cupcakes, try my Grinch cookies, too! I also have more easy Christmas cupcake ideas that you can check out this festive season.
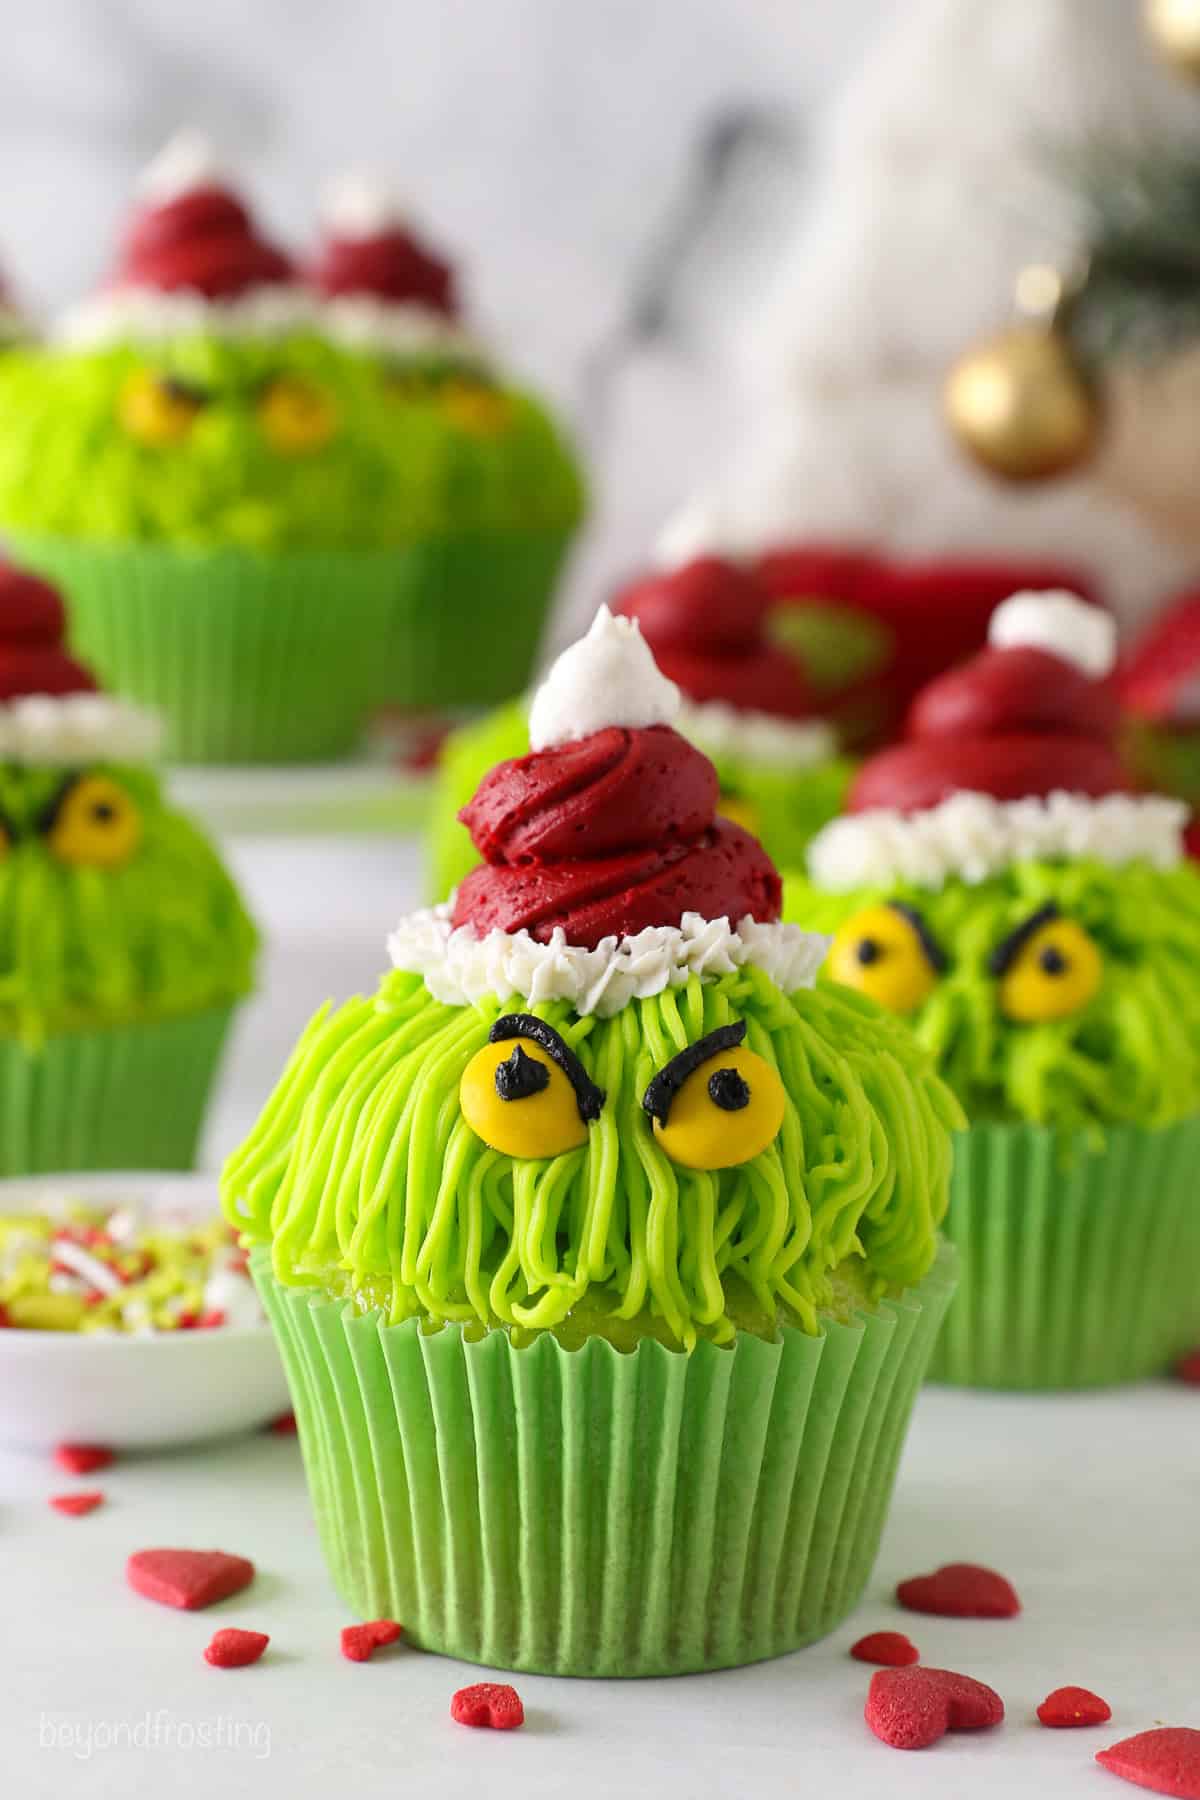
Merry Grinchmas– Easy Grinch Cupcakes Tutorial
Recently, I set out to make Grinch cupcakes inspired by the famous Dr. Seuss character. After a few rounds of testing, I think these turned out so cute! They were so fun to bake and frost, and it takes just a few simple piping and decorating techniques. They’re soft, peppermint-flavored cupcakes colored green and frosted with bright green peppermint frosting. Serve this with a hot chocolate bomb into a glass of warm milk and put the movie on in the background while you frost them!
Why You’ll Love Them
- Merry Grinchmas. If you have a Christmas party or holiday potluck coming up, these bright green Grinch cupcakes are the perfect dessert.
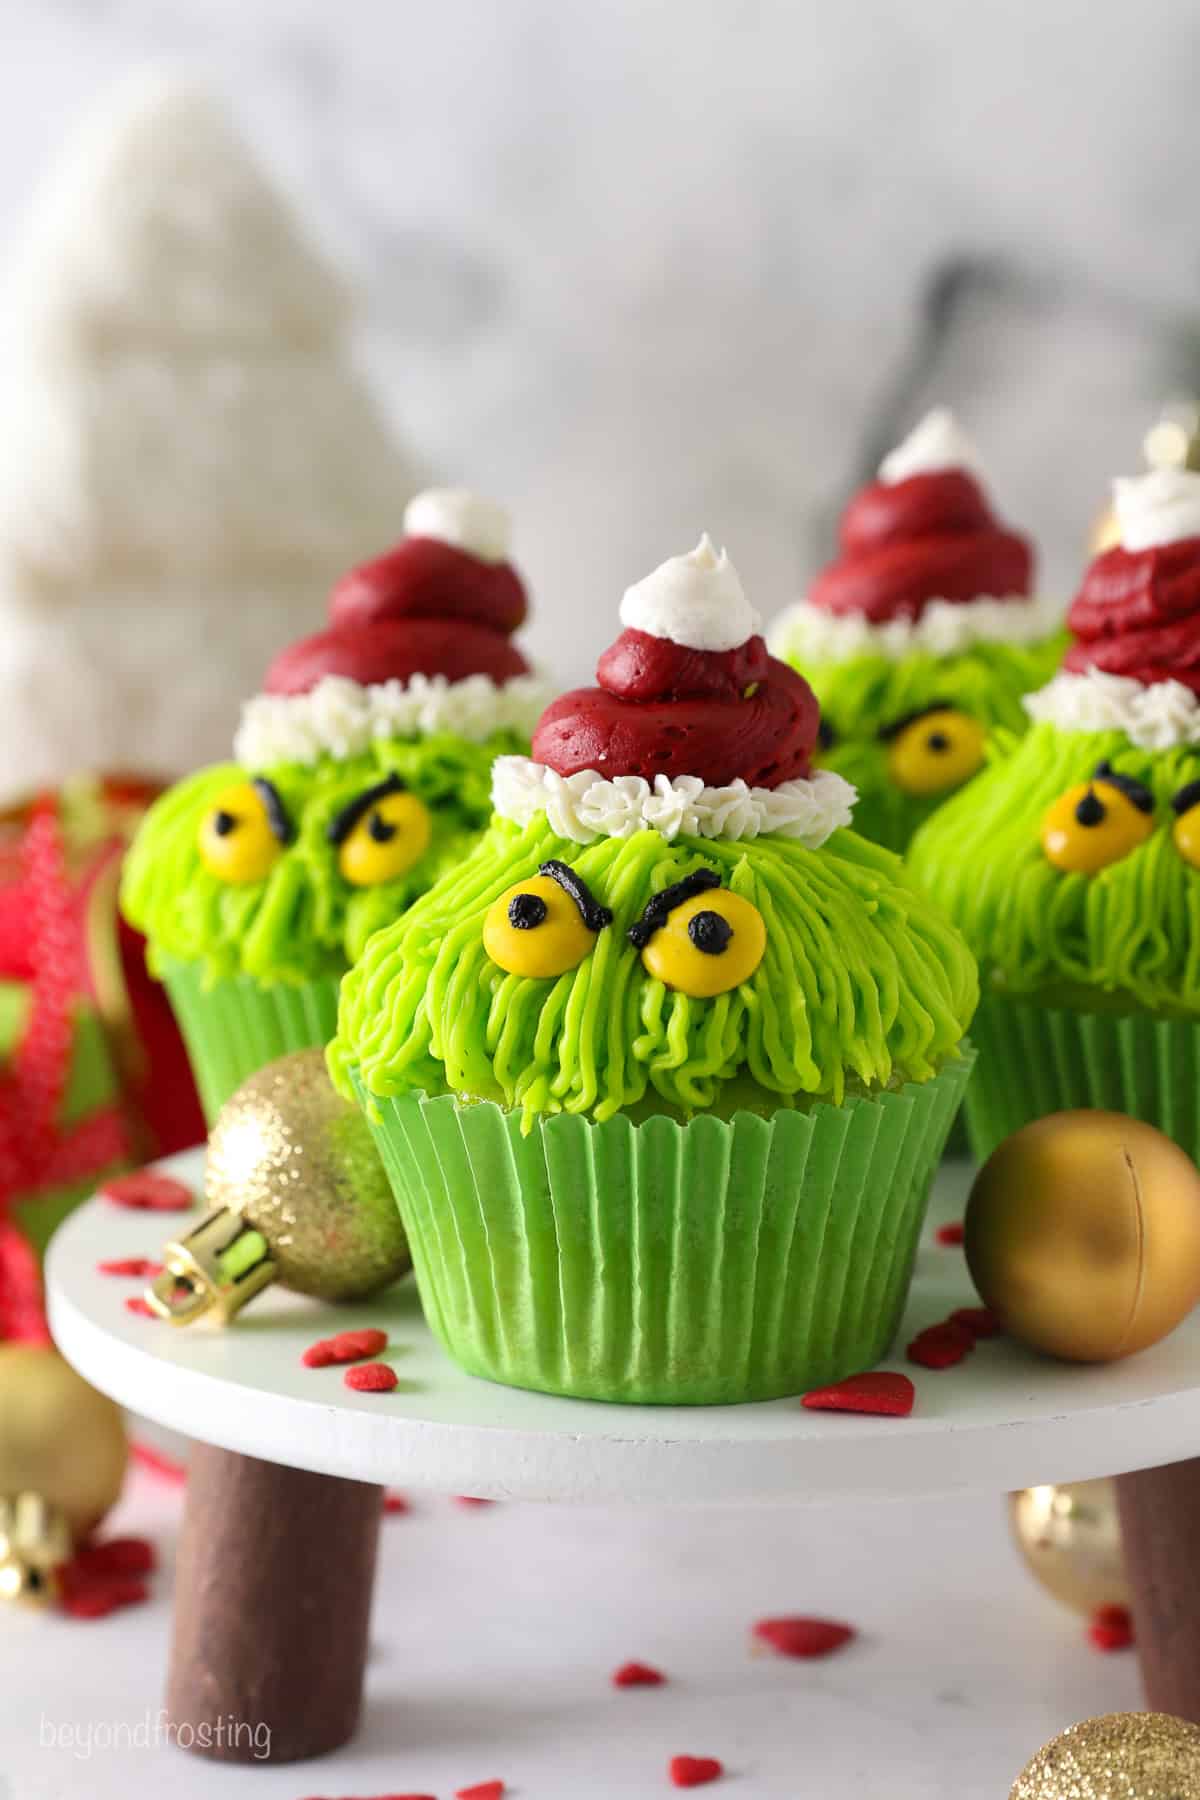
- Two ways to decorate. I made a version with frosting “hair” and a version topped with a simple frosting swirl. Both turned out super cute and festive and can be made by even a novice decorator.
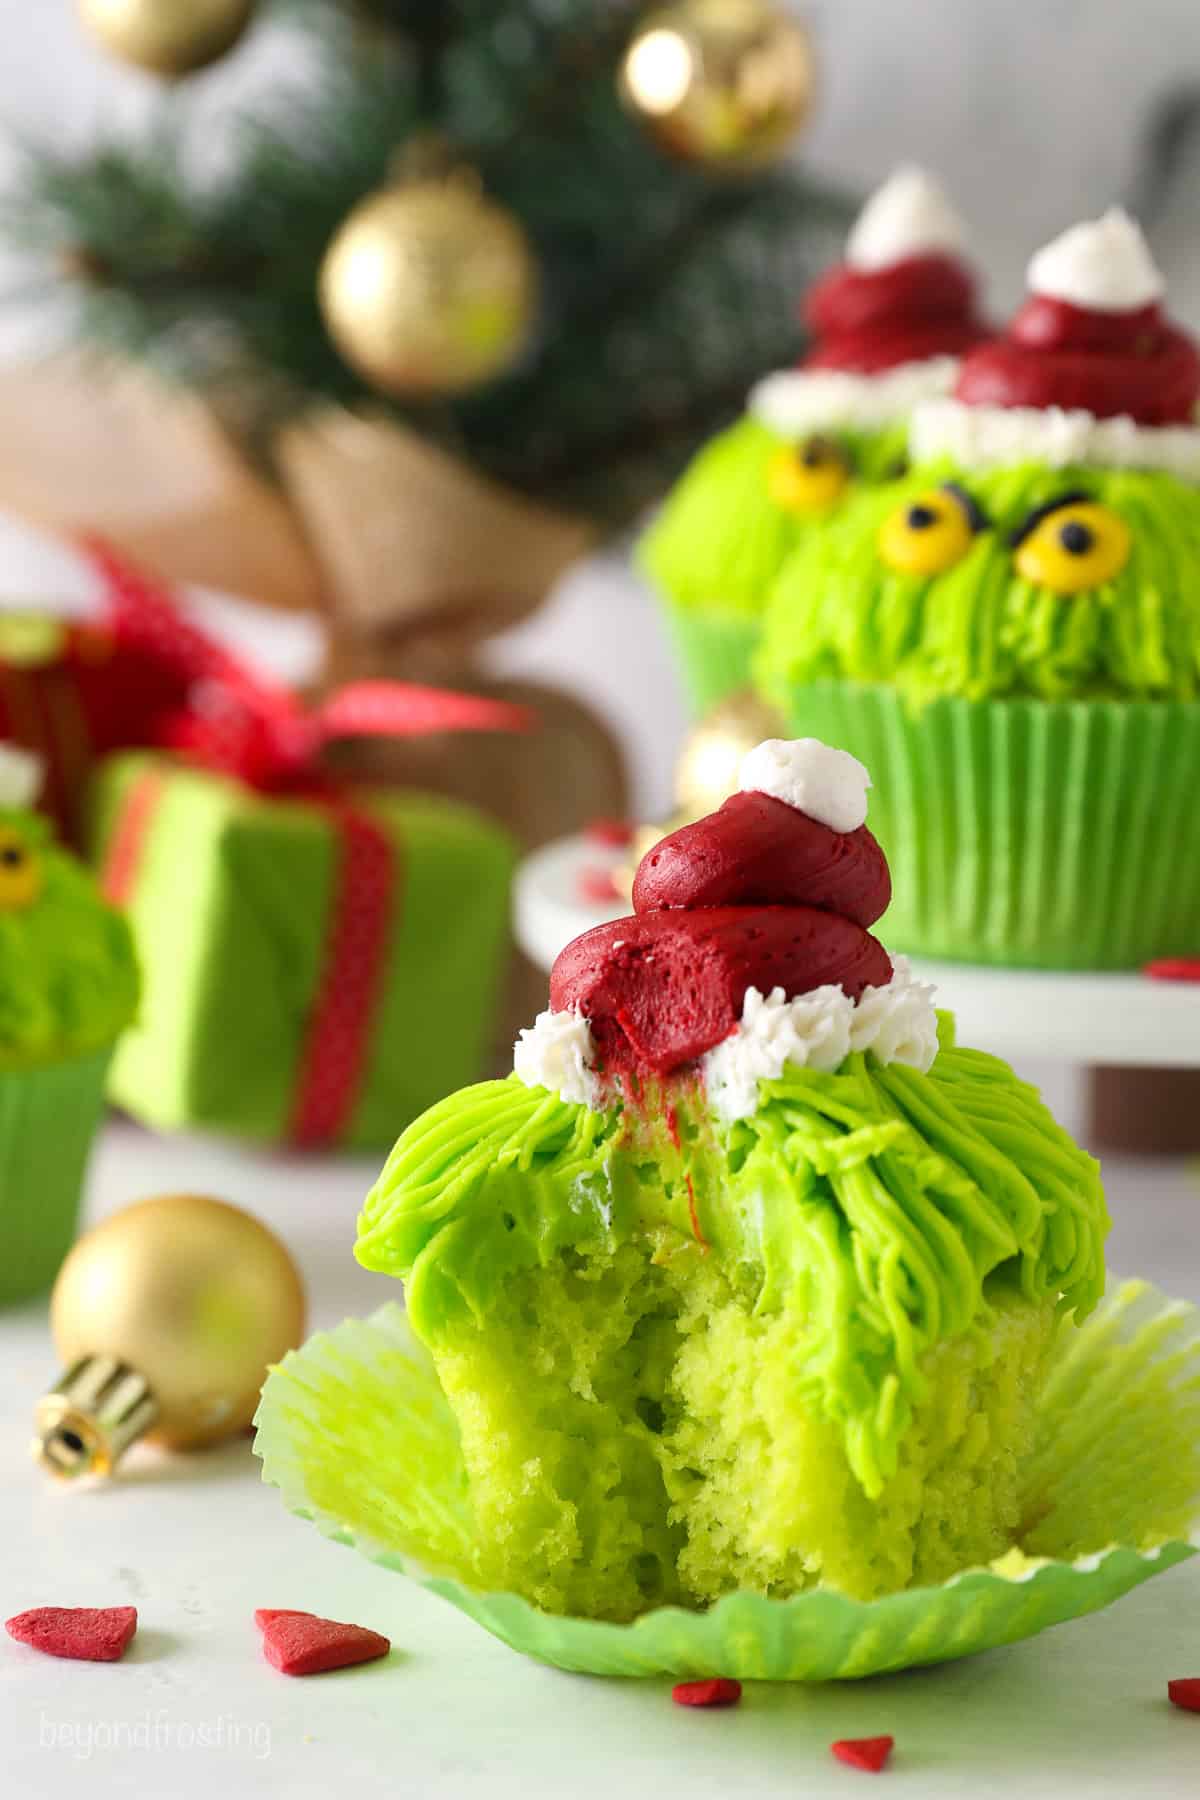
- Easy to make. The cupcakes and frosting are straightforward recipes (and are super popular with readers). Of course, you can use any cupcake flavor you’d like. I use vanilla so that I can color them green, but yellow cupcakes or even chocolate cupcakes would also work here (in this case, you can skip the green coloring).
Ingredient Notes
For this tutorial, I use my favorite vanilla cupcakes and color the batter Grinchy green. Below are some quick notes on the important ingredients you’ll need. Scroll down to the recipe card for a printable list with the full recipe amounts and details.
- Oil – Most of my cakes and cupcakes recipes use vegetable oil instead of butter. This is because oil stays liquid at room temperature, for an ultra-tender, moist cupcake.
- Flavoring Extracts – In addition to vanilla extract, I like to add a little peppermint extract to my Grinch-themed desserts. It’s optional, and since peppermint extract can be quite strong, I recommend starting with a small amount and adding more extract to taste.
- Sour Cream – I use full-fat sour cream, brought to room temperature. If you don’t have sour cream, plain Greek yogurt makes a good substitute.
- Milk – Any kind, also at room temperature.
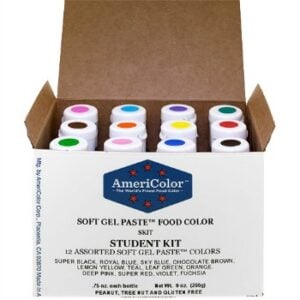
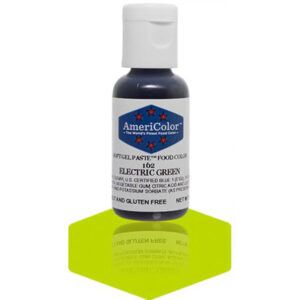
- Gel Color – I use Electric Green gel food coloring to color my Grinch cupcakes vibrant green. I also used red and black.
- For Frosting – I use my easy vanilla buttercream made from butter, powdered sugar, and vanilla extract (plus peppermint extract for this recipe). I recommend unsalted butter when making frosting. Make sure it’s COLD from the fridge.
- M&Ms – I bought a couple of bags of M&Ms and separated the yellow ones for the eyes. You can also use edible candy eyes.
How to Make Grinch Cupcakes
Just like any cupcake recipe, the trick here is not to overmix the batter. Once the flour is added, you’ll want to mix on low speed, and do your best not to overbake! You’ll find that these green cupcakes are super easy. Follow along below, and scroll down to the printable recipe card for the full recipe instructions.
- Mix the wet and dry ingredients separately. First, cream together the sugar with oil, eggs, and extracts. Once the mixture is well combined, scrape down the bowl and mix in the sour cream. Mix the dry ingredients in a separate bowl and sift.
- Combine. Meanwhile, color the milk green using the Electric Green food coloring. Add half of the dry ingredients to the wet batter, then half of the milk, and repeat until that’s well combined.
- Fill the pan and bake. Now, add the batter to a lined cupcake pan, filling each liner about ⅔ full. Bake the cupcakes at 350ºF for 14-16 minutes, until a toothpick stuck into the middle of one of the cupcakes comes out clean.
The Best Cupcake Liners
For these cupcakes, I used lime green grease-proof liners from Shop Sweets and Treats. These stay bright when baked compared to white liners, which tend to show some browning when the cupcakes are baked (you can see the difference in the photo). Once peeled, you may not notice it as much, but I love these liners so much!

Make the Frosting
Once your cupcakes have cooled completely to room temperature, you’ll make one big batch of buttercream frosting to divide into individual colors. Follow the steps below and refer to the recipe card.
- Whip the butter. Cut cold butter into cubes, and whip using the paddle attachment until it’s fluffed and smooth. This can take a few minutes, but hang in there.
- Add the remaining ingredients. Beat in the powdered sugar, 3-4 cups at a time, mixing well before adding more. Add in the peppermint extract and salt. Continue to beat the frosting for a couple of minutes at medium-high speed, then for another 1-2 minutes on low.
- Color the frosting. Lastly, you’ll separate ¼ cup of frosting to color black, ⅓ cup to leave white/uncolored, and ¾ cup to dye red. Color the rest of the frosting electric green, this is easiest to do in the stand mixer.
Tips for Coloring Buttercream
I recommend concentrated gel colors like the kind from Chef Master or AmeriColor. These yield the boldest, brightest colors compared to the water-based food coloring you find in grocery store aisles. If you need extra guidance, check out my post on how to color buttercream.
To make the red frosting a little darker, add a teensy amount of black (usually a dot of black food dye on the tip of a toothpick does the trick). I also add a touch of yellow coloring to the electric green frosting to bring it closer to the color of the cupcake.
Prepare the Piping Bags
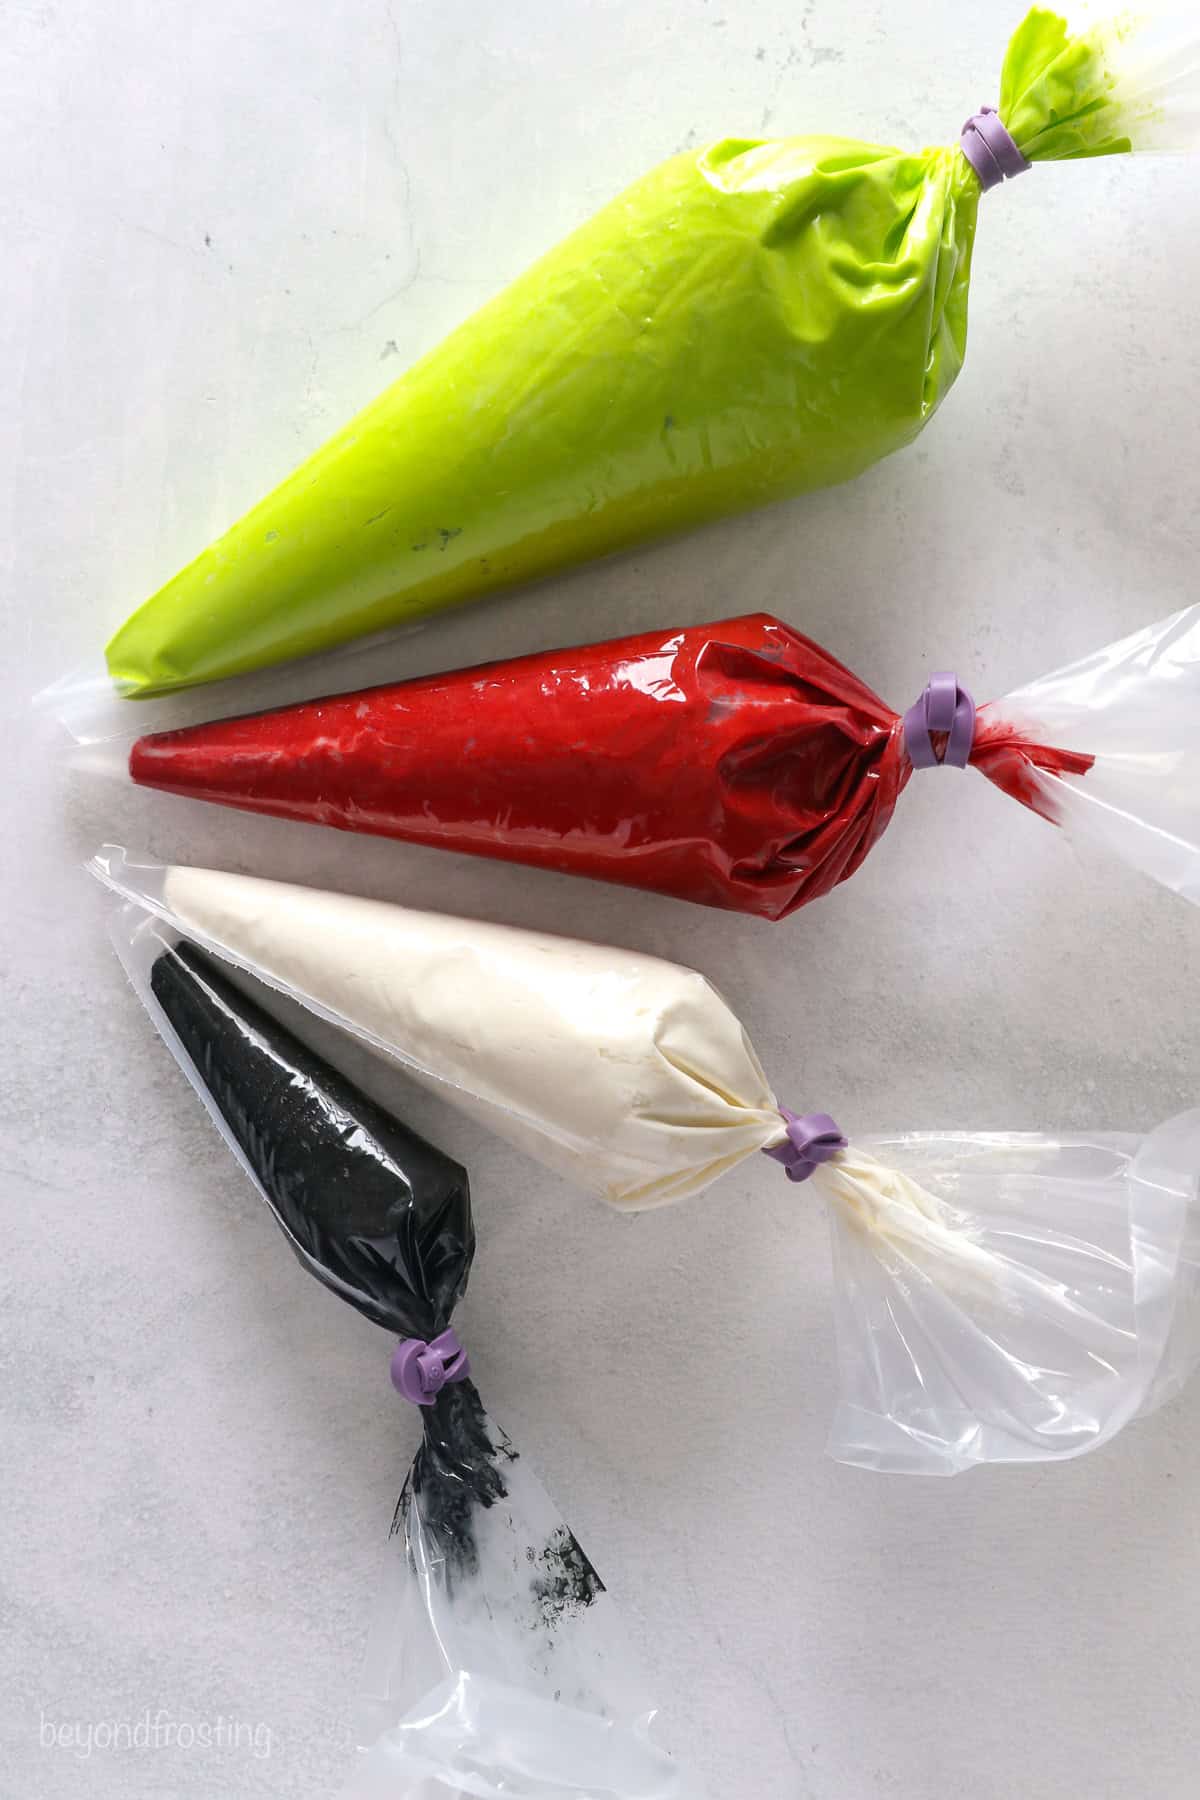
Now, gather your frosting colors and fill your piping bags. I have in-depth tutorials on how to use a piping bag and how to use piping tips that you can refer to if needed. For smaller piping tips I prefer to use couplers (affiliate link) so I can change our the tips for clean them if they get clogged. For larger piping tips, I usually prefer the double bag method.
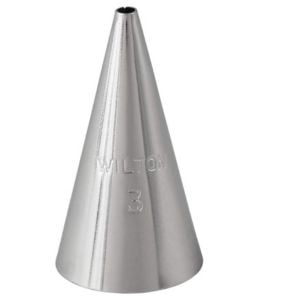
- Black Frosting – I use a small piping bag and a size 3 piping tip.
- White Frosting – Also a small piping bag, fitted with a coupler to use both size 16 and size 12 piping tips.
- Red Frosting – Small piping bag fitted with a Wilton 1A tip or Ateco 806 tip.
- Green Frosting – I recommend using a double bag method, filling one bag with frosting while fitting a second bag with your piping tip. I fill 2 large and 2 small piping bags about halfway full with green frosting. Then, I fit a small piping bag with a coupler and a Wilton 233 grass tip, and a large bag with a Wilton 1A or Alteco 806 tip.
Small 12-inch piping bags are perfect for decorating with buttercream, whipped cream or for filling molds.
Couplers are plastic pieces that are fitted with a piping tip and allows you to use different decorating tips with the same bag of icing.
The Grass piping tip is a multi-opening tip that is great to add grasss, hair or thin ropes.
A size 3 piping tip is part of the open-round series and is the third biggest in the collection. It’s great for small details.
This large open round piping tip is comparable with an Ateco 806, about 1/2 inch opening.
How to Decorate Grinch Cupcakes
With your piping bags organized, you’re ready to decorate your Grinch cupcakes! Here’s what to do:
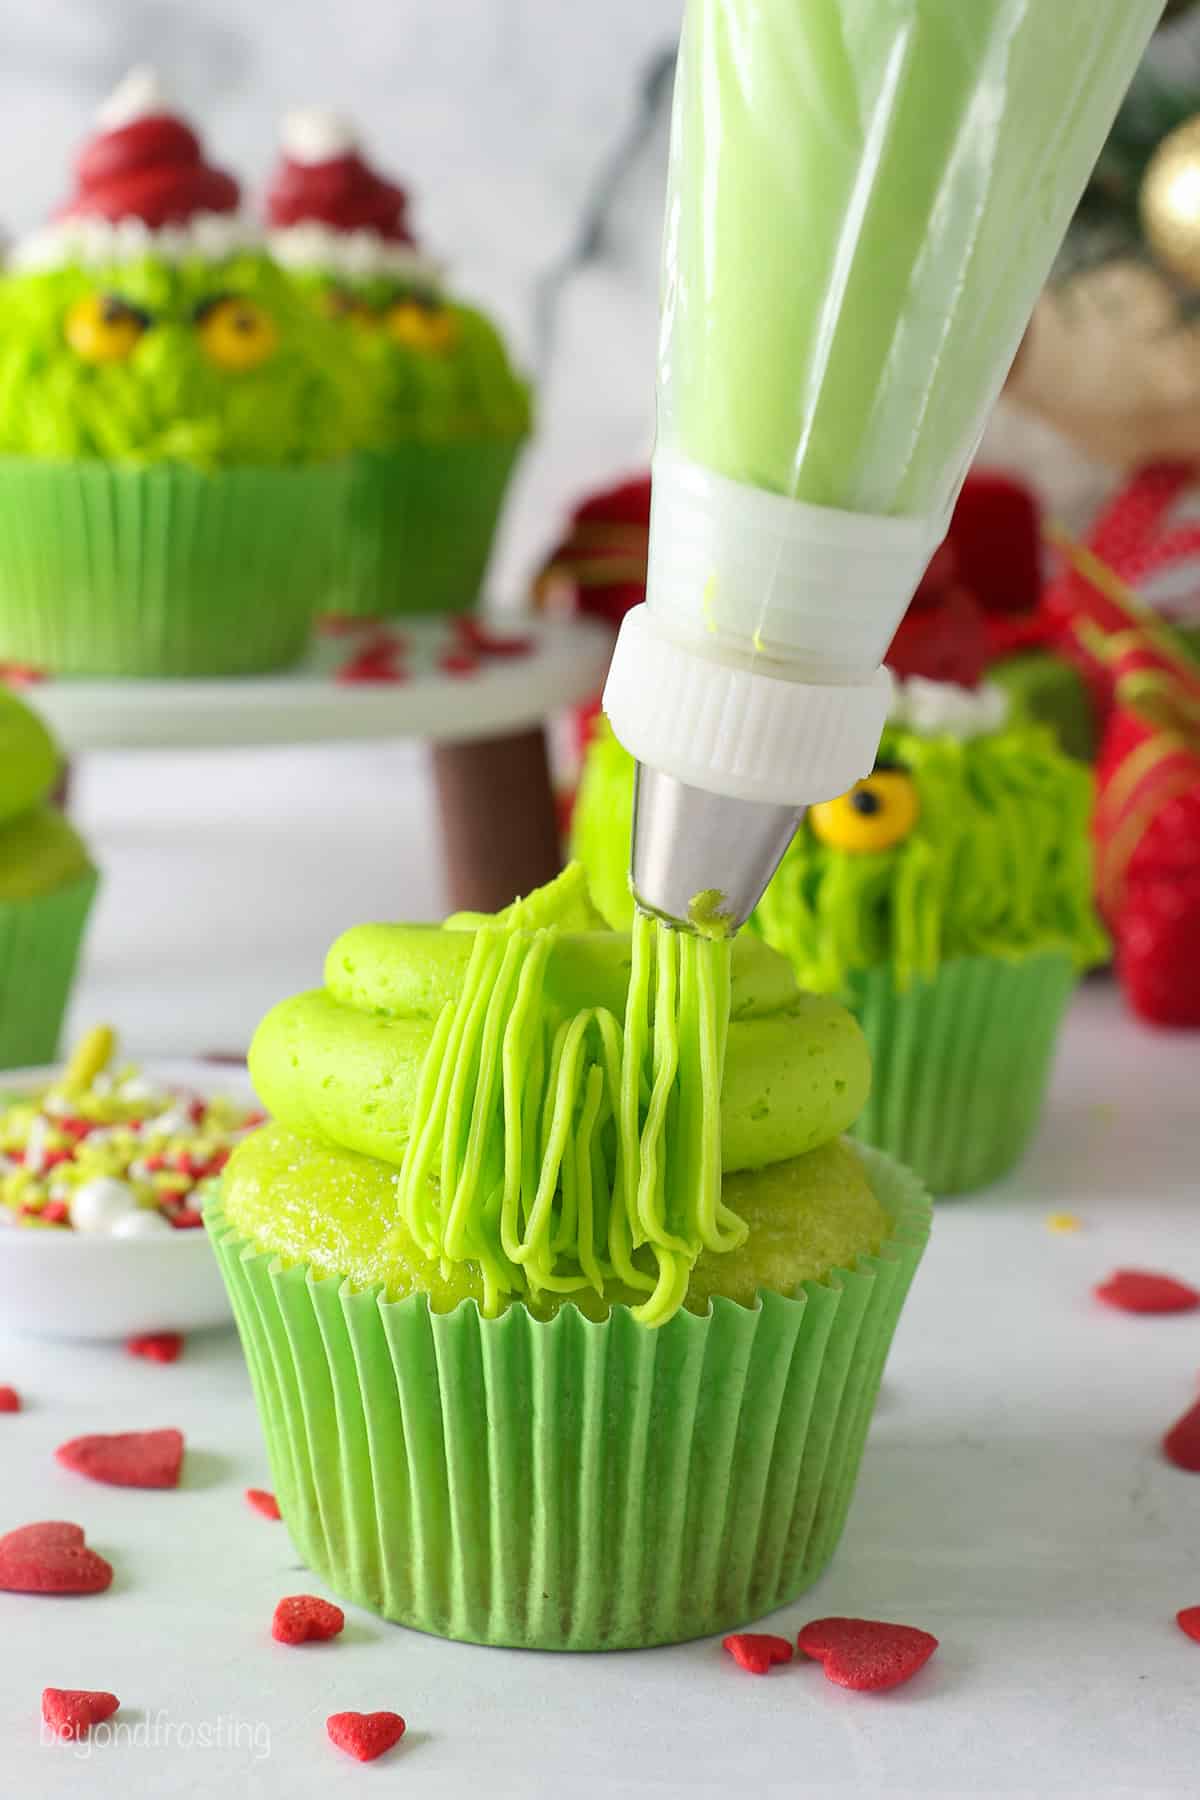
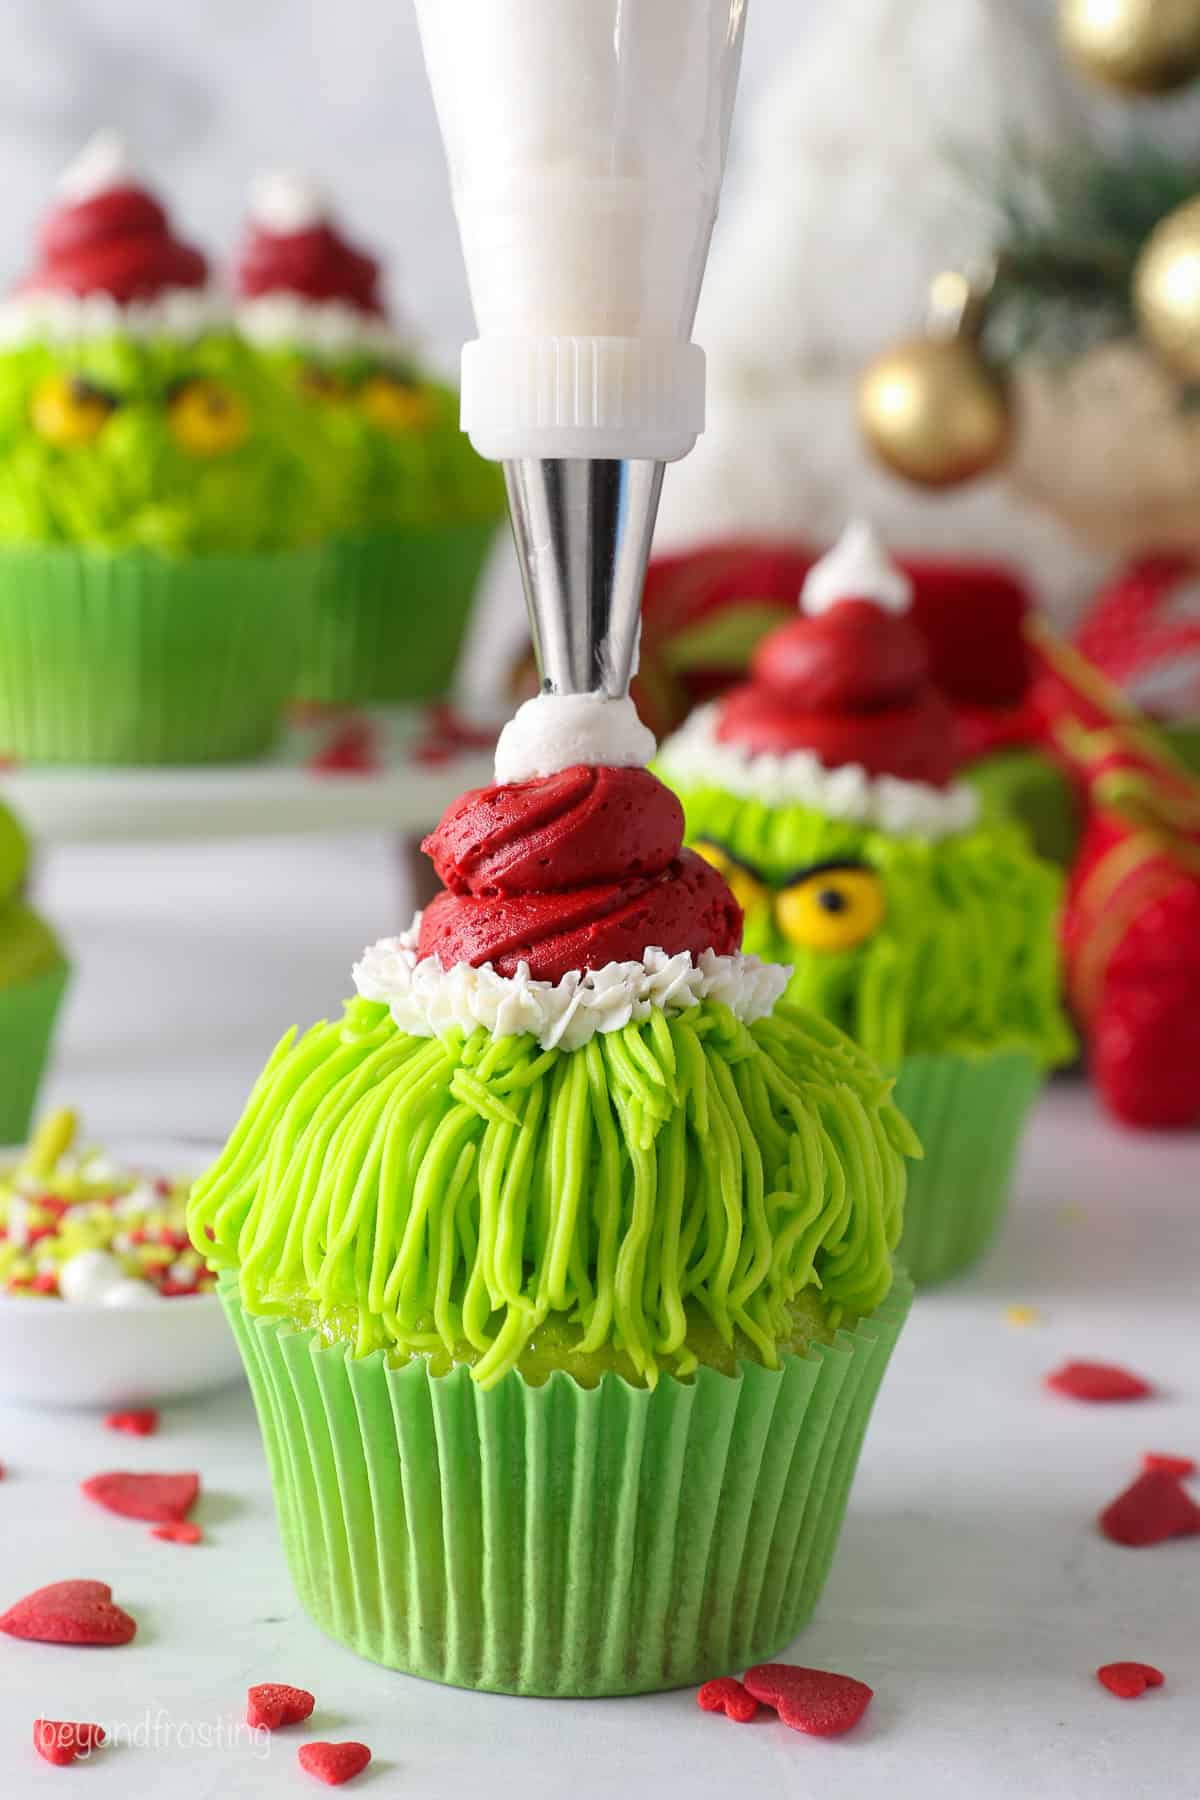
- Start with green frosting. Starting with your large piping bag fitted with a Wilton 1A tip, pipe the electric green frosting in a swirl, starting at the outside edge and working inward. See my tips on how to decorate cupcakes for an easy swirling technique.
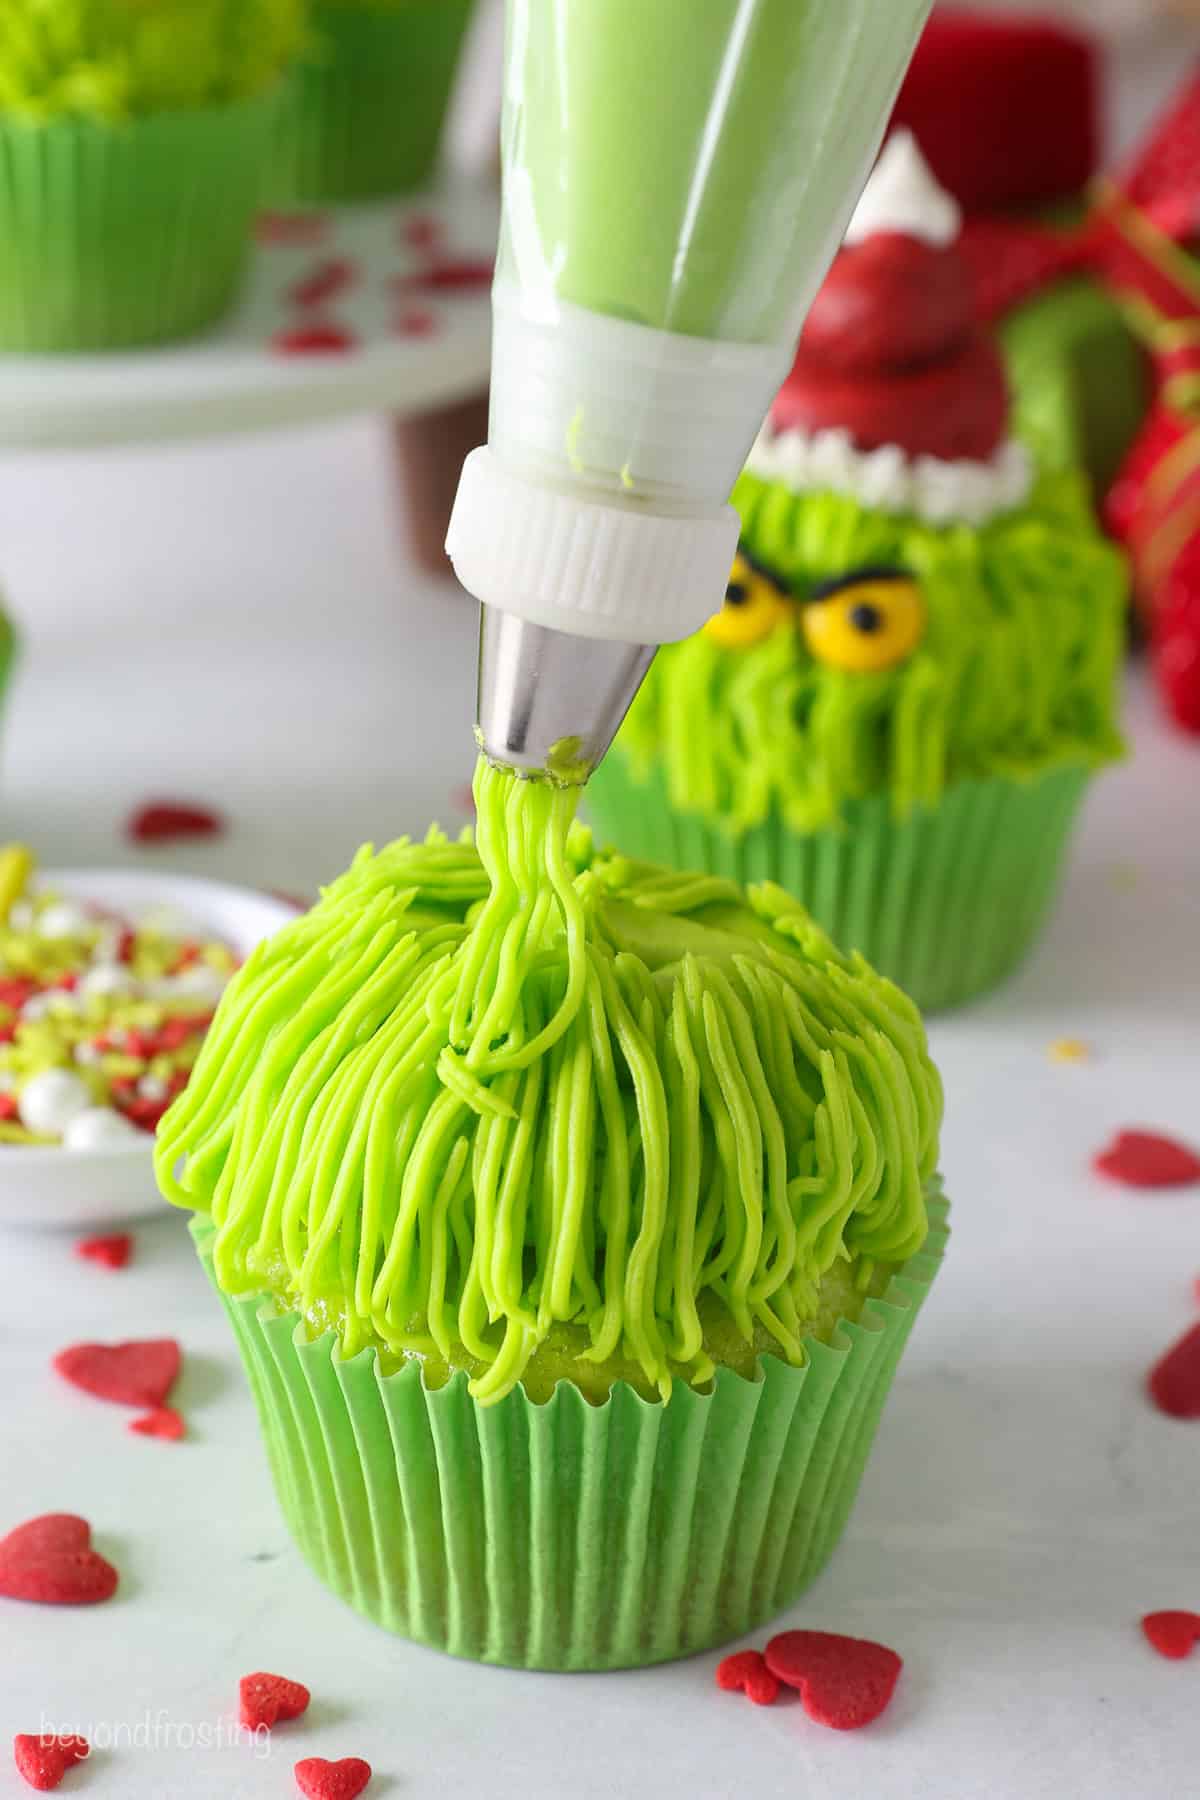
- Add the hair. Next, use the grass piping tip to pipe hair over this first frosting layer. Start at the bottom and drag upward, all the way around the cupcake. Repeat with a second layer as you pipe towards the center.
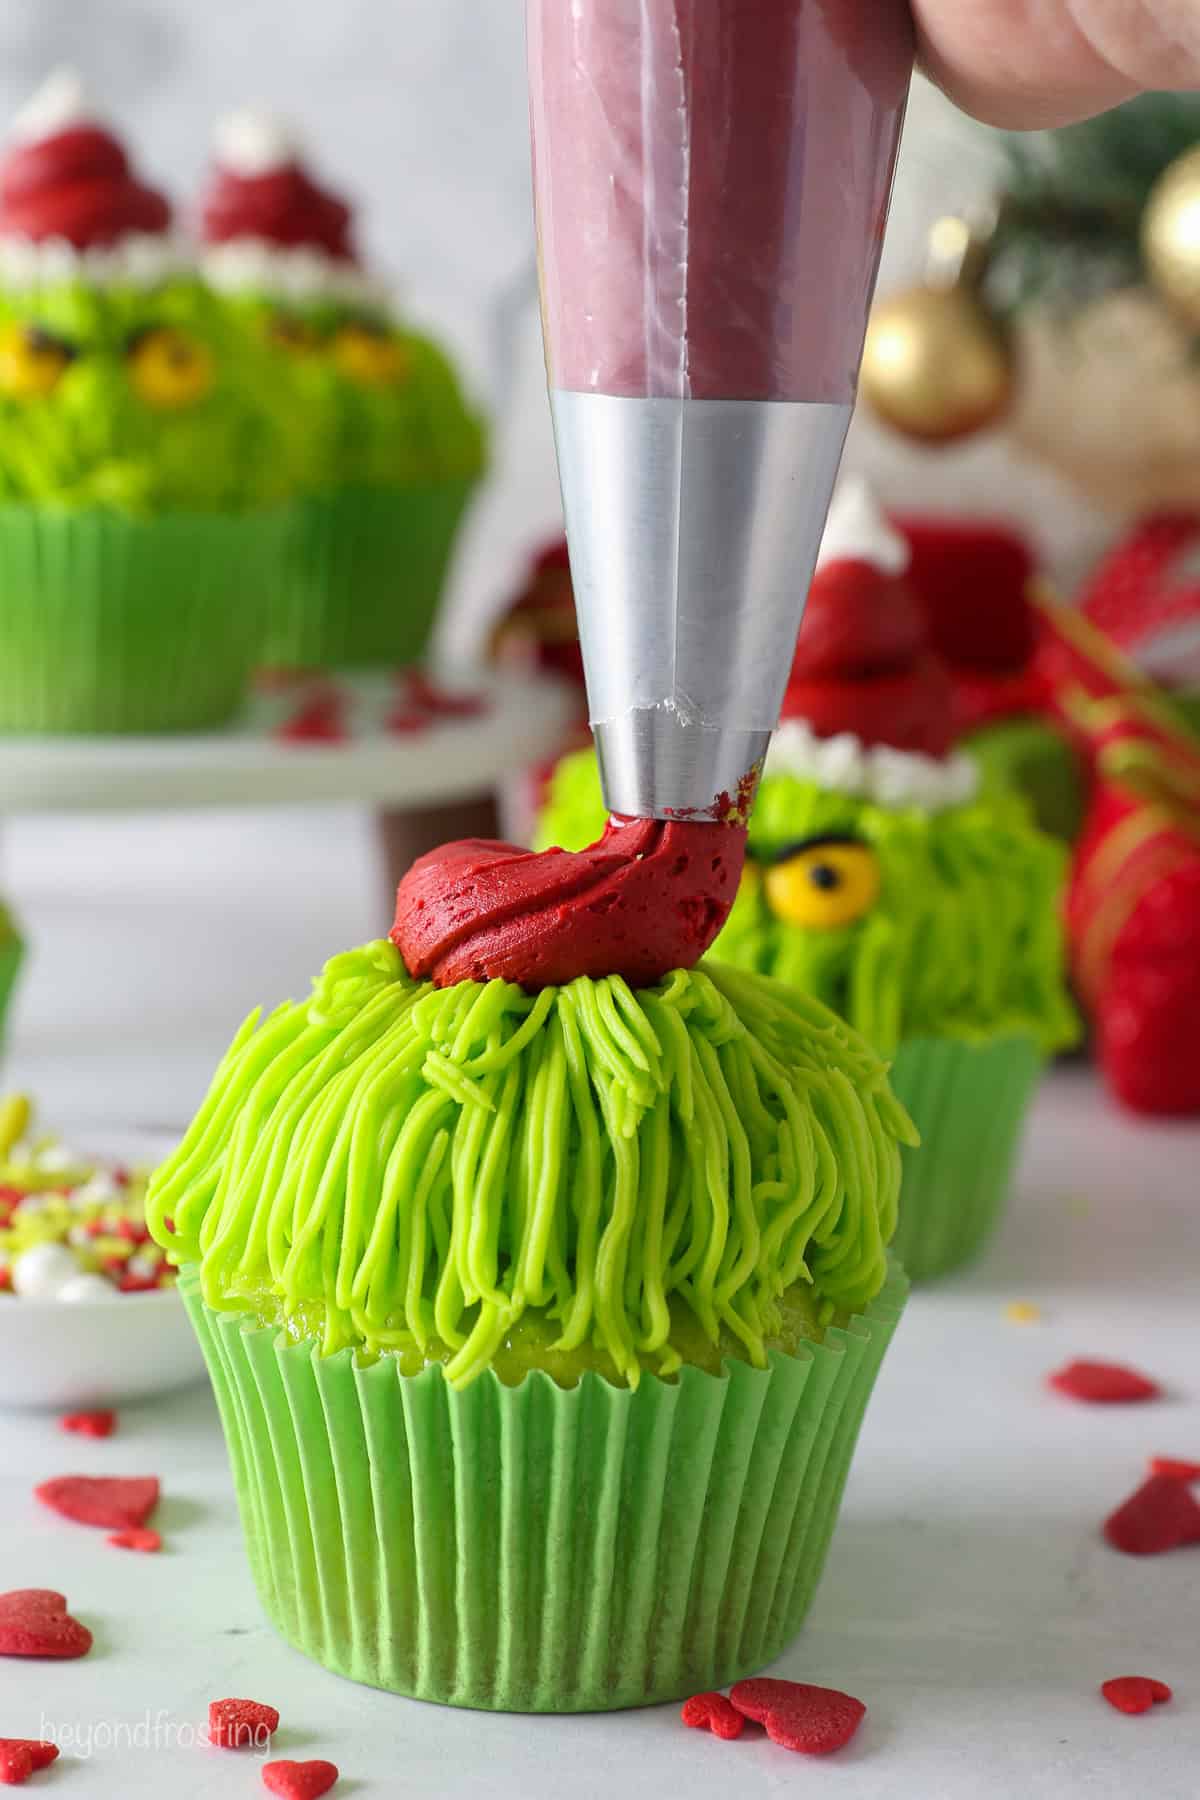
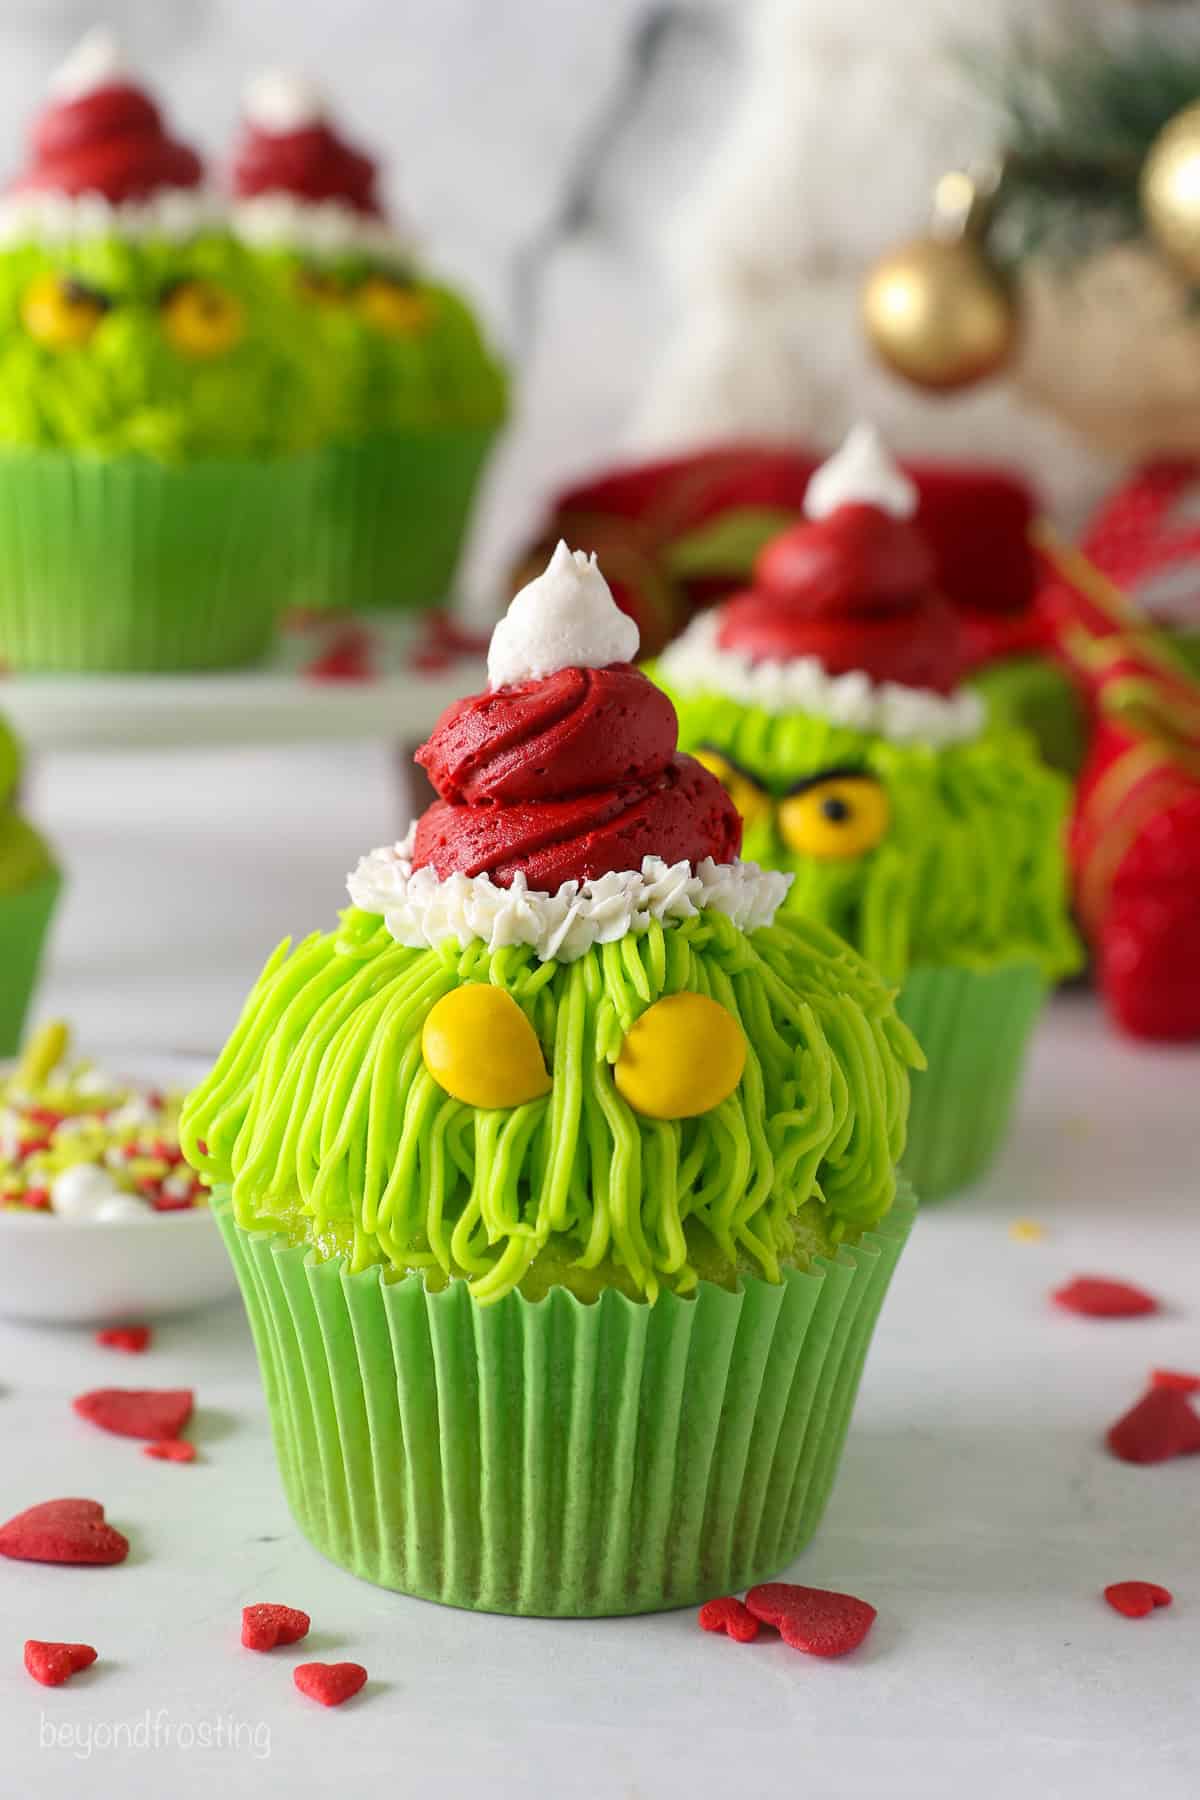
- Add a Santa hat. Use red frosting to swirl a hat over the green frosting. Then, use a size 16 tip to add the white details to the bottom edge of the hat. Finally, add a pom-pom to the tip of the hat using a size 12 tip and white frosting (or you can use the same size 16 if you want too).
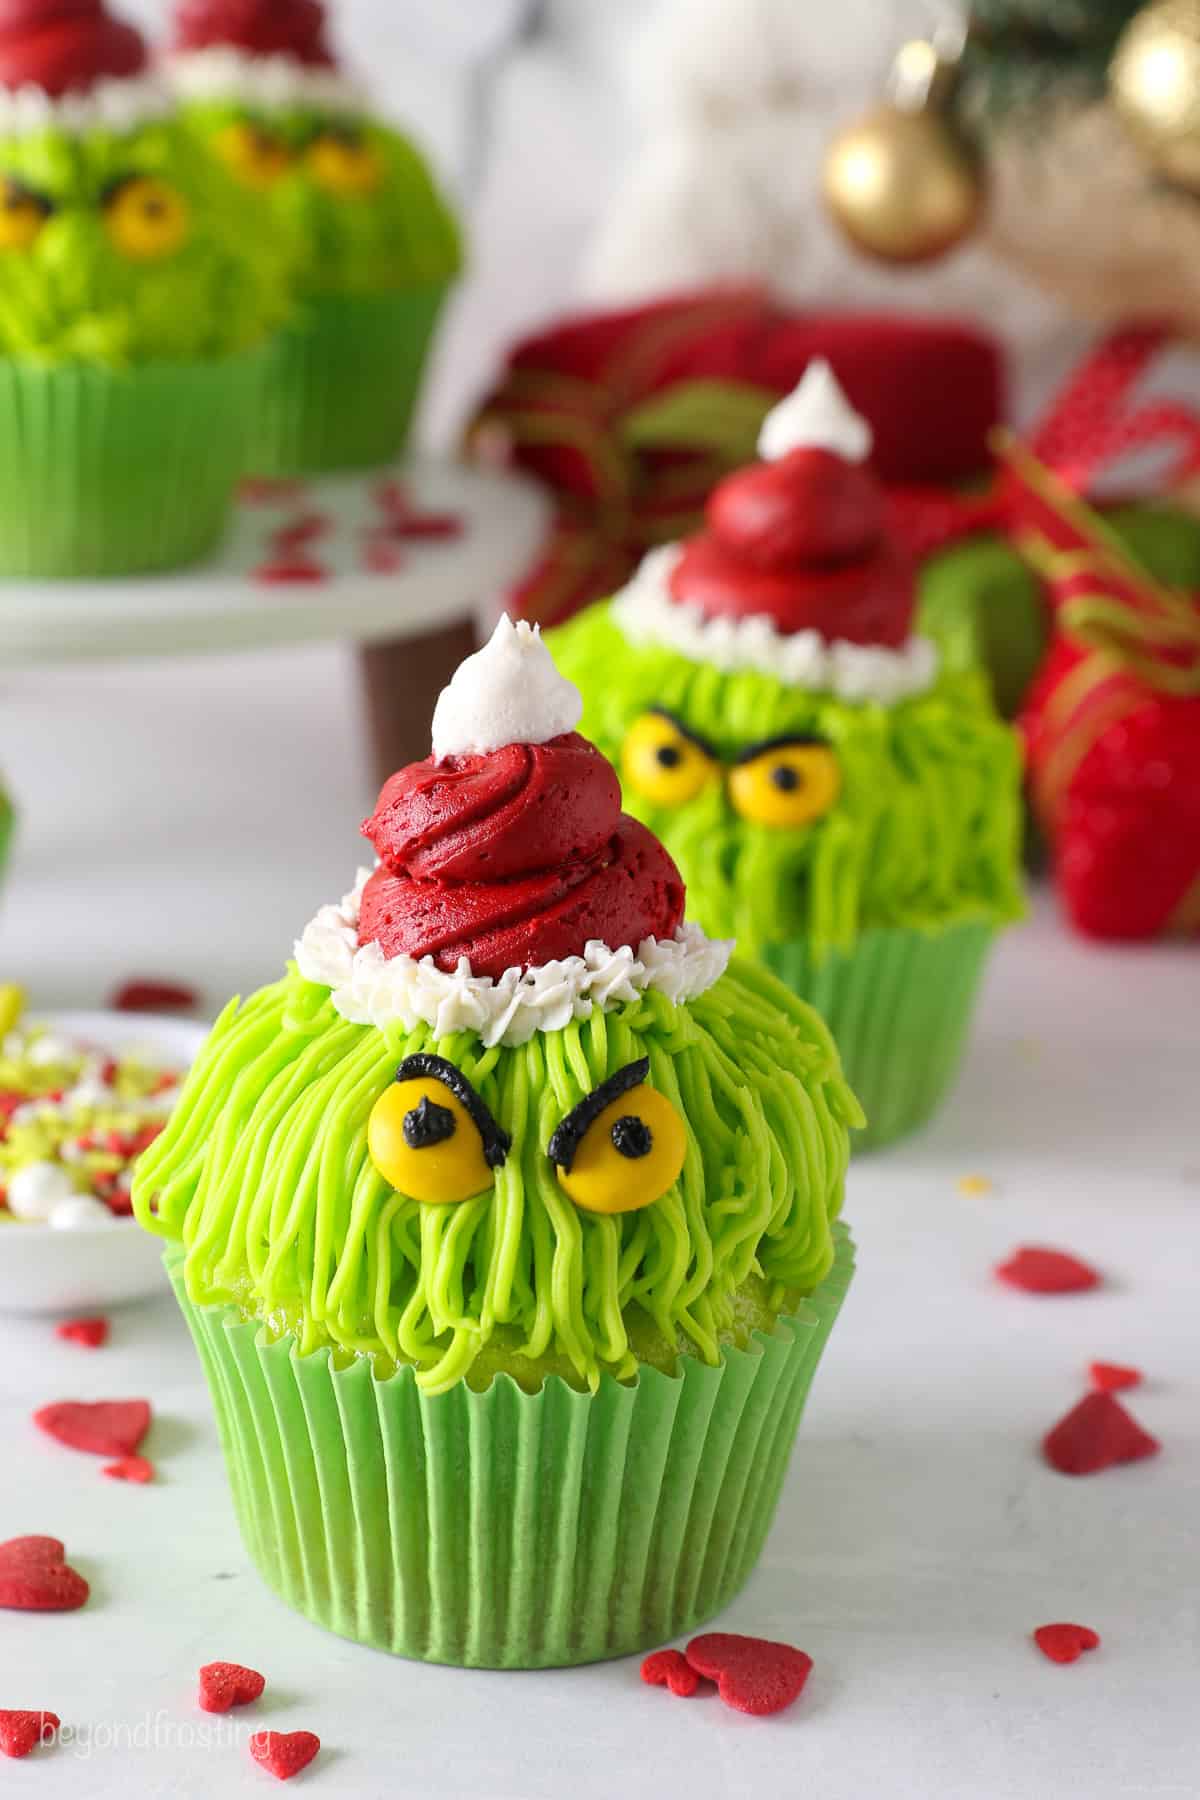
- Make the eyes. Last but not least, you’ll add the eyes. I use a sharp knife to cut the top edge off of two yellow M&Ms. Press these into the green frosting below the Santa hat.
- Finishing touches. Then, use black frosting to pipe small dots in the center of each M&M, and pipe along the top edge to make the eyebrows. Your Grinch cupcakes are finished!
Easier Decorating Ideas
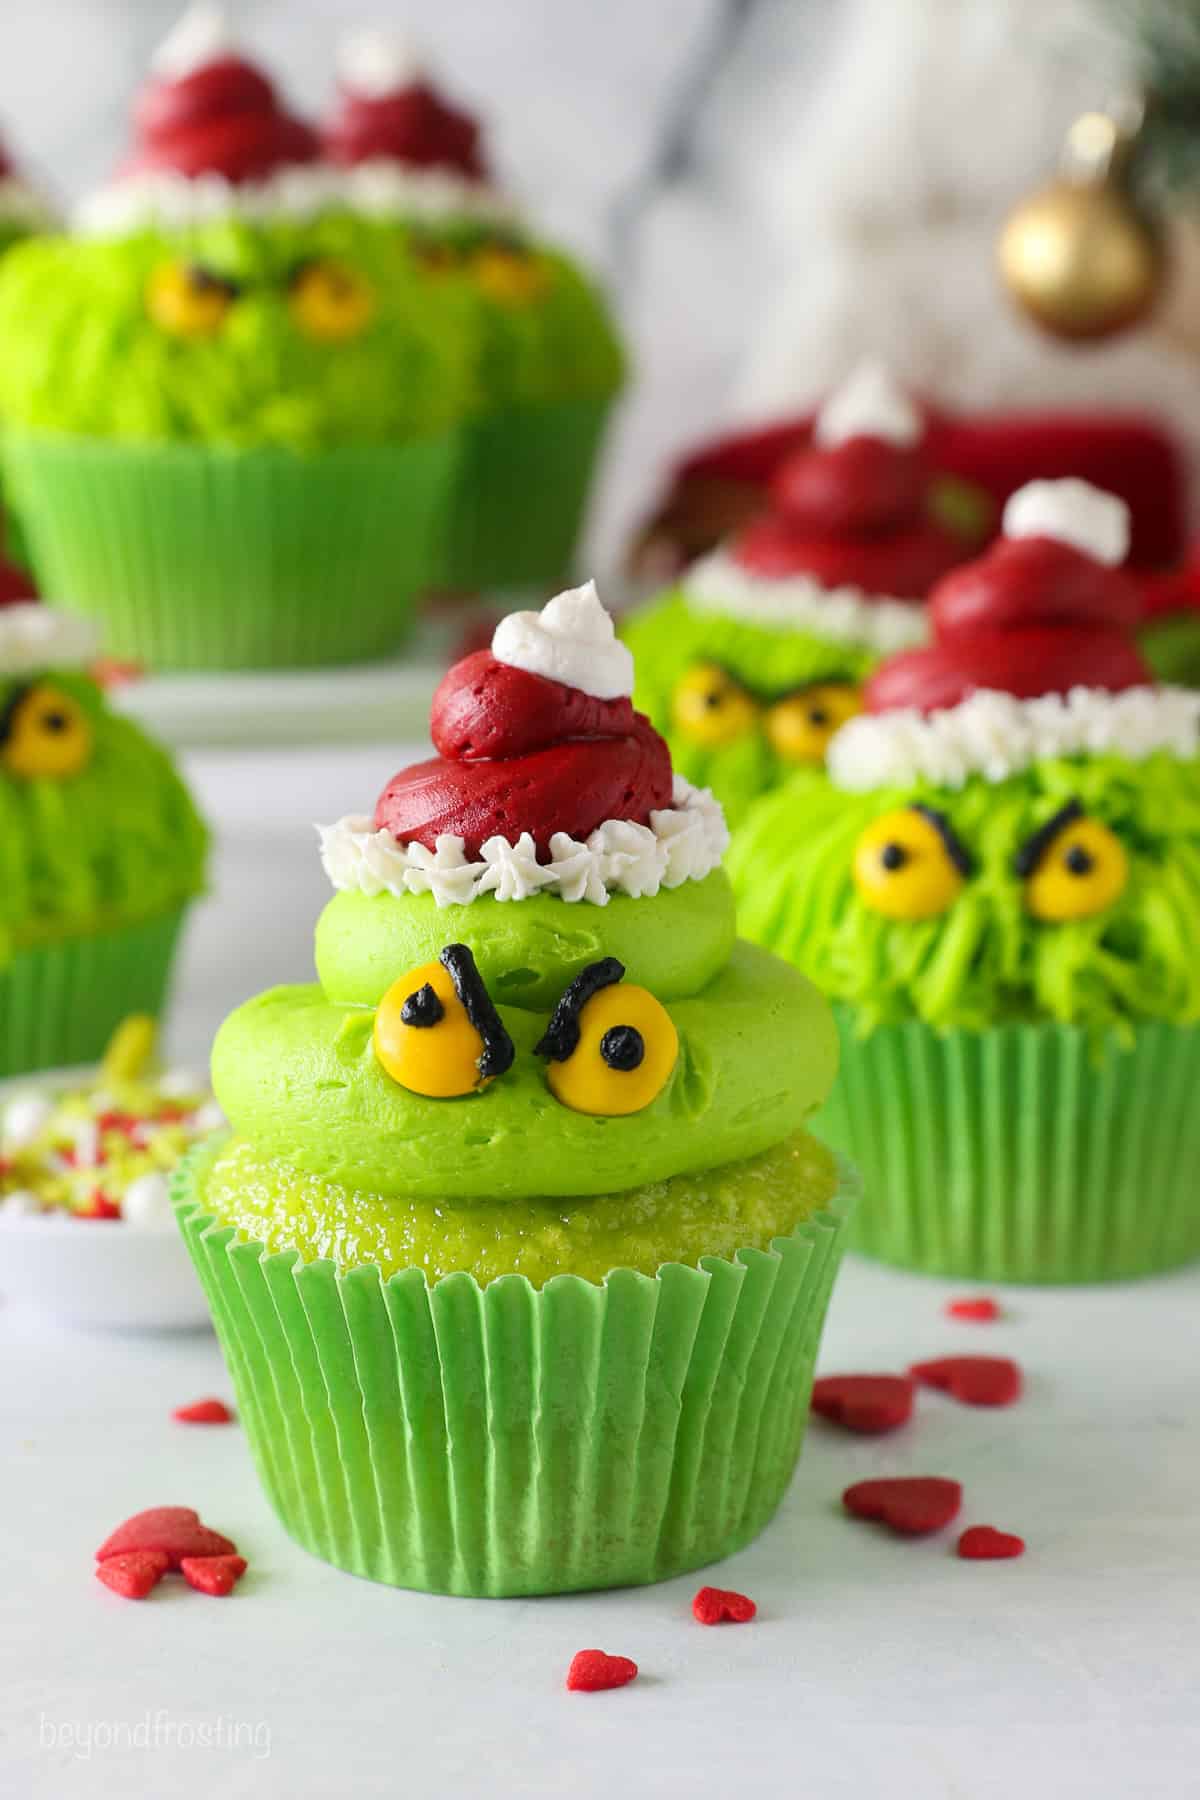
If you don’t have a grass piping tip, you can simply swirl the green frosting over the cupcakes and then add the Santa hat and eyes as written. The Grinch cupcakes will still look adorable! See below!
Make-Ahead and Storage
- Make-ahead. These cupcakes can be baked up to 24 hours in advance and kept airtight at room temperature until you’re ready to frost them. You can also freeze the baked cupcakes for up to 1 month.
- Store the frosting. The buttercream frosting is fine to store at room temperature if you’ll use it within a day or two. Otherwise, you can prepare the buttercream frosting up to 7 days ahead and keep it in airtight containers in the fridge.
- Storing the frosted cupcakes. Keep the frosted Grinch cupcakes airtight at room temperature. I only recommend refrigerating if you live somewhere especially warm or humid. If you need to refrigerate the cupcakes, consider leaving off the “eyes” until serving since the M&Ms tend to bleed their color into the frosting. Serve them at room temperature.
- Freeze. You can also freeze the frosted cupcakes for up to 1 month (leave off the M&M eyes until after thawing).
More Christmas Cupcakes
Grinch Cupcakes
- Prep Time: 45 minutes
- Cook Time: 16 minutes
- Total Time: 1 hour 1 minutes
- Yield: 12 cupcakes
- Category: Cupcakes
- Method: Oven
- Cuisine: American
Description
These adorable Christmas Grinch cupcakes are guaranteed to have hearts growing three sizes this season! This tutorial uses simple decorating techniques to turn classic cupcakes and buttercream into delicious holiday Grinches.
Ingredients
For the Cupcakes
- 1 cup (190g) granulated sugar
- ¼ cup (59ml) vegetable oil
- 2 large eggs, at room temperature
- 2 teaspoons (10m) pure vanilla extract
- ¼ teaspoon peppermint extract (optional)
- ¼ cup (60g) full fat sour-cream, at room temperature
- 1 ¼ cups (175g) all-purpose flour
- 1 ½ teaspoons (6g) baking powder
- ½ teaspoon salt
- 2/3 cup (158ml) milk (any type), at room temperature
- Electric Green gel
For Frosting and Decorating
- 2 cups (454g) unsalted butter, cold
- 8 cups (1041g) powdered sugar
- 1 tablespoon (15ml) pure vanilla extract
- ¼ teaspoon peppermint extract (optional)
- Pinch of salt
- Assorted Gel Colors
- M&Ms
Instructions
For the Cupcakes
- Preheat the oven to 350°F. Line a cupcake pan with cupcake liners.
- In a large mixing bowl, combine the sugar, vegetable oil, eggs, and extracts. Beat on medium speed until the eggs and oil are well incorporated and the batter is lighter in color, about 2 minutes. Scrape down the bowl as needed. Next mix in the sour cream and beat until well combined.
- In a separate bowl combine the remaining dry ingredients: flour, baking powder, and salt. Add the electric green gel color to the milk, stirring to incorporate. Then add half the dry ingredients, and half of the milk and mix just until the flour starts to incorporate. Add the remaining ingredients and mix until well combined. Use a spatula to scrape down the sides of the bowl and stir the batter from the bottom to the top to ensure it’s well mixed.
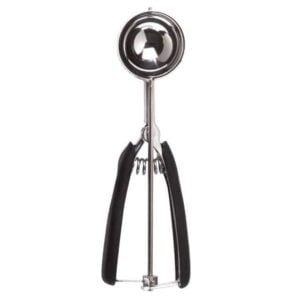
- Using a large cookie scoop, divide the batter evenly, filling each liner 2/3 full. Bake at 350°F for 14-16 minutes. Test the cupcakes for doneness by inserting a toothpick into the center of the cupcake. If the toothpick comes out clean, the cupcakes are done. Cool Completely.
For the Frosting
- Cut the butter into pieces. Using the paddle attachment, whip the butter for 5-7 minutes, scraping down the bowl occasionally, and beating until the butter is very fluffy.
- Add 4 cups of powdered sugar, ensuring the powdered sugar is well combined, and whip for 1-2 minutes before adding more. Next, add 3 more cups of powdered sugar, extracts, and salt. Beat until combined and then increase speed to medium-high and beat for another couple of minutes until the frosting is whipped and fluffy. Then reduce to the lowest mixing speed, and beat for 1-2 minutes.
- Separate out the following colors to mix by hand, ¼ cup of frosting for black, 1/3 cup of frosting for white, and ¾ cup for red. Use the mixer to dye the remaining frosting electric green.
To Decorate
- Prepare the piping bags:
- For the black, a small bag fitted with a size 3 piping tip (coupler optional).
- For the white, a small bag with a coupler to be used with both a size 16 and size 12 tip.
- For the red, a small piping bag fitted with a Wilton 1A/Ateco 806.
- For the electric green, it’s best to use a double bag method; one bag with frosting and the other with the piping tip. For the bags of frosting, you’ll need 2 large and 2 small piping bags half full (no piping tip). If you still have remaining frosting, leave it in the bag to use as needed.
- Prepare a second small piping bag with a small piping bag, coupler, and grass tip (Wilton 233). Prepare a large piping bag with a Wilton 1A (Ateco 806) tip.
- Start with the large piping bag and Wilton 1A tip, pipe around the outside edge 2 times, working your way to the middle. Then use the grass tip to pipe the hair, dragging the piping tip from the bottom, over the first layer of frosting. Repeat all the way around. Add a second layer on top, working your way towards the center.
- Next add the Santa hat using the red frosting, swirling on top of the green. Finish the Santa hat with the white frosting. Use tip 16 to decorate the bottom edge of the hat. Switch the tip to size 12 and pipe one dollop on top of the hat.
- Use a sharp knife to cut the top edge of two yellow M&Ms, cut at an angle, and place on the green frosting. Then use the black frosting to make two dots for the eyes and pipe along the edge of the M&M to make the eyebrows.
Notes
- For these cupcakes, I used lime green grease-proof liners from Shop Sweets and Treats.
- These would also be great with yellow or chocolate cupcakes.
Make-Ahead and Storage
-
- Make-ahead. These cupcakes can be baked up to 24 hours in advance and kept airtight at room temperature until you’re ready to frost them. You can also freeze the baked cupcakes for up to 1 month.
-
- Store the frosting. The buttercream frosting is fine to store at room temperature if you’ll use it within a day or two. Otherwise, you can prepare the buttercream frosting up to 7 days ahead and keep it in airtight containers in the fridge. Leftover frosting can be frozen in an airtight container.
-
- Storing the frosted cupcakes. Keep the frosted Grinch cupcakes airtight at room temperature. I only recommend refrigerating if you live somewhere especially warm or humid. If you need to refrigerate the cupcakes, consider leaving off the “eyes” until serving since the M&Ms tend to bleed their color into the frosting. Serve them at room temperature.
-
- Freeze. You can also freeze the frosted cupcakes for up to 1 month (leave off the M&M eyes until after thawing).
Nutrition
- Serving Size: 1 Cupcake
- Calories: 400
- Sugar: 46.9 g
- Sodium: 118.6 mg
- Fat: 17.9 g
- Saturated Fat: 11.8 g
- Carbohydrates: 58.3 g
- Fiber: 0.4 g
- Protein: 3.1 g
- Cholesterol: 57.1 mg


My kiddo is obsessed with the grinch and this cupcake is amazing. So cute and fun. I love the wow factor from my kid. ❤️ so creative
I love that so much! Thank you Mari!
we made these for christmas and they were absolutely terrile
It would be helpful if you gave some actual feedback, this is simply a vanilla cupcake with a vanilla butter with a hint of peppermint. It is a widely popular recipe on my site.