

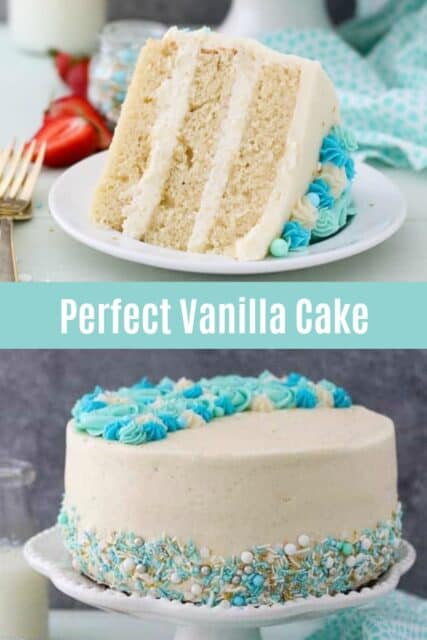
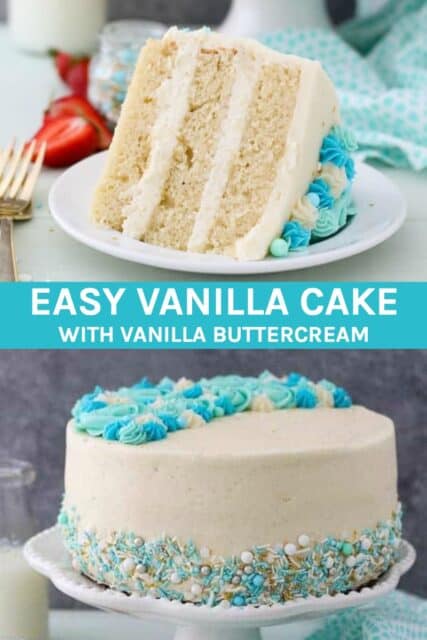
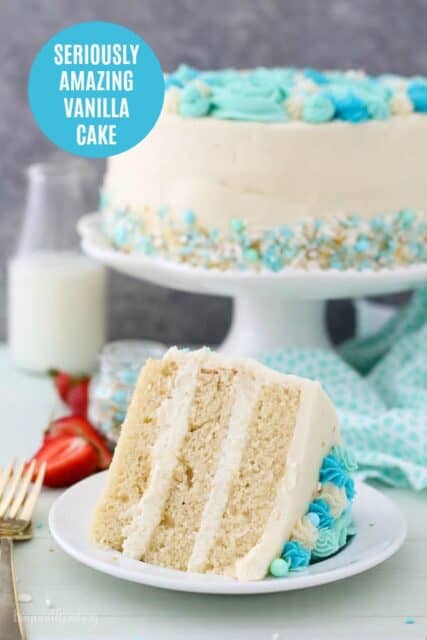
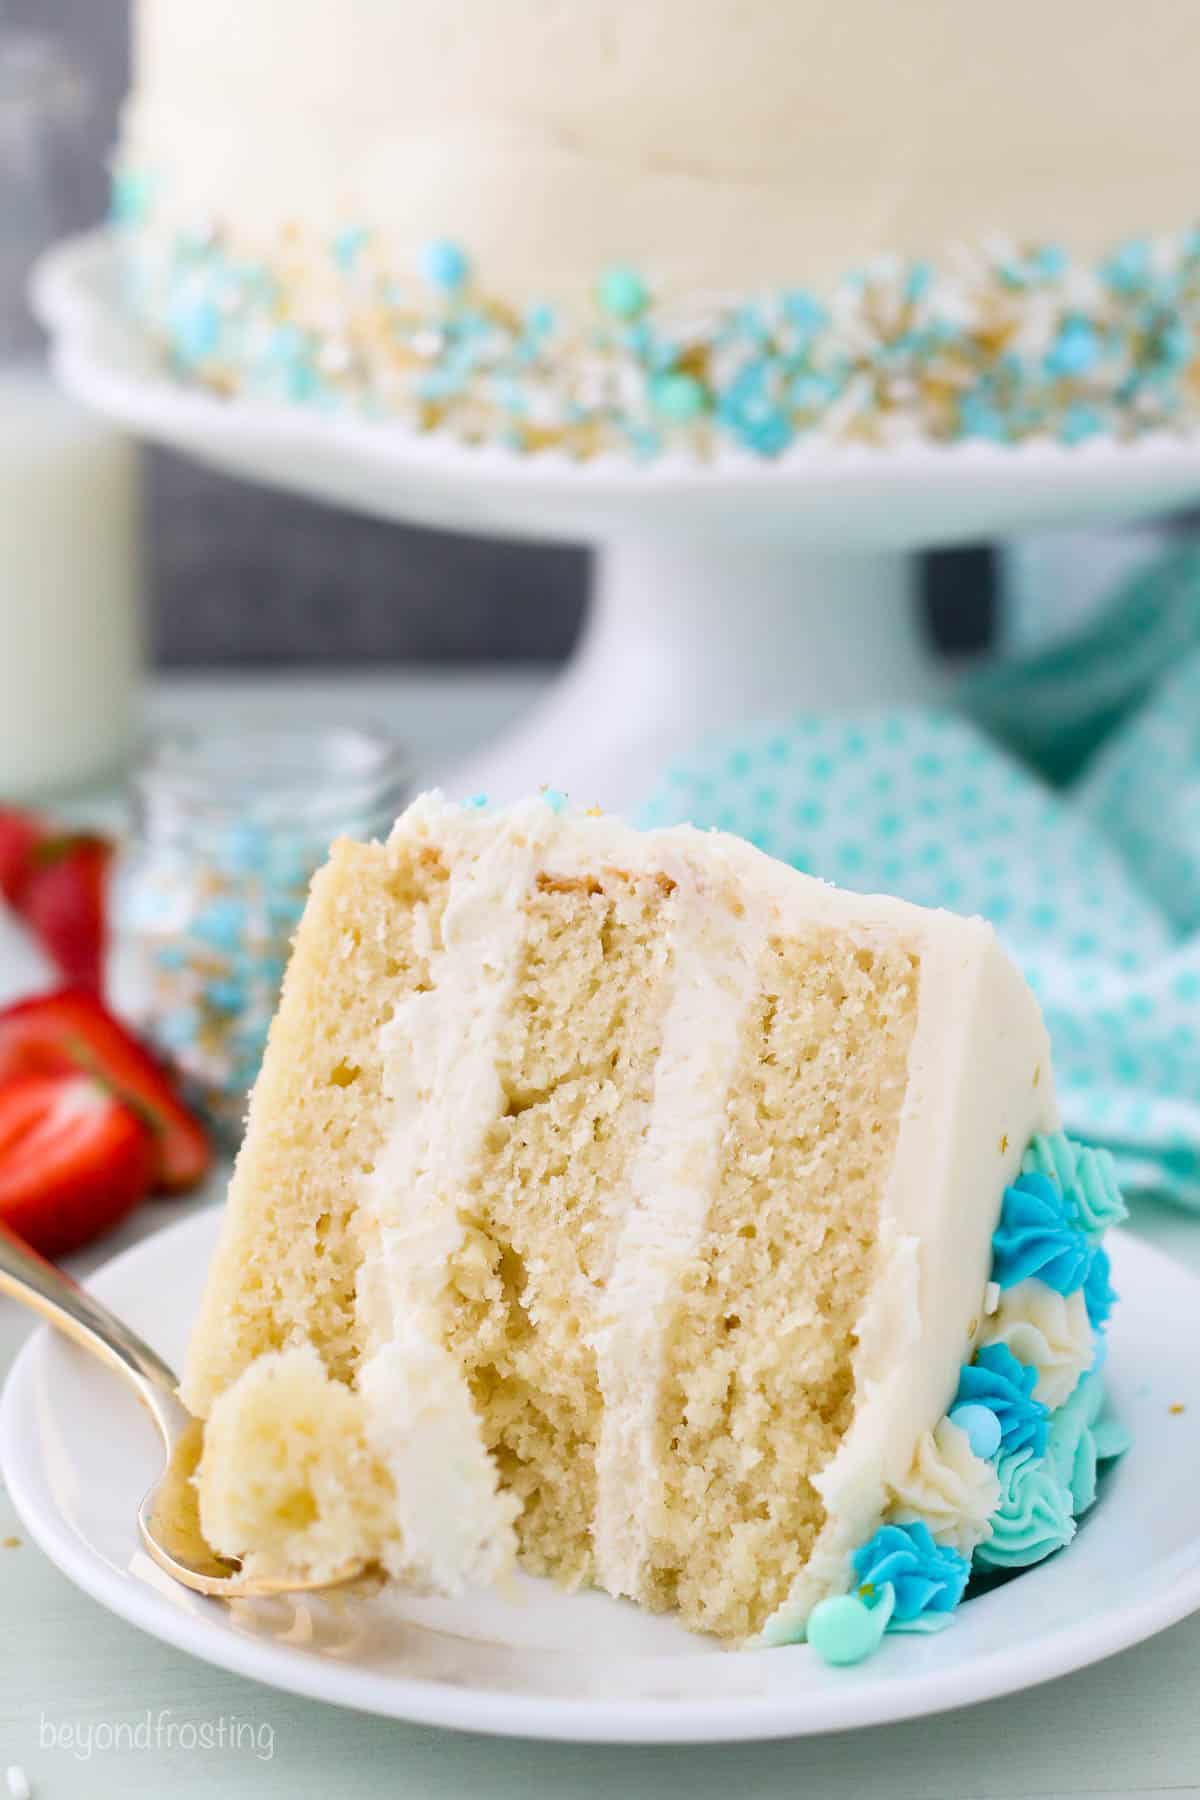
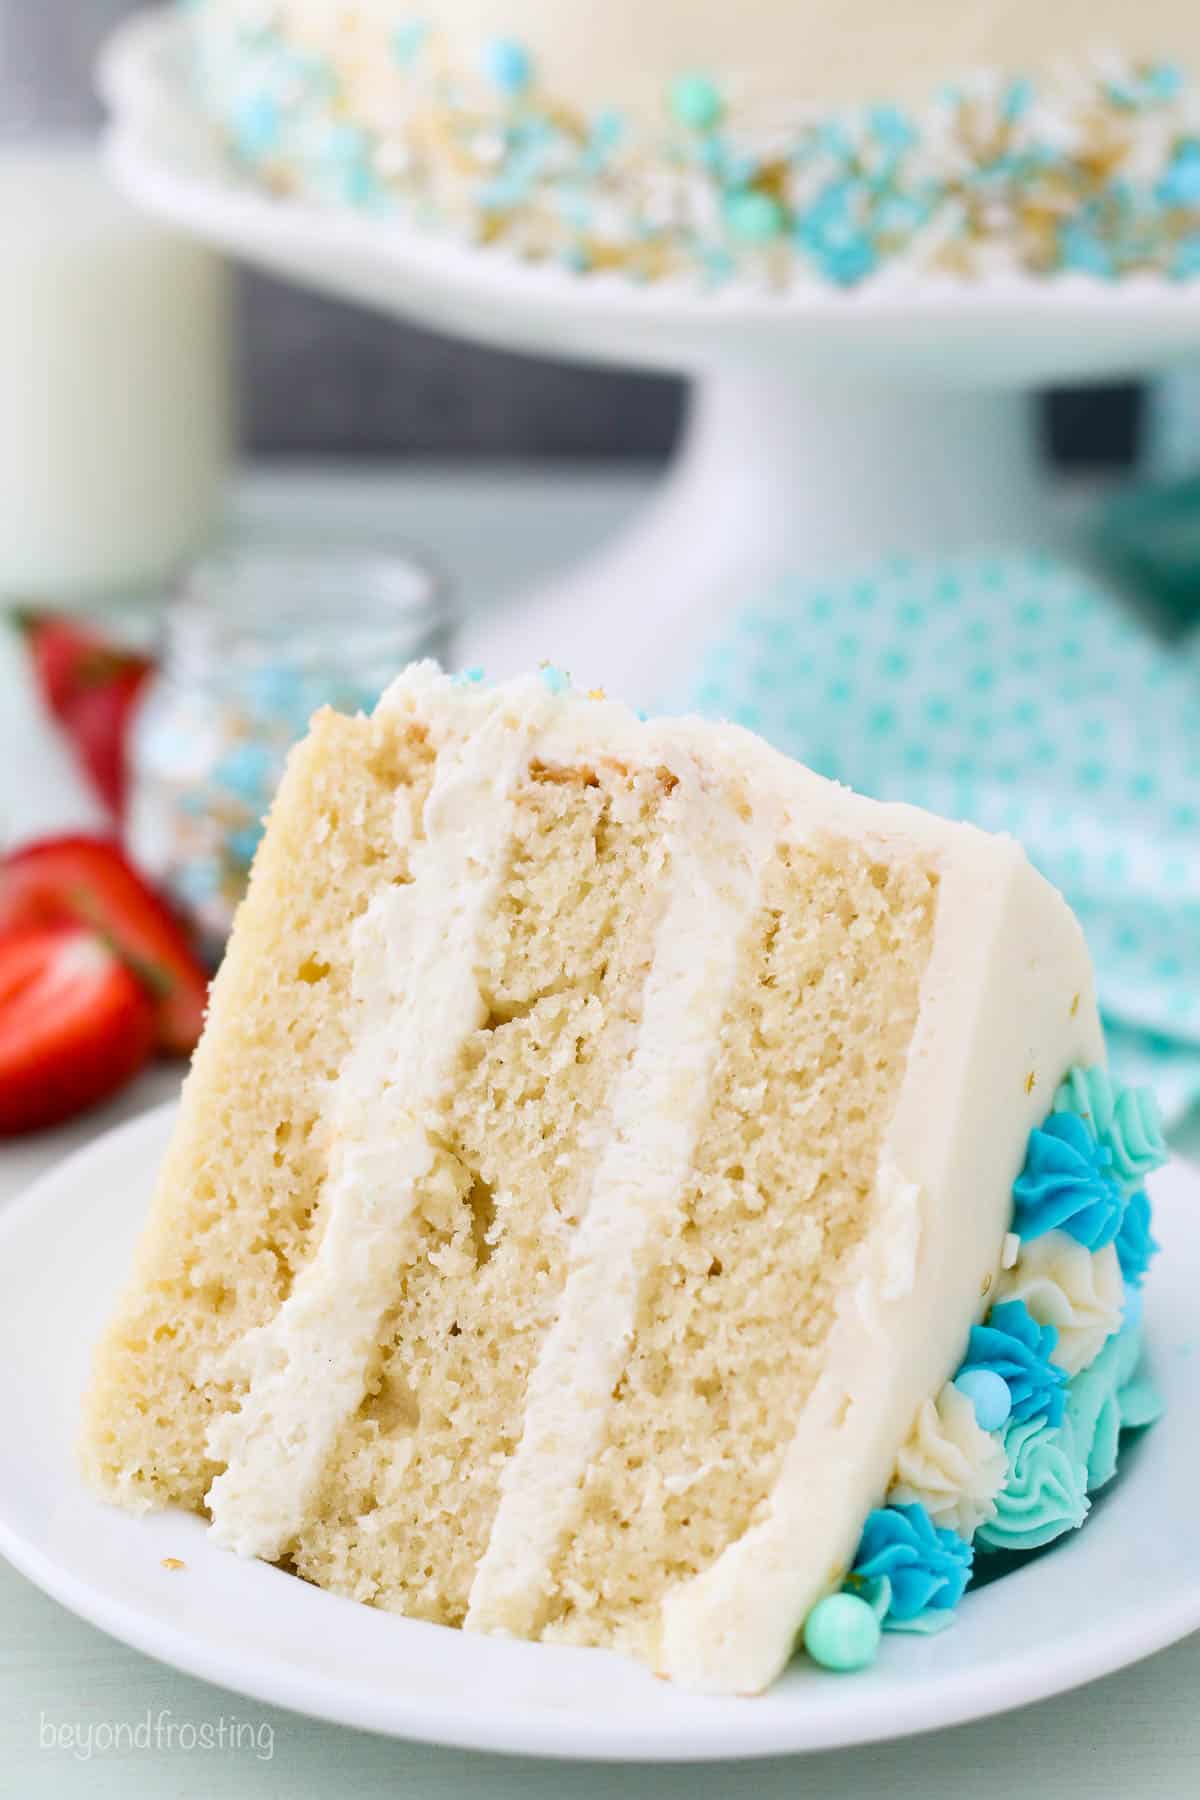
This is the perfect vanilla cake recipe! Thick layers of vanilla cake and my favorite vanilla frosting are a match made in heaven. It’s an easy recipe to make using oil instead of butter, which makes it super moist and spongy.
If you love vanilla cake, try it in my strawberry mascarpone cake or turn it into a cookies and cream cake.

Everyone needs a go-to, easy vanilla cake, especially if you’re making a layer cake. This is my moist vanilla cake adapted to make a stunning, three-layer cake with vanilla buttercream frosting. I’ve also made this recipe as a 6-inch mini vanilla cake and vanilla cupcakes. It’s one of the easiest cakes to make because it’s an oil-based cake recipe, so there’s no waiting around for the butter to soften or worrying about properly creaming the butter and sugar together. The oil also creates a more tender, fluffy crumb, especially when it’s paired with sour cream in the batter.
Of course, there’s plenty of rich vanilla flavor in this cake (no imitation vanilla here!), as there should be. If you’re looking for the best all-rounder vanilla layer cake, this is the only recipe you’ll ever need. Also, try my yellow layer cake and classic chocolate cake.
What Makes This the Best Vanilla Layer Cake?
- Soft yet stackable layers. The texture of this cake is denser rather than light and airy. It’s moist, spongy, and very stable for stacking the layers.
- Oil and sour cream in the batter. I use this combination in many of my homemade cakes. Sour cream makes the cake layers super flavorful and moist, while oil keeps them tender for days.
- A blank canvas for frosting and decorating. This cake holds up to just about any style and flavor of frosting, but my favorite is classic vanilla buttercream.
- The perfect back-pocket cake recipe. This vanilla cake is perfect for just about any occasion. Dress it up as an ombre cake for Valentine’s Day, or color it red, white, and blue for a 4th of July cake. Tint the frosting red or green for Christmas, or coordinate it with the colors for a baby shower or birthday party.
Ingredient Notes
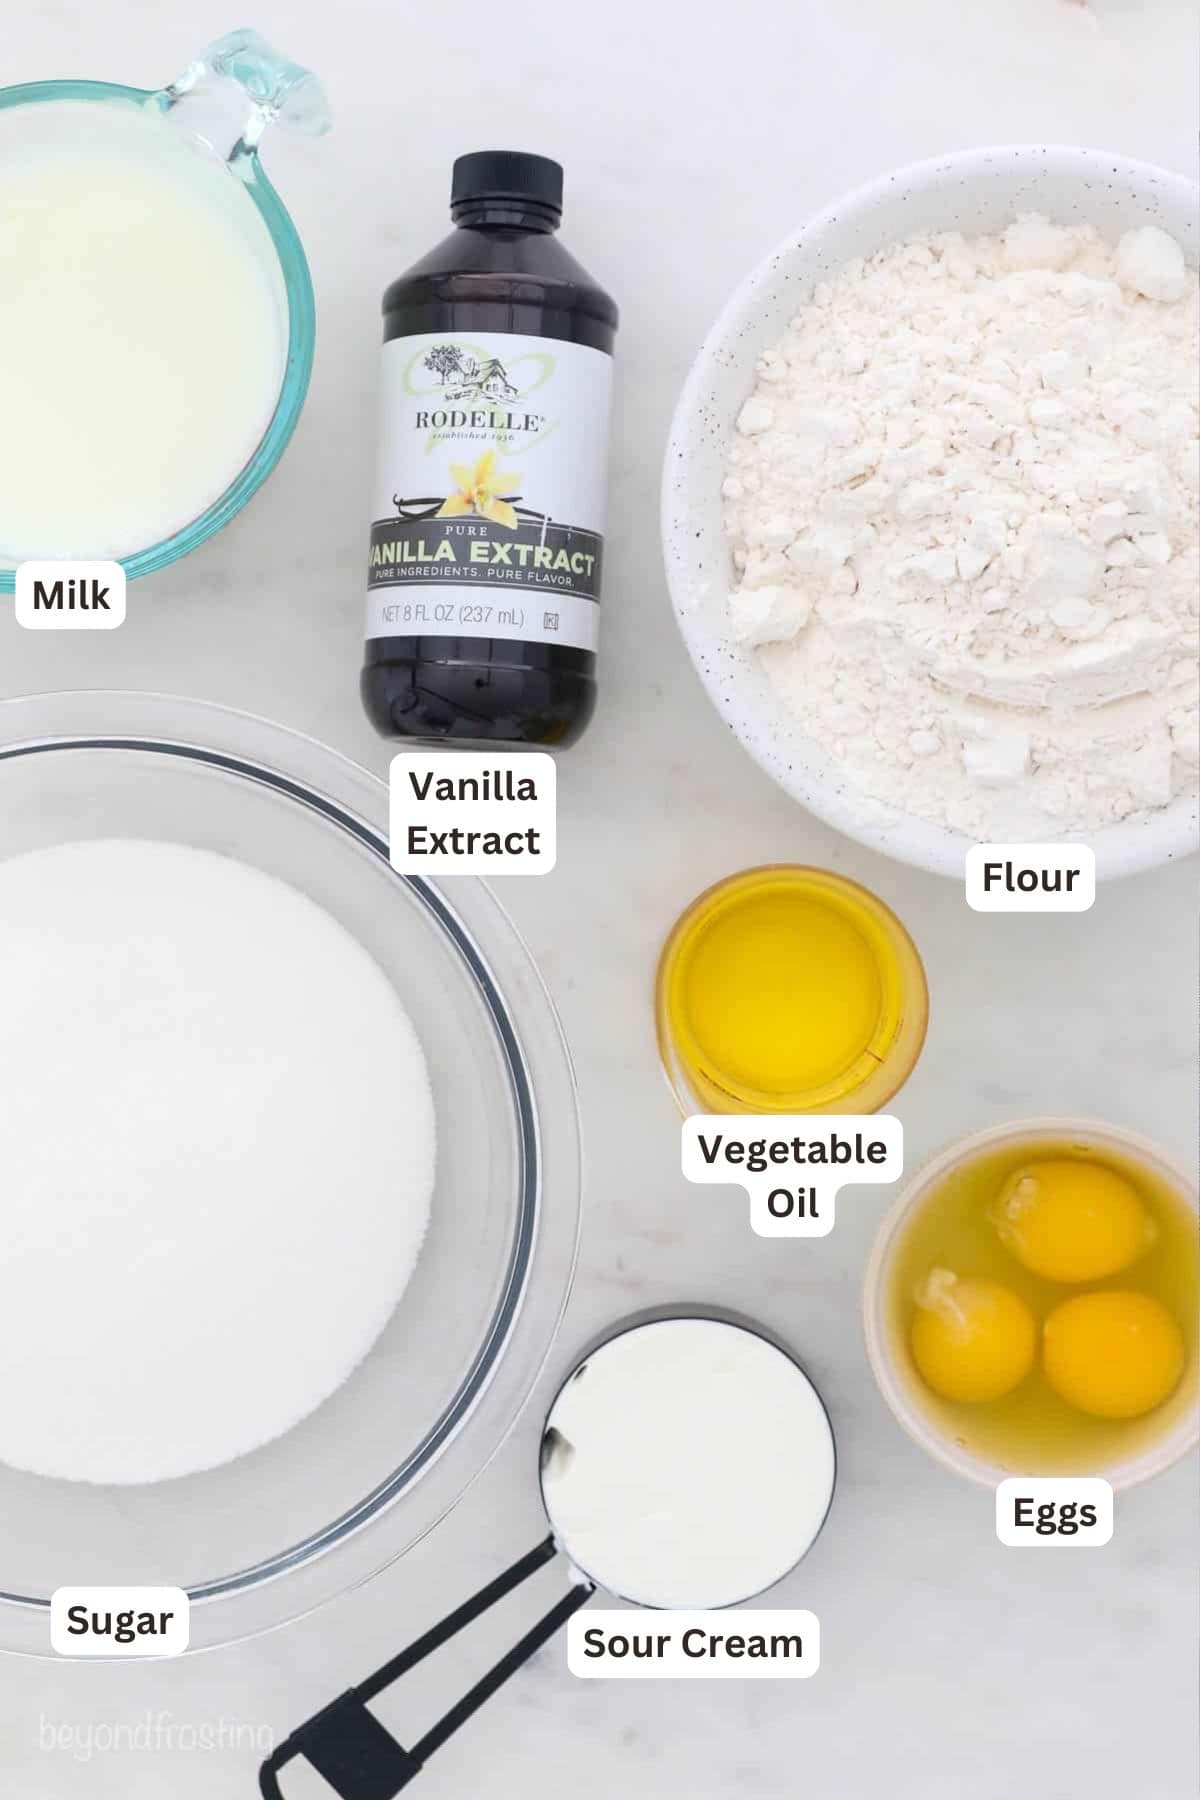
These are the important ingredients in the vanilla cake layers. Scroll to the recipe card for the printable recipe with the full list and exact measurements.
- Vegetable Oil – Oil contributes to the moistness and texture of this cake. Make sure it’s neutral-flavored.
- Vanilla Extract – High-quality, pure vanilla extract is a must for the best flavor. Avoid imitation vanilla since it’s… well, imitation.
- Sour Cream – Essential for keeping the cake moist. If you don’t have sour cream, I recommend substituting it with non-fat Greek yogurt.
- All-Purpose Flour – Measured correctly, either by weighing out the flour using a digital kitchen scale, or using the spoon and level method. Sift the flour afterward to remove any lumps. All-purpose flour is not interchangeable with cake flour in this recipe. I have, however, had success testing this vanilla cake recipe with a 1:1 measure-for-measure gluten-free flour when making my gluten-free vanilla cupcakes.
Bring Your Ingredients to Room Temperature
Bring fridge-cold ingredients like eggs, sour cream, and milk to room temperature before you make your vanilla cake batter. Room temperature ingredients are easier to mix, for a smoother batter and more even baking.
For the Vanilla Frosting
- Butter – The butter for the frosting should be unsalted and COLD. The extra time it takes to whip the butter to a softened consistency yields a smoother, more stable buttercream frosting.
- Powdered Sugar – Also called confectioner’s sugar. Powdered sugar is key for a thick, silky frosting that isn’t grainy.
- Heavy Cream – Or milk, to adapt the consistency of the frosting and make it creamy.
How to Make a Vanilla Layer Cake with Vanilla Buttercream
If you’re new to baking and assembling layer cakes, I recommend reviewing the step-by-step process in detail in my tutorial, how to make a layer cake. It’s very easy, and with practice you’ll be stacking this vanilla cake like a pro.
Bake the Cake Layers
Let’s start with prepping the pans and baking your vanilla cake layers.
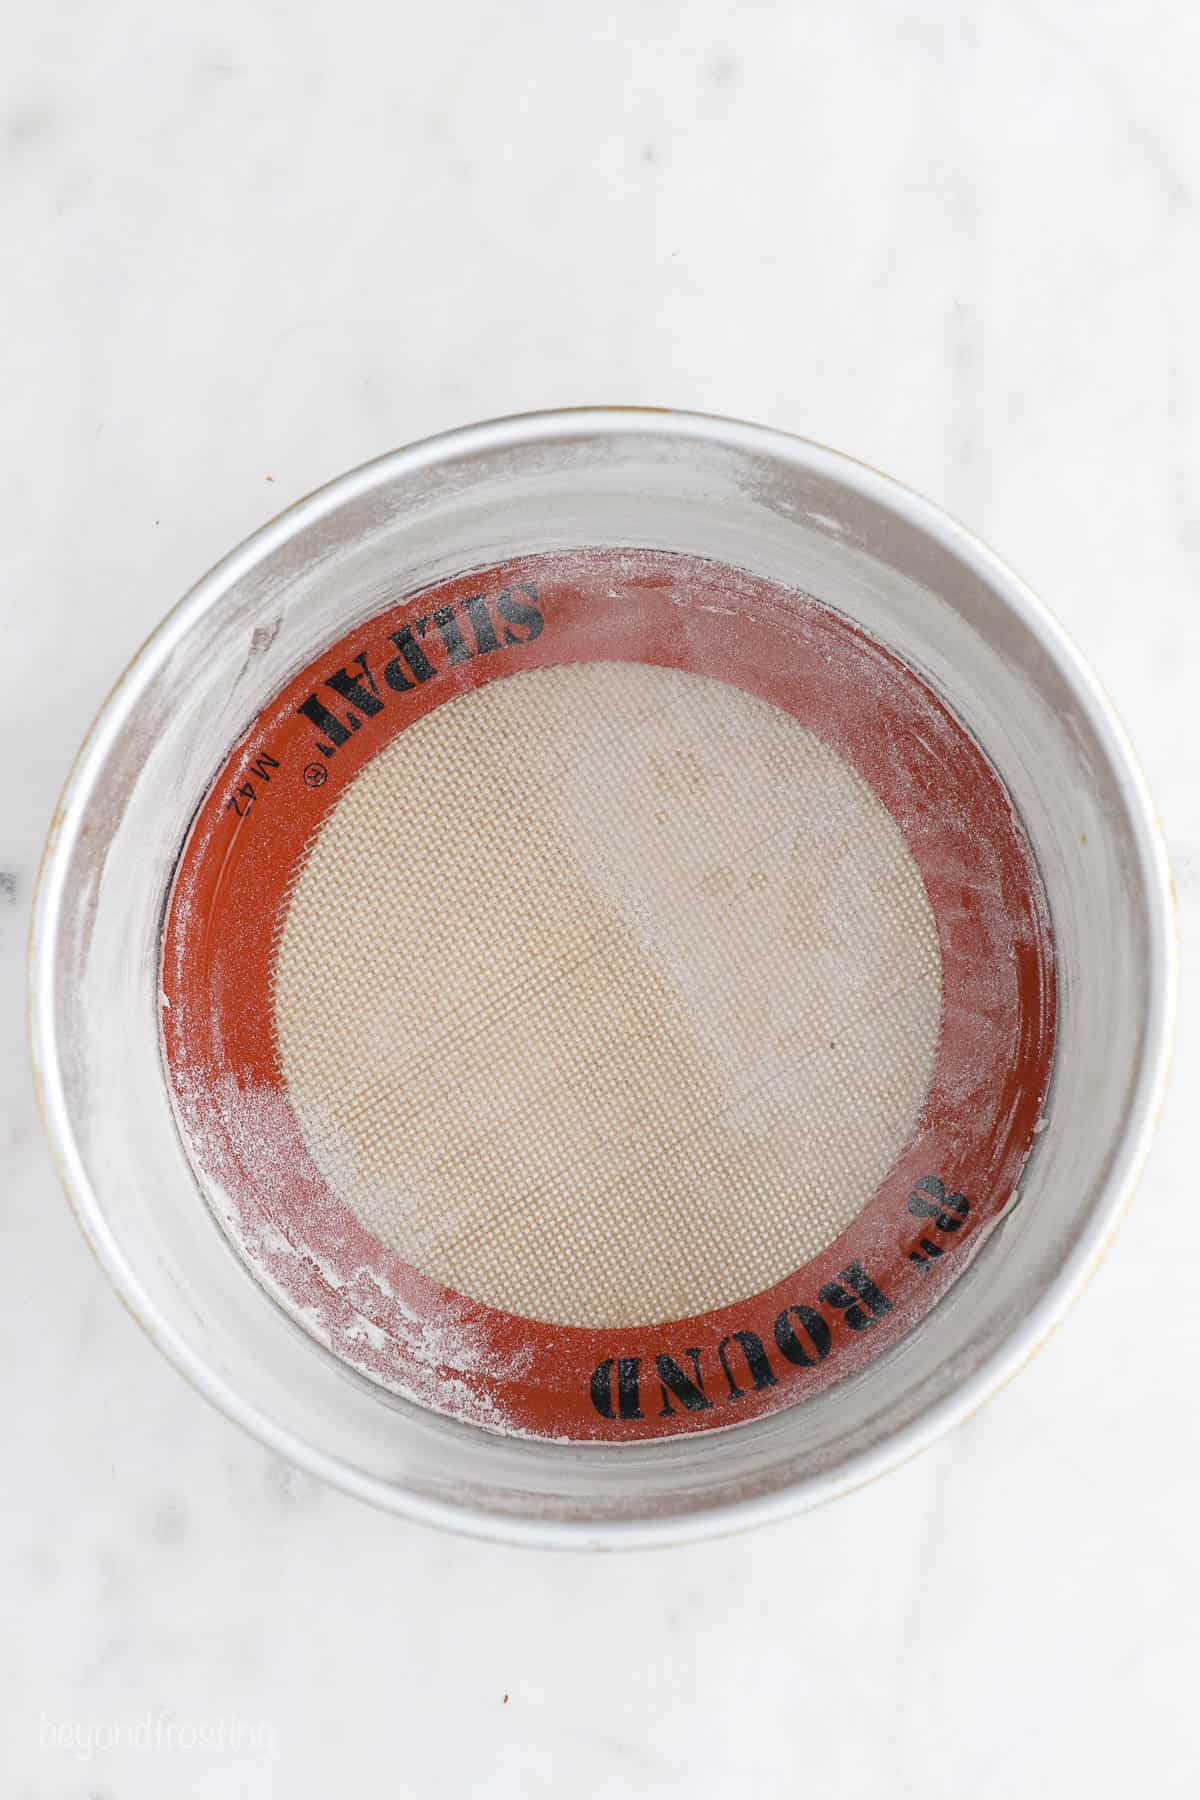
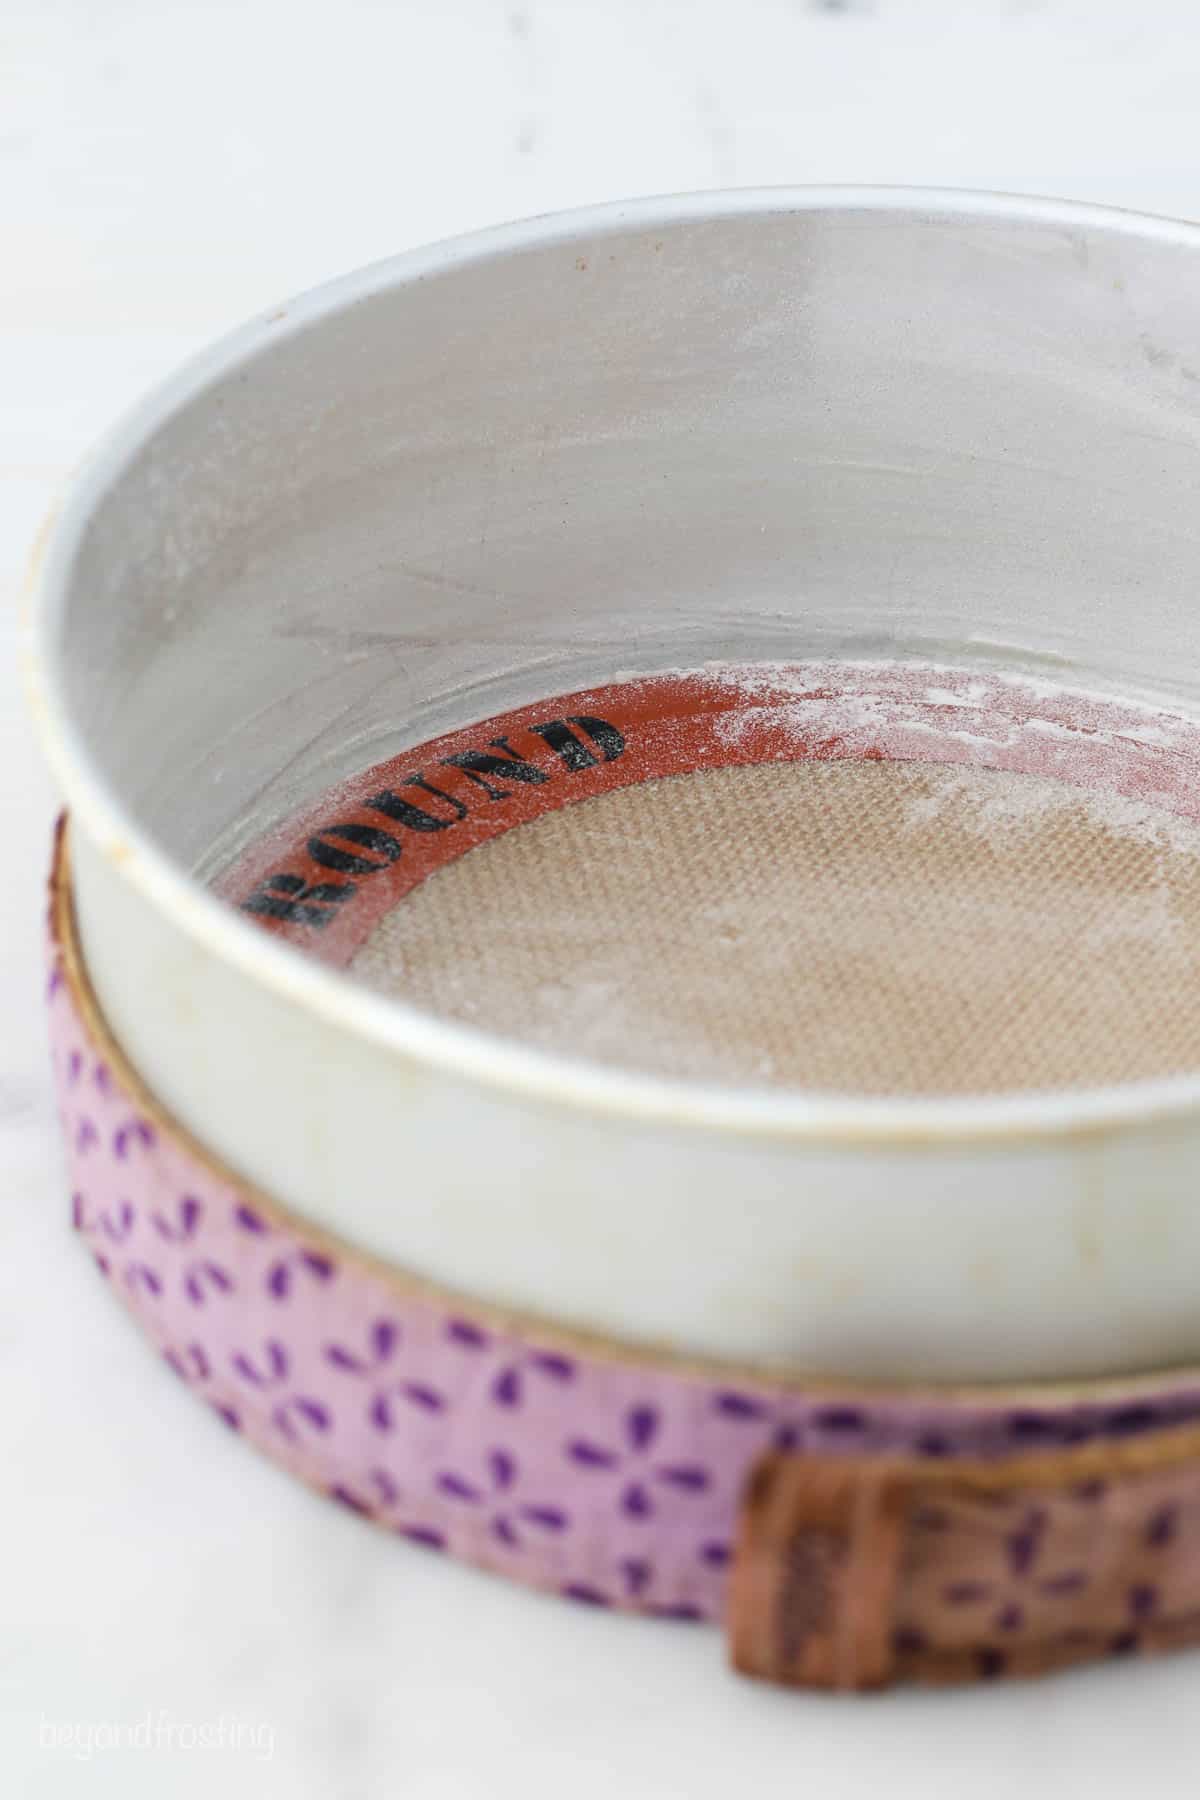
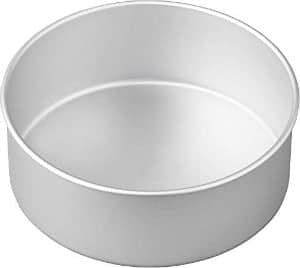
- Prepare the cake pans. First, generously grease and flour three 8-inch round cake pans. I like to use Crisco vegetable shortening as opposed to a cooking spray. Afterward, line the pans with parchment paper or a silicone baking mat. Properly prepping the pans ensures that the cakes don’t stick, and makes it much easier to remove them after baking.
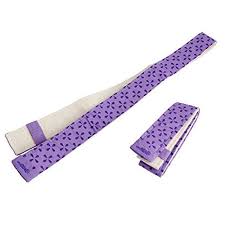
- Add bake-even stripes (optional). I love using bake even stripes because it helps the cake layers to bake flatter. Without them, the edges of the cakes bake quicker, causing the centers to dome. You’ll notice the outside edges of the cake are also a little darker without them. Bake even stripes should be very wet when applied to the outside edge of the pan.
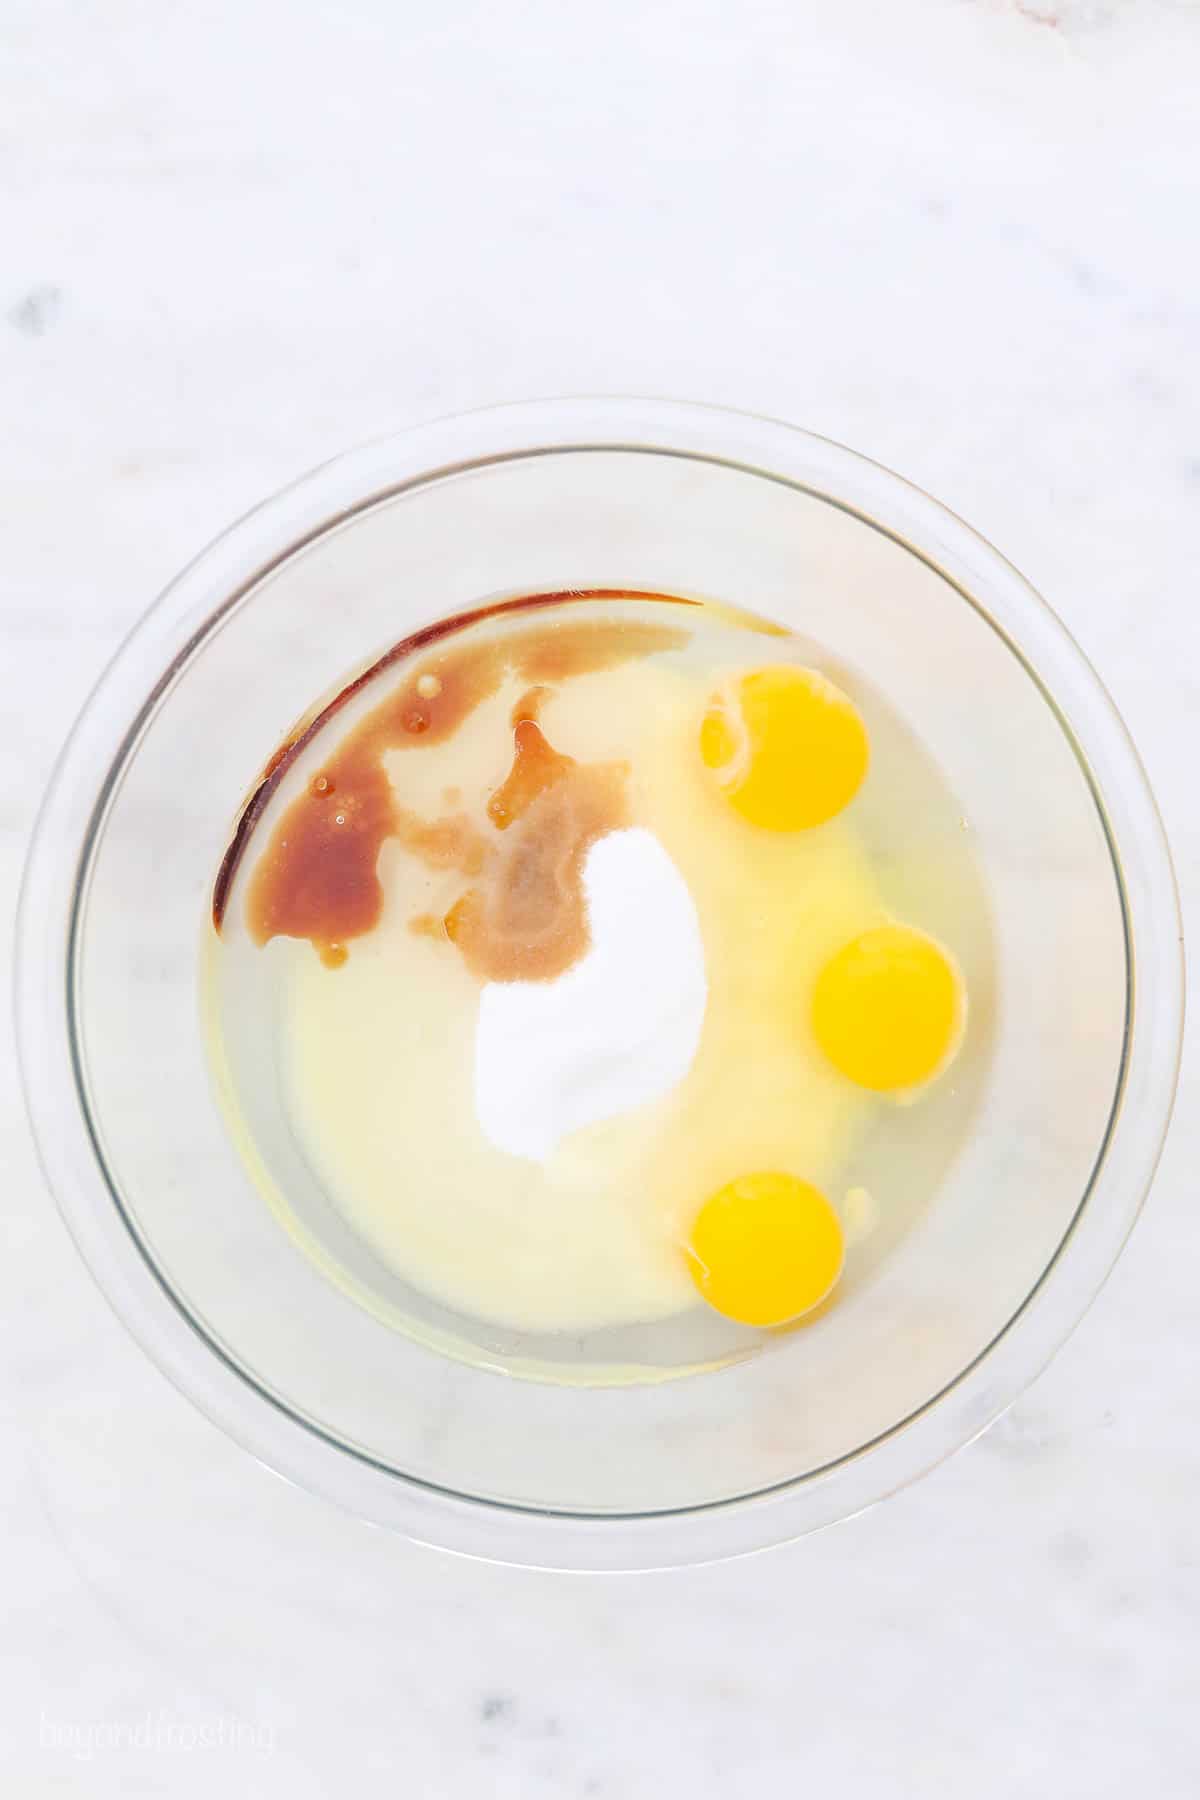
- Mix the wet ingredients. With your pans prepped, beat together the sugar, vegetable oil, eggs, and vanilla extract in a mixing bowl. Add the sour cream and mix well.
- Combine and add the dry ingredients. Next, whisk the dry ingredients together. Add half of the dry ingredients to the wet batter, followed by half of the milk, and mix just until the flour starts to incorporate.
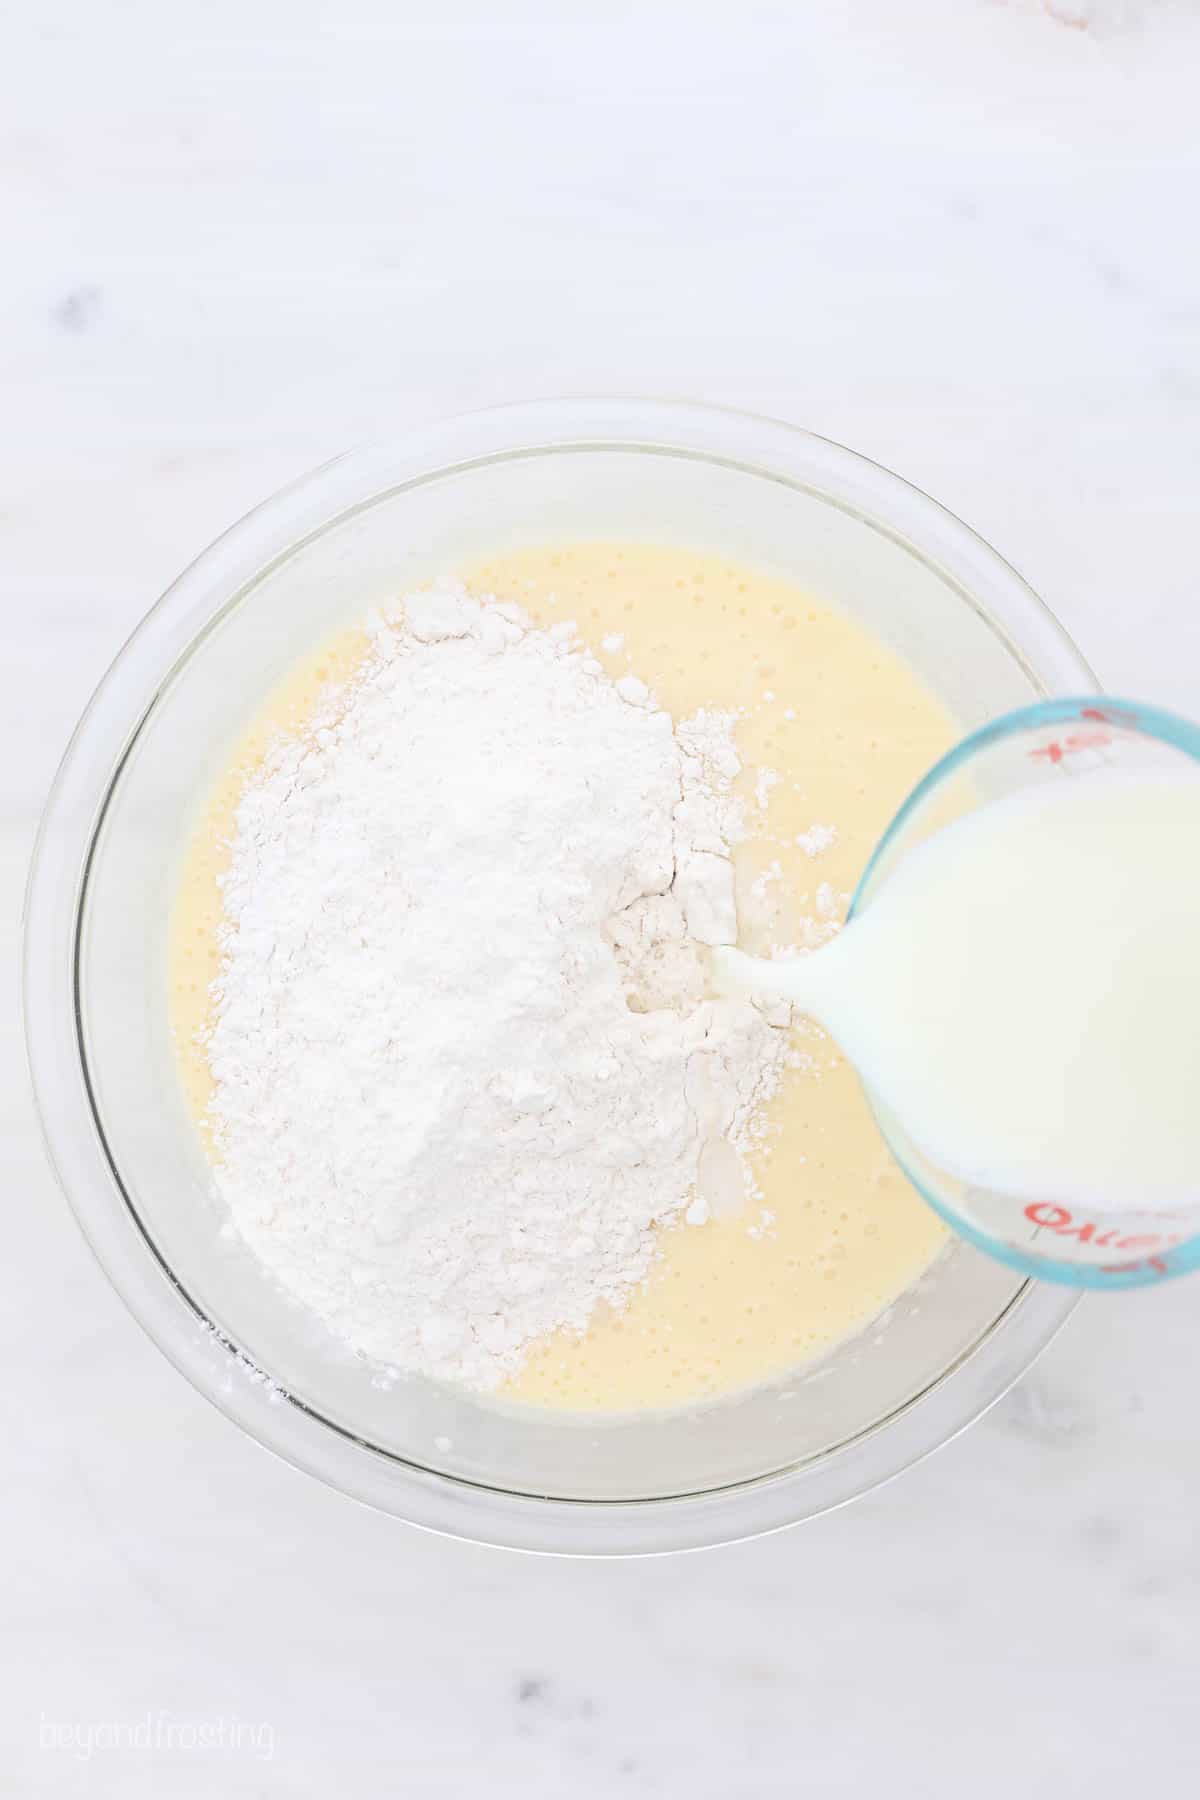
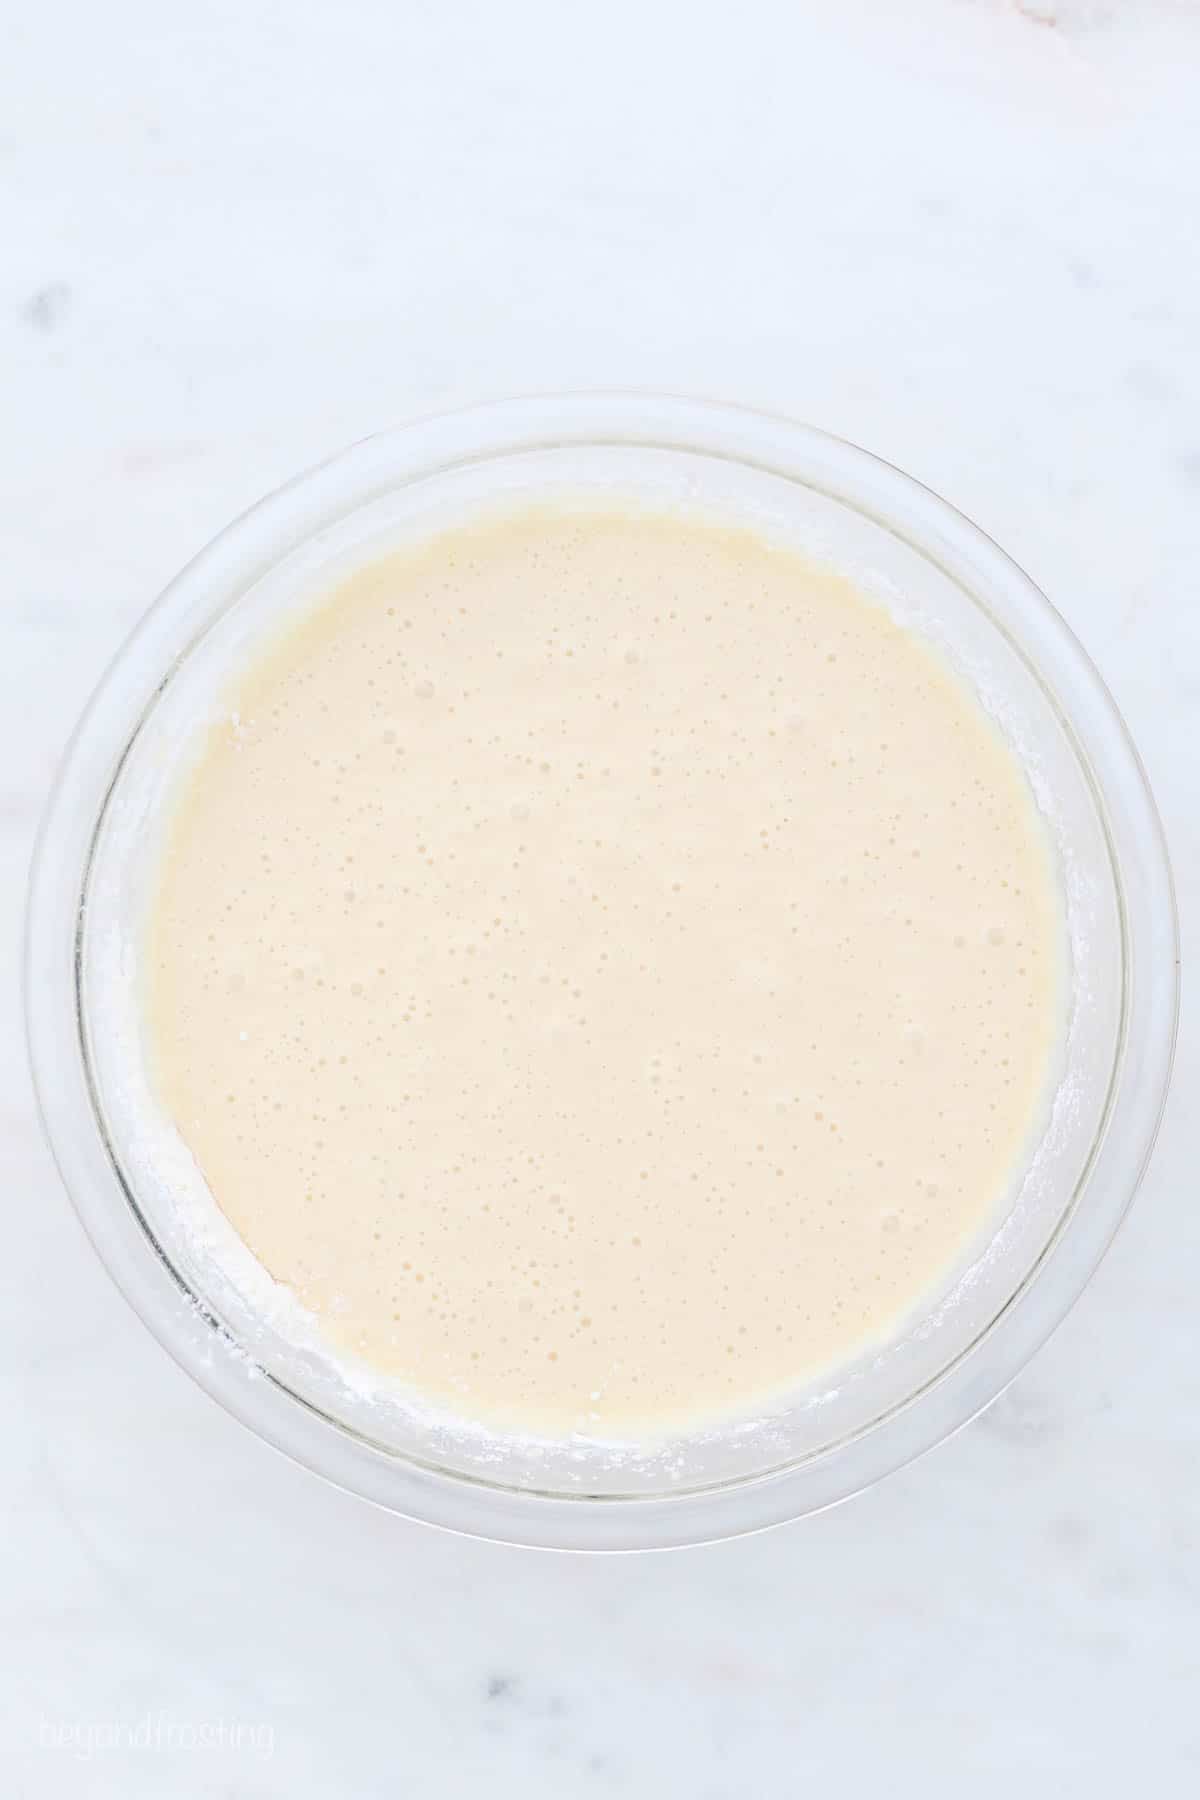
- Finish the batter. Then, add the remaining dry ingredients and milk. Beat the cake batter on low speed until it’s just combined. Do not overmix.
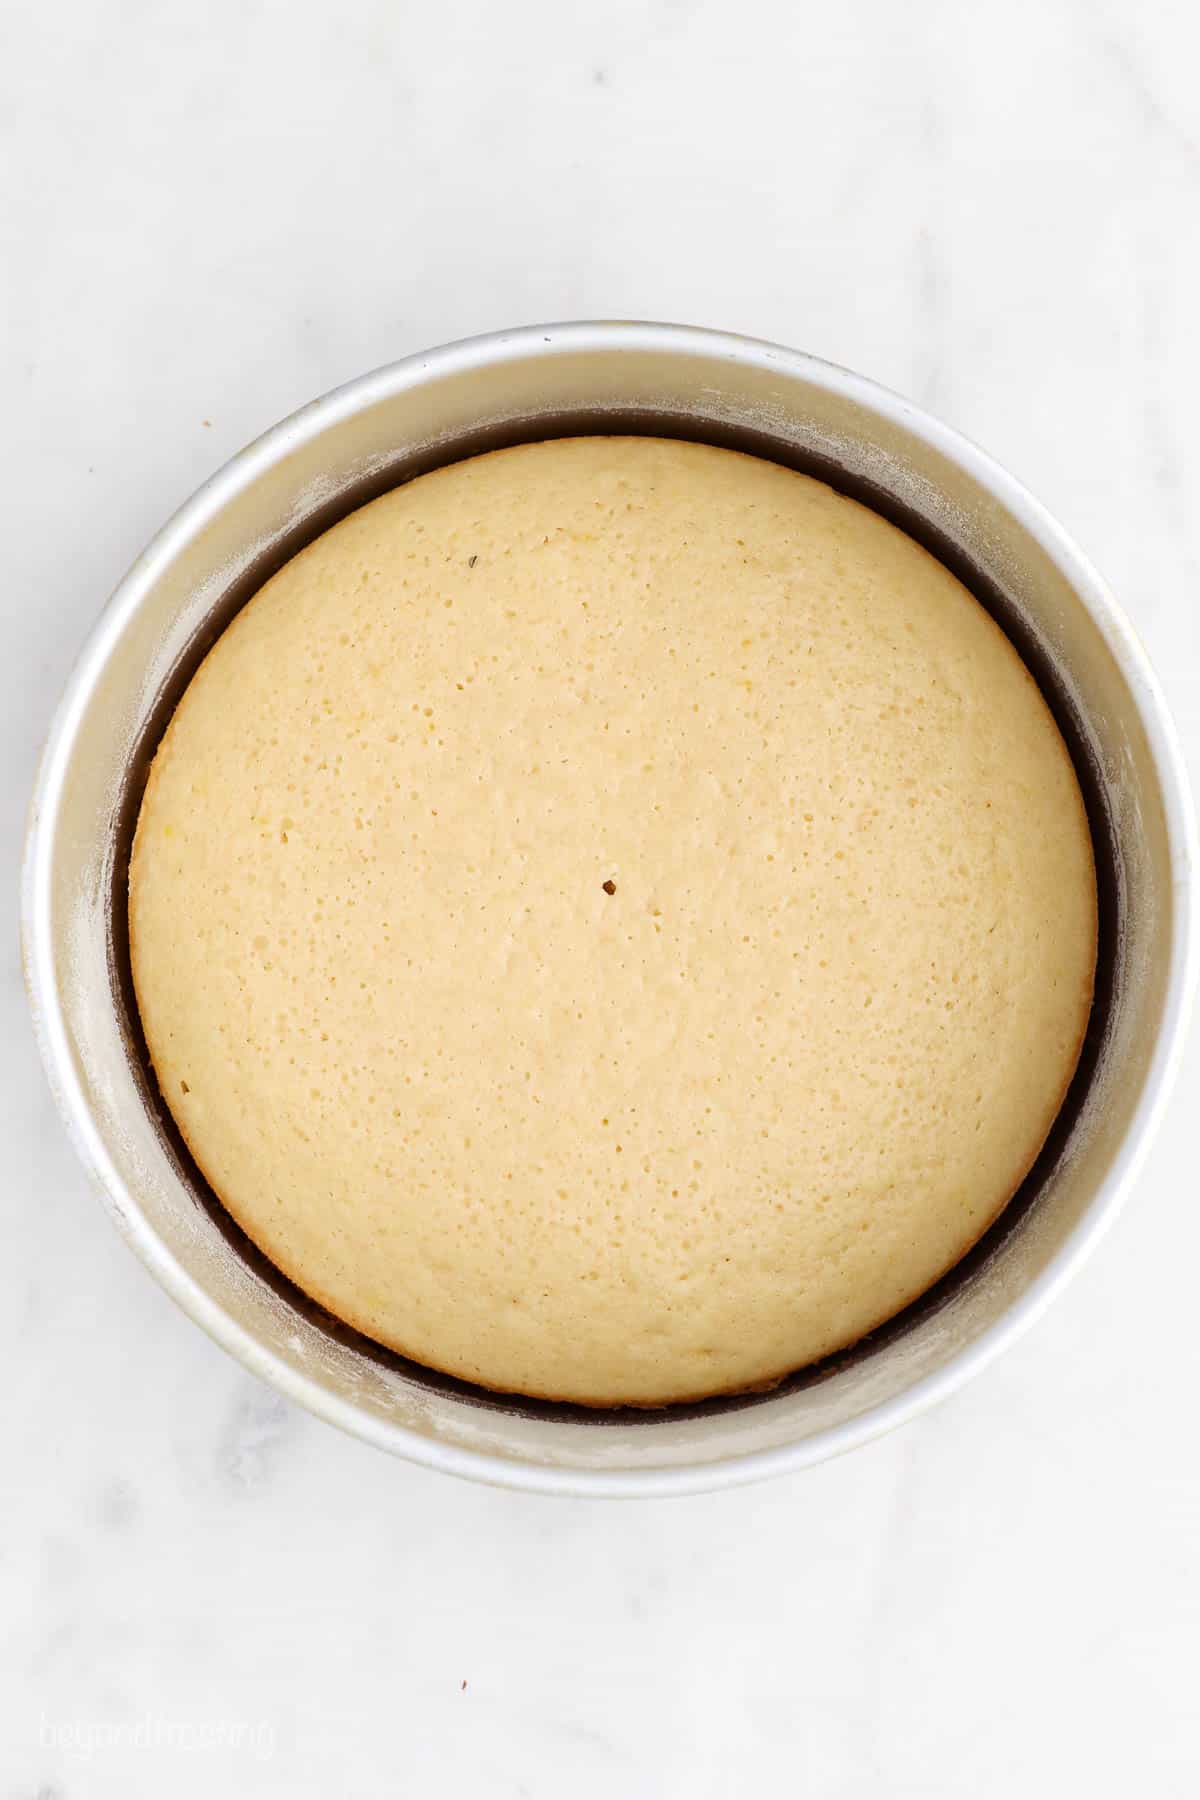
- Fill the pans and bake. Lastly, divide the batter evenly between the three pans (about 1 ⅔ cups per cake pan). Bake the cakes at 350°F for 20-23 minutes, rotating the pans halfway through. The vanilla cakes will need to cool completely before you frost and stack them.
Frosting and Assembling the Cake
For this classic cake, you’ll need quite a bit of frosting. Besides the filling in between the layers, you’ll need extra frosting for decorating. You won’t have to worry about running out of frosting!
- Make the frosting. Cut the cold butter into pieces, and whip it for 5-7 minutes, until lighter in color. Next, add the powdered sugar, 2 cups at a time, alternating with the vanilla extract and heavy cream. Mix well in between each addition, then whip the frosting on medium-high speed for 3-5 minutes until it’s smooth and airy.
- Stack the cakes. Use a cake leveler or a serrated knife to trim any domes from the cooled cake layers, and fill a piping bag with about 2 cups of vanilla frosting (see how to use a piping bag). Starting with the first cake layer, pipe and spread a layer of frosting evenly over the cake. Place the second layer on top, and repeat, ending with a third and final cake layer.
- Add a crumb coat and frost the cake. Finally, fill any gaps between the layers and smooth the frosting over to make a crumb coat. Then, use the remaining frosting to cover the top and sides of your layer cake.
Frosting Options for a Vanilla Layer Cake

Instead of vanilla frosting, you can frost your vanilla layer cake with any of the homemade frosting recipes on my site, including these popular choices.
Coloring the Buttercream Frosting
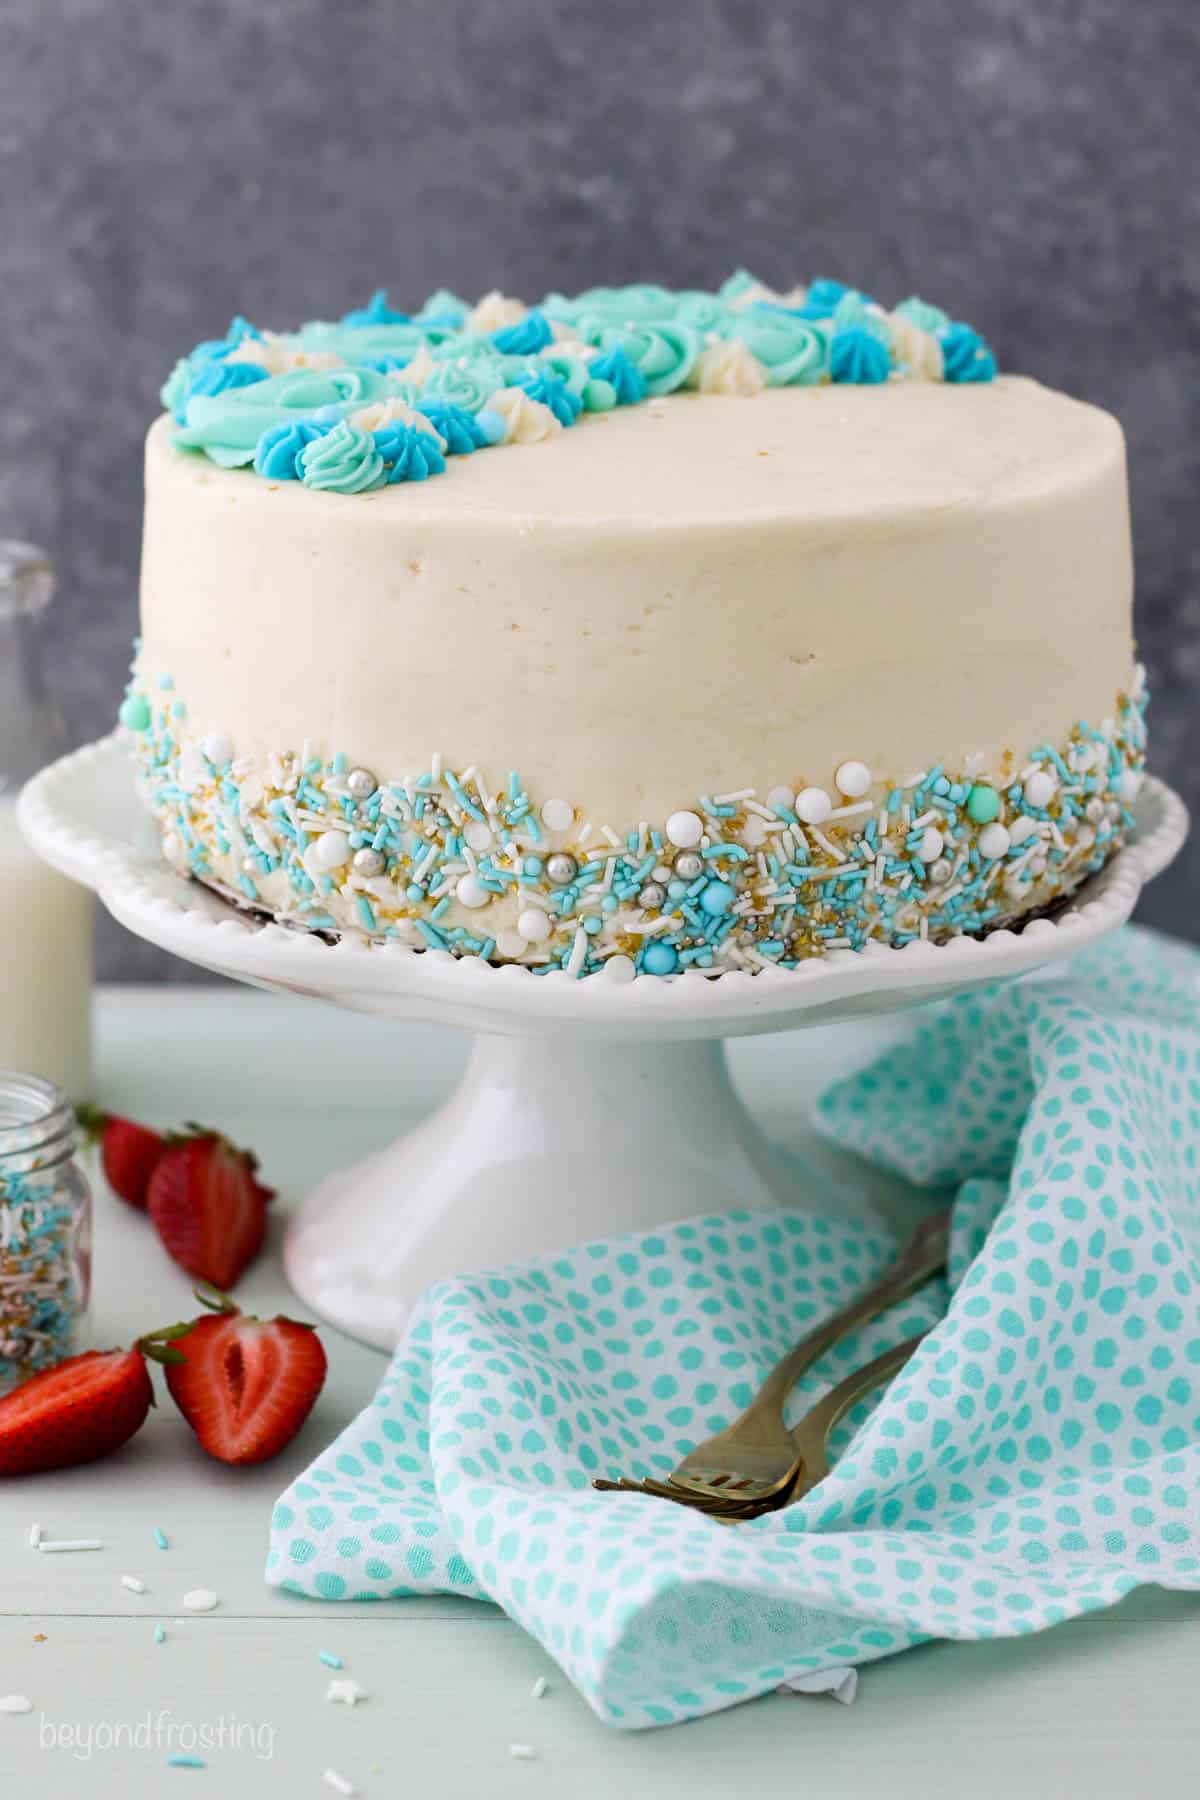
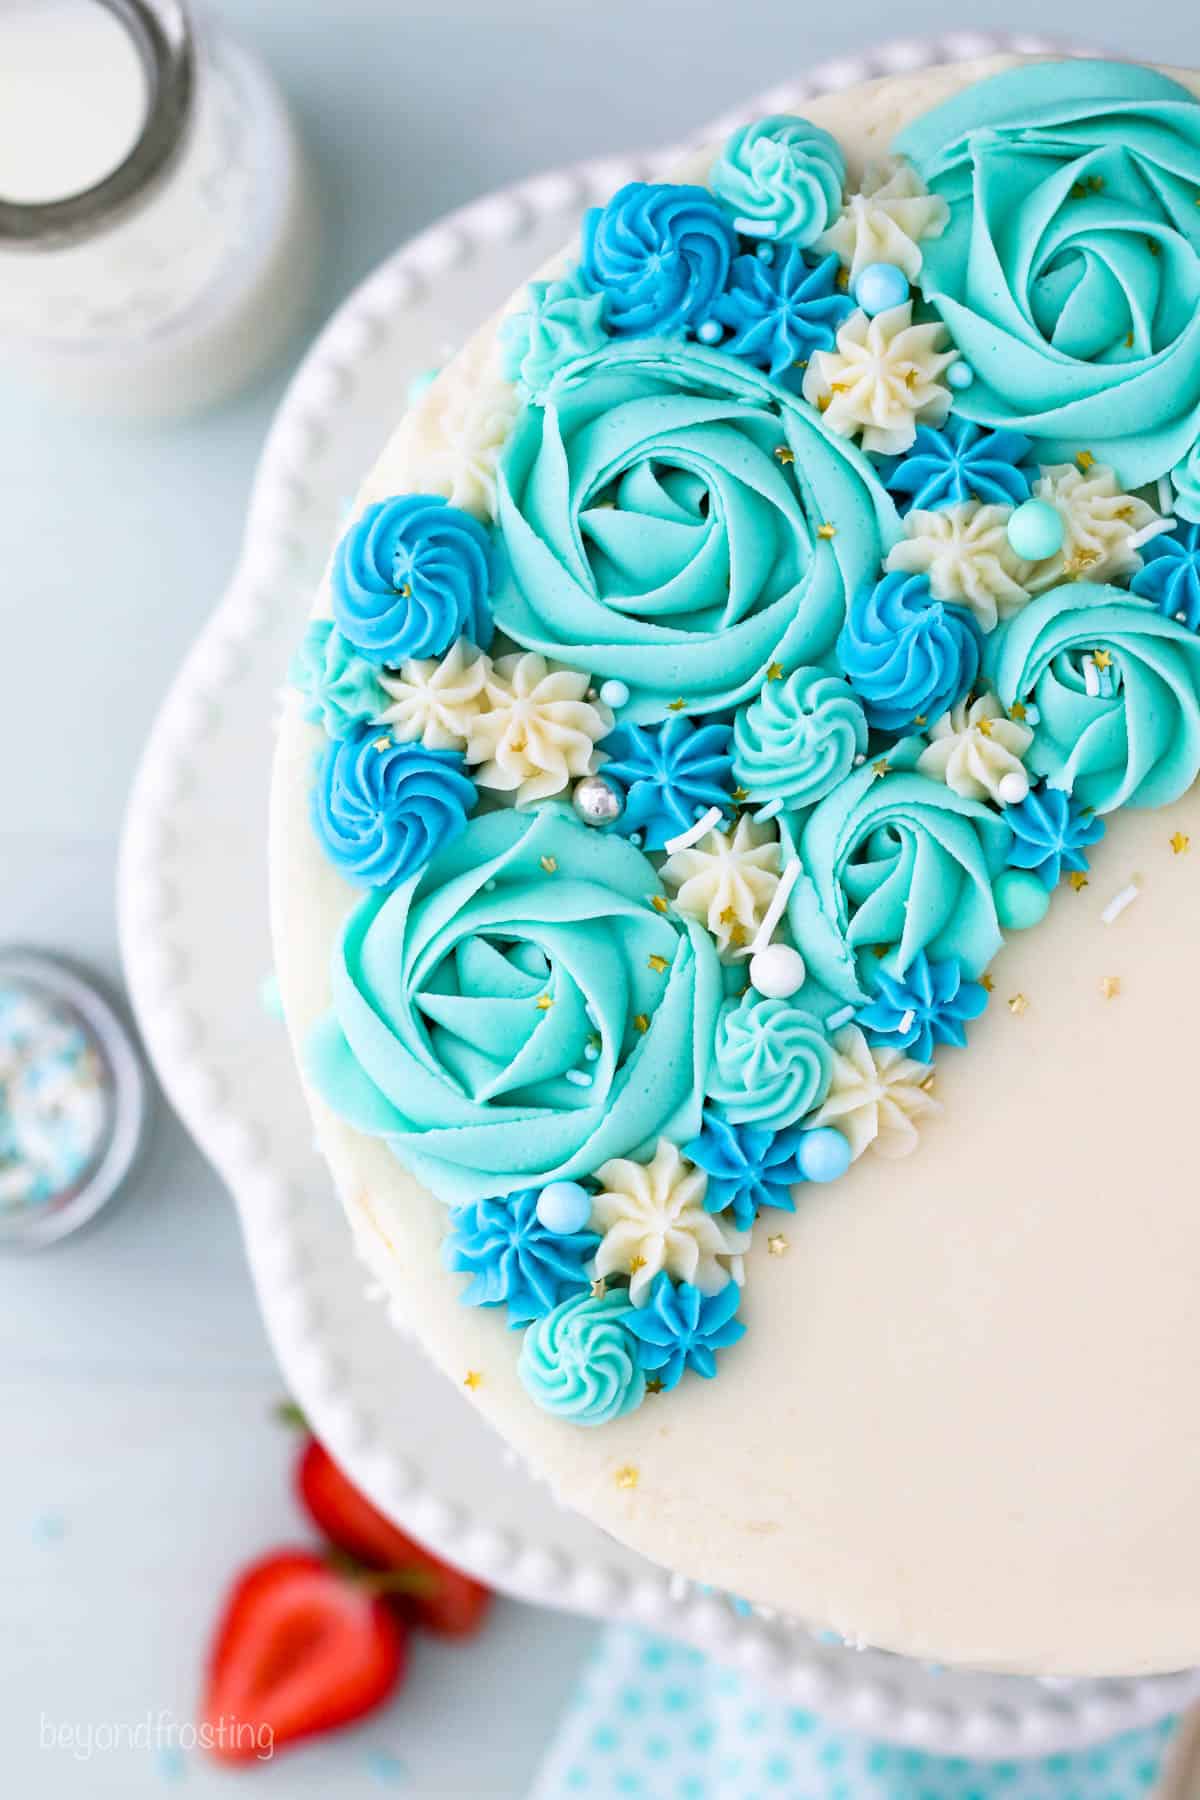
My favorite gel food dyes include the Wilton Color Right Food Gels or AmeriColor Gels. For this vanilla layer cake, I divided the frosting into three bowls and colored two of them shades of blue, leaving the last bowl uncolored:
- 1 cup of frosting for the roses (AmeriColor teal)
- ½ cup for the darker blue color
- ¼ cup of the white, undyed frosting
The best way to dye frosting in different shades is to start with half a drop in one bowl and then get progressively darker. Just remember that you only need a TINY bit of gel to color in these small amounts of frosting. It’s helpful to use a toothpick to add small amounts to your bowls at a time, so you don’t add too much. For more helpful tips on coloring buttercream, see my in-depth guide, how to color buttercream.
How to Decorate a Layer Cake
If you’re not fully comfortable with piping frosting, check out my full tutorial on how to use piping tips and the techniques used in my buttercream flower cake. I also recommend doing a few “test runs” by piping the frosting onto clean parchment paper before you take your skills to the cake. You can even reuse the frosting by scraping it back into your piping bag.
If you’re just starting out, this is a super approachable way to decorate a cake. Here are some of the tools I used:
- 1M Piping Tip: Start by piping your roses, and then fill in the open spaces with the stars and rosettes.
- Open Star Tips: Size 18 and Size 21 can be used to create a variety of shapes and rosettes.
If you use your piping bags with couplers, you can easily switch out the tips with the different frosting colors. These can be purchased at stores like JoAnn Fabrics, Michael’s, a cake supply store, or online.
Baking in Different Pan Sizes
This recipe has been used for several other size pans without adapting the cake batter or baking temperature. Just use a toothpick to test the cakes for doneness at the earliest suggested times. You may also need to scale the frosting recipe accordingly.
- Two 9-inch cakes: Bake at 350ºF for 28-32 minutes. The baking times vary due to how full the pans are, the type of pans you’re using and the true oven temperature. Please note these 9-inch cakes did “crust” a little more on the outside edge due to extended baking times and they rose quite a bite in the middle, so you’ll lose more of the dome when you trim the cakes afterward.
- Two 8-inch cakes: Divide the batter evenly, about 2 ½ cups per pan. Bake for 28-32 minutes.
- 6-inch cakes: A full recipe will make four 6-inch layers, filling each one with about 1 ⅓ cup of batter. Bake for approximately 24-30 minutes. You can halve the recipe for a mini two-layer cake.
- Two 10-inch cakes: I’ve never tested this with 10-inch pans myself, but I would recommend making 2 layers so you still have nice, thick cake. Trying baking for 15-20 minutes and assessing if additional time is needed.
How to Store a Layer Cake
- Store the cake covered. The best option is to use a cake carrier which allows the cake to be kept airtight, locking in the moisture. You can also slice the cake and store it in a Tupperware container.
- Refrigerate as needed. You do not have the refrigerate this cake unless you live in a hot or humid environment. If you need to refrigerate the cake, try to do so in an airtight container. If it’s already sliced, then I recommend placing plastic wrap up against the sliced edge to help prevent it from drying out. It’s best to serve at room temperature, so remove the cake in plenty of time prior to serving.
- Freeze the unfrosted cake. I normally don’t freeze a decorated cake. I’d recommend freezing the layers and frosting in advance, and then thawing and decorating when ready. Place a piece of parchment paper on the top and bottom of the cake layer, double wrap the cooled layers in plastic wrap.
More Easy Layer Cake Recipes
Moist Vanilla Layer Cake
- Prep Time: 90 minutes
- Cook Time: 20 minutes
- Total Time: 1 hour 50 minutes
- Yield: 10-12 slices
- Category: Cake
- Method: Baked
- Cuisine: American
Description
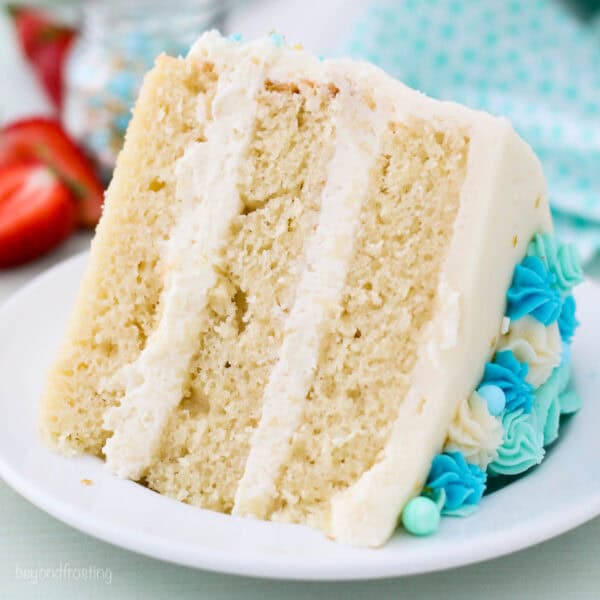
This is the perfect vanilla layer cake recipe! With three thick layers of vanilla cake and my favorite vanilla buttercream frosting. It’s an easy recipe to make using oil instead of butter, for a super moist and spongy cake.
Ingredients
For the Cake:
- 2 cups (380g) granulated sugar
- ½ cup (118 ml) vegetable oil
- 3 large eggs, at room temperature
- 1 tablespoon (14.8 ml) pure vanilla extract
- ½ cup (120g) sour cream at room temperature
- 2 ½ cups (350 g) all-purpose flour, sifted
- 3 teaspoons (11.2 g) baking powder
- 1 teaspoon (5 g) salt
- 1 ¼ cups (296 ml) milk (any type) at room temperature.
For the Frosting:
- 2 cups (453g) unsalted butter, cold
- 7–8 cups (910-1041g) powdered sugar
- 1 tablespoon (15ml) vanilla extract
- 2–3 tablespoons (30-44ml) heavy whipping cream (or milk)
- Pinch of salt
Instructions
For the Cake:
- Preheat the oven to 350°F. Prepare three 8-inch round baking pans, line the bottom with parchment paper, and grease the sides. Prepare with bake-even strips if desired.
- In a large mixing bowl, combine the sugar, vegetable oil, eggs, and vanilla extract. Beat on medium speed until well incorporated. Scrape down the bowl as needed. Next mix in the sour cream and beat until well combined.
- In a separate bowl combine the remaining dry ingredients and sift together the flour, baking powder, and salt. Add half the dry ingredients, and half the milk, and beat on low speed just until the flour starts to incorporate. Repeat until all ingredients are added and combined. Use a spatula to scrape down the sides of the bowl and stir the batter from the bottom to the top to ensure it’s well mixed.
- Divide the batter evenly between the three pans, about 1 2/3 cups of batter per pan. Bake at 350°F for 20-23 minutes. Rotate your pans in the oven halfway through baking (around 10 minutes). Test the cake for doneness by inserting a toothpick into the center of the cake. If the toothpick comes out clean, the cake is done. Remove from the oven and allow to cool completely.
For the Frosting:
- Cut butter into pieces. Using the paddle attachment, whip the butter for 5-7 minutes, scraping down the bowl occasionally. Beat until the butter looks light in color.
- Alternate adding 2 cups of powdered sugar at a time with the liquid ingredients: vanilla extract & heavy cream. Ensure the powdered sugar is well combined, then and whip for 1-2 minutes before adding more powdered sugar.
- Once all the powdered sugar has been added, increase speed to medium-high and beat for another 3-5 minutes to whip additional air into the frosting.
To Assemble the Cake:
- Use a cake leveler I cut the domes off the top of the cake. Place a dollop of frosting on your cake board and place the bottom layer of cake on top of that.
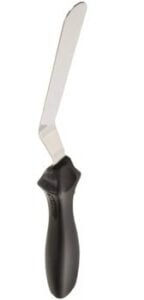
- Place about 2 cups of frosting in a large piping bag fitted with a large open round tip, or simply cut off the end of the piping bag. Pipe a layer of frosting on top of the cake, starting at the outside edge and working your way into the middle. Spread evenly with an offset spatula. Repeat with the second layer of cake and then place your third layer on top.
- Use your piping bag to fill in any gaps between your layers and to create a crumb coat. Using an offset spatula or icing smoother, wipe away the excess frosting, leaving you just enough to coat the outside of the cake. Do not mix your crumb-coating frosting back into your icing if it has cake debris in it.
- Proceed to frost the top and sides of the cake using your offset spatula. Once the sides of the cake are covered, use you icing smoother to remove any excess frosting.
To Decorate:
- Use your hands to press the sprinkles into the sides of the cake. It’s best to do this over a sheet pan lined with parchment paper, allowing you to easily capture and reuse the sprinkles that fall off the cake.
- Take your leftover frosting and separate into 3 bowls: 1 cup, ½ cup and ¼ cup of white frosting (undyed). Dye 2 bowls with you desired color, and leave 1/4 cup of frosting uncolored.
- In a small piping bag, use a 1M piping tip to pipe the large roses on top of your cake.
- Place the other frosting in two small piping bags, fitted with a coupler and size 18 or size 21 tips, fill with your other color and the white frosting. Fill in the negative space with a mix of stars and small rosettes.

Notes
Adjusting the cake sizes:
-
- For two 9-inch cakes, they baked from 28-32 minutes. Baking times will vary due to how full the pans are, type of pans, and true oven temperature. Please note these did “crust” a little more on the outside edge due to extended baking times and they rose quite a bite in the middle, so you’ll lose more of the “dome” of the cake.
- For two 8-inch pans: divide the batter evenly, about 2 1/2 cups per pan. Bake for 28-32 minutes.
- For 6-inch pans: a full recipe will make four 6-inch layers, filling each one with about 1 1/3 cup of batter and baking for approximately 24-30 minutes. Here is the mini 2-layer version.
- For 10-inch pans: I’ve never tested this with 10-inch pans, but I would recommend a 2 layer cake so you still have nice thick layers. Trying baking for 18-20 minutes and assessing additional time needed from there.
Ingredients Substitutions
- Sour cream substitute: Substitute with non-fat Greek Yogurt if you do not have sour cream.
- Milk: Any type of milk can be used (full, reduced or low-fat)
- Oil substitutes: I have tested substituting 1/2 cup melted butter in place of the oil. The cake still bakes just fine but I prefer the texture of the cake make with oil.
Preparing and Storing:
- The best option is to use a cake carrier which can allow it to be stored in an airtight container. You do not have the refrigerate this cake unless you live in a hot a humid environment. This is best served at room temperature. Cake layers can be prepared up to 2 days before serving. Cool completely and wrap tightly with plastic wrap or store in an airtight container.
Nutrition
- Serving Size: 1 slice
- Calories: 944
- Sugar: 113.4g
- Sodium: 384.2mg
- Fat: 43.6g
- Saturated Fat: 28.4g
- Carbohydrates: 135.8g
- Fiber: 0.7g
- Protein: 5.9g
- Cholesterol: 135.9mg
Delicious and moist. Best vanilla cake I have made and I am glad I found my new go to vanilla cake recipe. Thanks for such an incredible recipe!!!!
Yes Allison! That is amazing! I am so happy you found my recipe! Thanks for sharing!
I love this cake and have made it several times–but does your baking time include the use of baking strips? The last time I made this cake I used an old printed version of the recipe. I used baking strips and when I took the cake out, it tested done with a toothpick, but WAS NOT done in the end (think super chewy & shallow layers/husband’s birthday cake ruined–sad face–certainly not your fault though). I had forgotten that I typically added 7-10 minutes to your baking time when I used cake strips in the past (I cooked with two 8 inch pans). Please help, because I plan to make this cake for Christmas. Thank You!!
Hi Lynn, I do bake all my cakes with bake even stripes and the times in the post are from my oven. The baking times will vary for sure, especially if the oven was not fully preheated, or maybe the internal oven temperature is off, type of pans, how wet the bake even stripes are etc can all result in variances. Regarding extra baking time, maybe a couple of extra minutes. A 2 layer 8-inch cake should be much thicker, it’s strange that it tested done but was shallow.
Hi can i use this recipe for a three tiered cake?
Thanks
I haven’t tried it but this is a very stable cake, and I think you should be able to do so if they are stacked properly.
Hi. I would like to try this recipe in a round 10 inch pan (26cm), with 2 layers. I saw your recommendations. What I want to make clear is, do I make two separate batches with the full recipe? Or do I separate the one batch into two pans?
If you want to do two 10-inch pans, you can just make one batter (batch) and divide it evenly between the two pans
I’m not a regular baker at all but I followed the recipe and it did have good flavor but I messed up somehow. I let it cool completely then wrapped my two layers in plastic wrap a d stuck in fridge, the next day I iced the cake and I did not have an air tight container for it so I just put it in my fridge and then the day after that I served it. It was stale. I did make it 2 days before but I hoped refrigerating it would help keep it moist. What could I have done differently?
Hi Gina, thanks for your question. The refrigerator will actually dry out the cake unless it’s stored properly. So if you make the layers only one day ahead of time, you can double wrap in plastic wrap and just leave them at room temp, you don’t really need to refrigerate them. Once the cake is frosted, it really only needs to be refrigerated if you live in a hot or humid climate. If you do store it in the fridge, it needs to be stored in an airtight container so that it doesn’t dry out. I hope that makes sense.
Please if I want to cut the recipe in half how do I go about it with the eggs? Since there are 3 called for, do 1 and a half? How do you go about it if the eggs are large or small? If they’re small do I just use two? Help please I wouldn’t want to put less or more in the recipe
For a half recipe I use 2 large eggs and 2/3 cup milk
How much batter would I need for a 13 x 18 half sheet cake?
I have never baked a cake that size but I’ve baked an 11×17 using one batch of the batter as written. Obviously, it’s quite thin.
I have a question. Can you tell me how high your cake gets? I just halved this recipe to make one 8 inch cake – with the plan of torting it for two layers. My cake looks nice, but it is quite thin – only about 1.25 inches high. Did I do something wrong? I’m just wondering if my cake should be taller.
Hi Michelle, it doesn’t sound like you did anything wrong. I don’t recall exactly how tall a single layer 8-inch cake is, but once you cut the dome off the top, to split in half would be rather thin. Doable but thin. Here is what a two layer 8-inch cake looks like.
Thank you for the recipe, may I know at which point do I remove cake from.baking pan . Can I use colour/ marble this cake for a colourful kids cake or is it too thin
I usually give it 15-20 minutes in the pan before removing it. If you want to do a cake with colored marble, I recommend using my yellow cake instead. The vanilla one is too thin and the colors tend to run together. I used the yellow cake to make this rainbow cake and it came out perfectly.
I feel like this cake is over dense/moist to the point where it stuck to the roof of my mouth. The flavor was good, but texture wise, it was way too dense and moist.
Thanks for sharing your feedback Jacki. This cake is definitely a more dense cake than it is light and fluffy
Hi Julianne,
I firstly have to say huge thank you! Omg this sponge is on next level. I am no baker but tried my best and thanks to you was amazing.
Just little q. Can we have less sugar in sponge?
Thank you
Thank you Margit, I am so happy to hear that! Some people have reduced the sugar to 1 1/2 cups with success. I have no tried it and it will alter the results.
Hello, thanks for this recipe! I would like to know if any of the listed ingredients should be at room temperature before starting my cake ?
Hi Lydia, I do not usually make them with room temperature ingredients. That being said, the recipe also works great with room temperature ingredients
Can this cake recipe be used for a regular 9×13 pan? Thanks
Yes- this is the recipe for the 9×13 inch version: https://beyondfrosting.com/moist-vanilla-cake-recipe/
best cake ever😋😋😋,,,,love it and enjoyed lots….thank you for the beautiful and lovely recipe
Woohoo! Thank you Pema!
Hello! I love your recipes! I’m making this beautiful cake for my grand daughter’s 6th birthday, her mom is GF. Will cup to cup flour still make this amazing cake delicious? and, If I use cup to cup flour, are there any other recipe adjustments I need to make? Thank you! Pamela
Hi Pamela! YES! A cup to cup all-purpose gluten-free flour is the best option. I’ve done this several times! No other adjustment needed.
Hi,
I just want to confirm that in order to make a 8inch 4 layer cake I need to double the recipe?
I use silicon cake cake tins.
Thanks!
Hi Cat, I would probably do 1.5x times
Oh my goodness ! I made this cake Thursday evening only substituting mayo for sour cream because I didn’t have any. Folks it was a success. The cake was dense and moist. I was told it tasted like a famous bakery in Nassau, Bahamas
So amazing Rivianna! Thanks for sharing the tip about the Mayo!
Could you add frozen berries to the batter before baking?
I have not tried it with frozen berries myself. The batter is quite thin, so the berries may sink to the bottom.
Could I just add sprinkles to the batter for a homemade funfetti cake?
Yes but my actual funfetti cake I also make with buttermilk. This recipe can be made as a 3 layer 8 inch cake
I have made this cake several times and everyone I’ve made it for just absolutely loves it. I was wondering is there a way that I can make this cake into a marbled cake with chocolate?
Hi Kristina! I have a separate marble cake recipe coming in January, but it’s based off my yellow cake, not my vanilla cake
Would the result be good if I decreased the sugar somewhat? We don’t like it overly sweet. How much could I decrease the sugar by without compromising the texture, moisture of the cake?
Also, how about buttermilk instead of sour cream? Would that work well?
Hi Jody- I recommend baking the recipe as it. Any variation of the ingredients will not produce the same results, it will compromise the texture and moisture. Some people have reduced the sugar by 1/2 cup and been happy with it. I have not baked it this way myself. The best substitute for sour cream or plain or Greek yogurt.
Has anyone used buttermilk in place of milk with success? I have buttermilk I want to use up.
I’m not certain.
I doubled this cake recipe and was able to make 3 layers of 8 inch cakes (at your recommended 2.5 cups batter) AND 3 layers of 6 inch cakes. Very excited they rose beautifully and cooked between 25-35 minutes.
Thank you so much Tammy for sharing! I am so glad you loved it!
Hi, I love in South Africa and we don’t have all purpose flour, can I use cake flour instead?
Hi Tsakane, unfortunately they are not a 1:1 substitute and I have not tested this recipe with cake flour.
Hi I don’t have sour cream or yogurt can u substitute it ??im making a cake for my grandma… please reply
I guess I would just leave it out then, the cake will not be nearly as moist.
I was taught to use mayonnaise