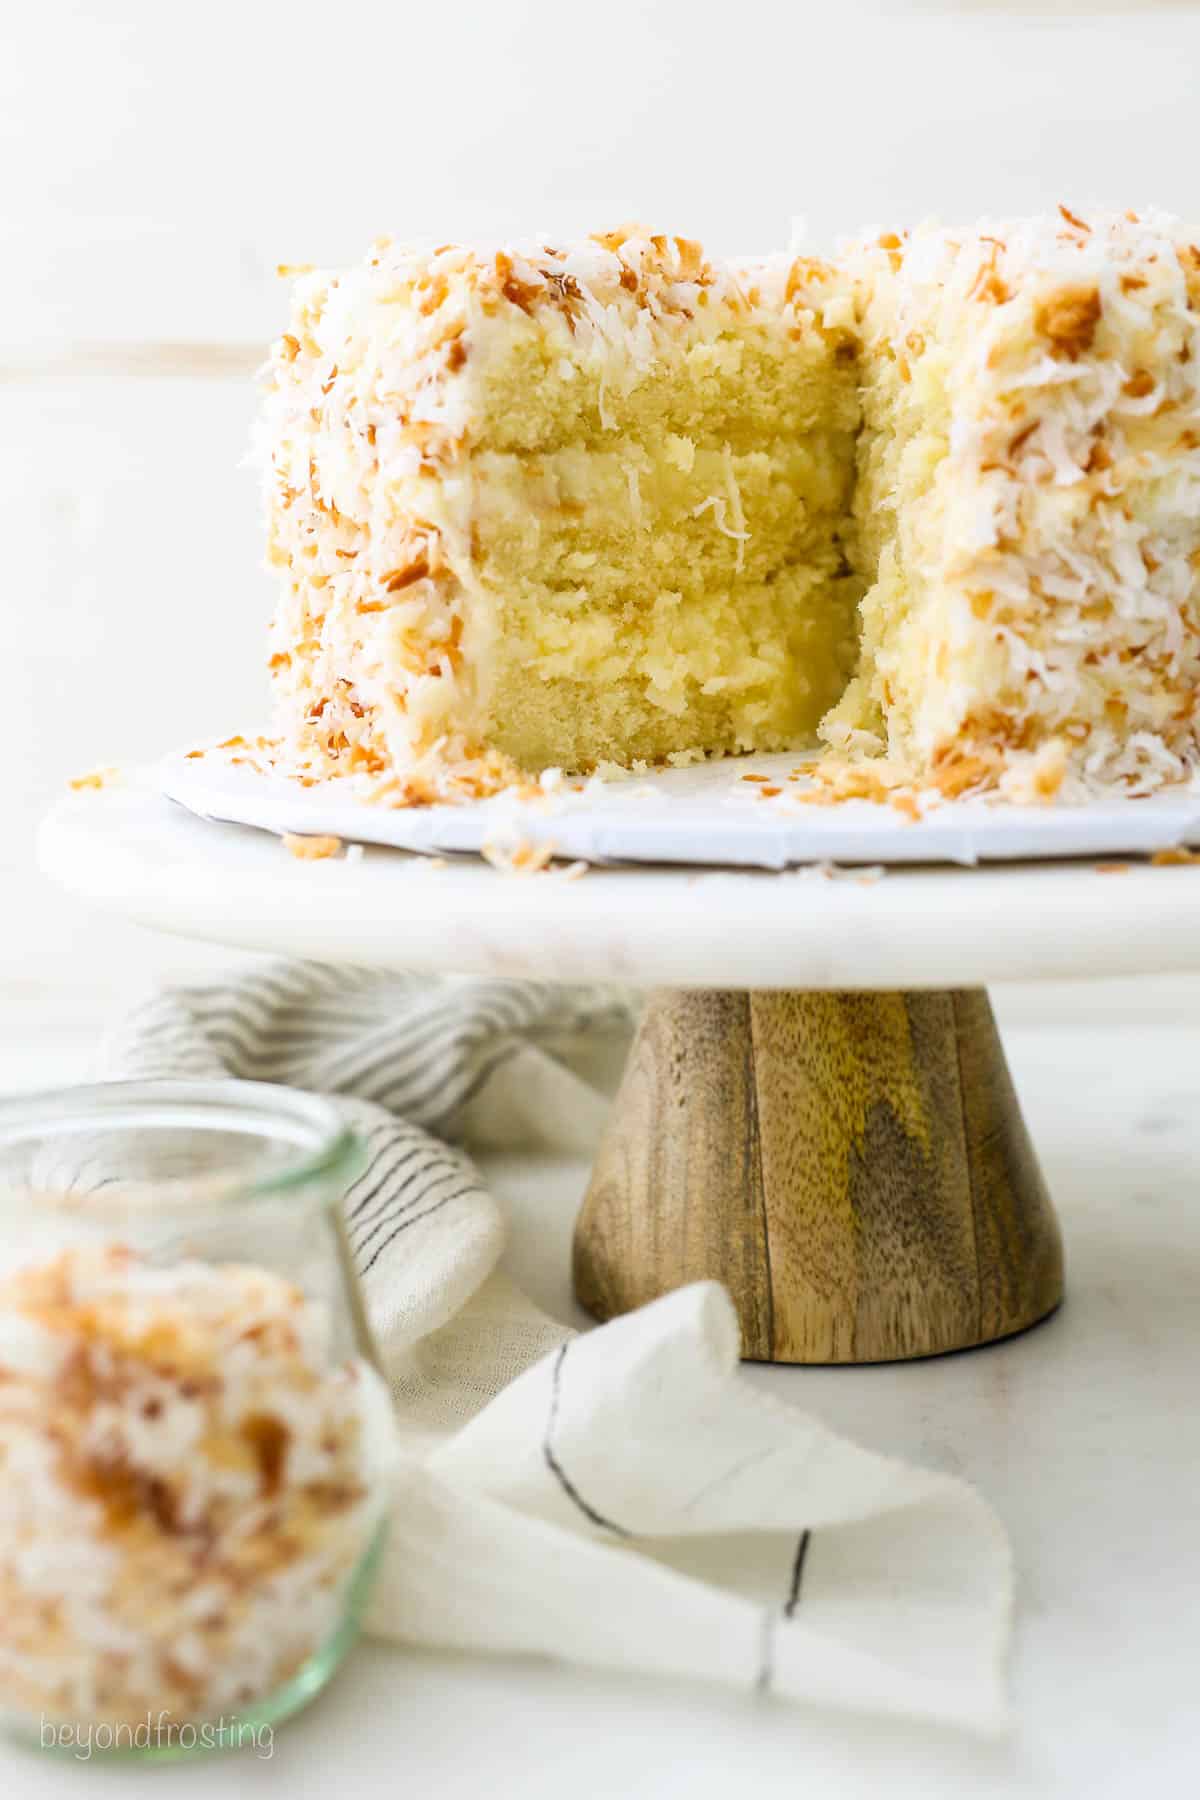
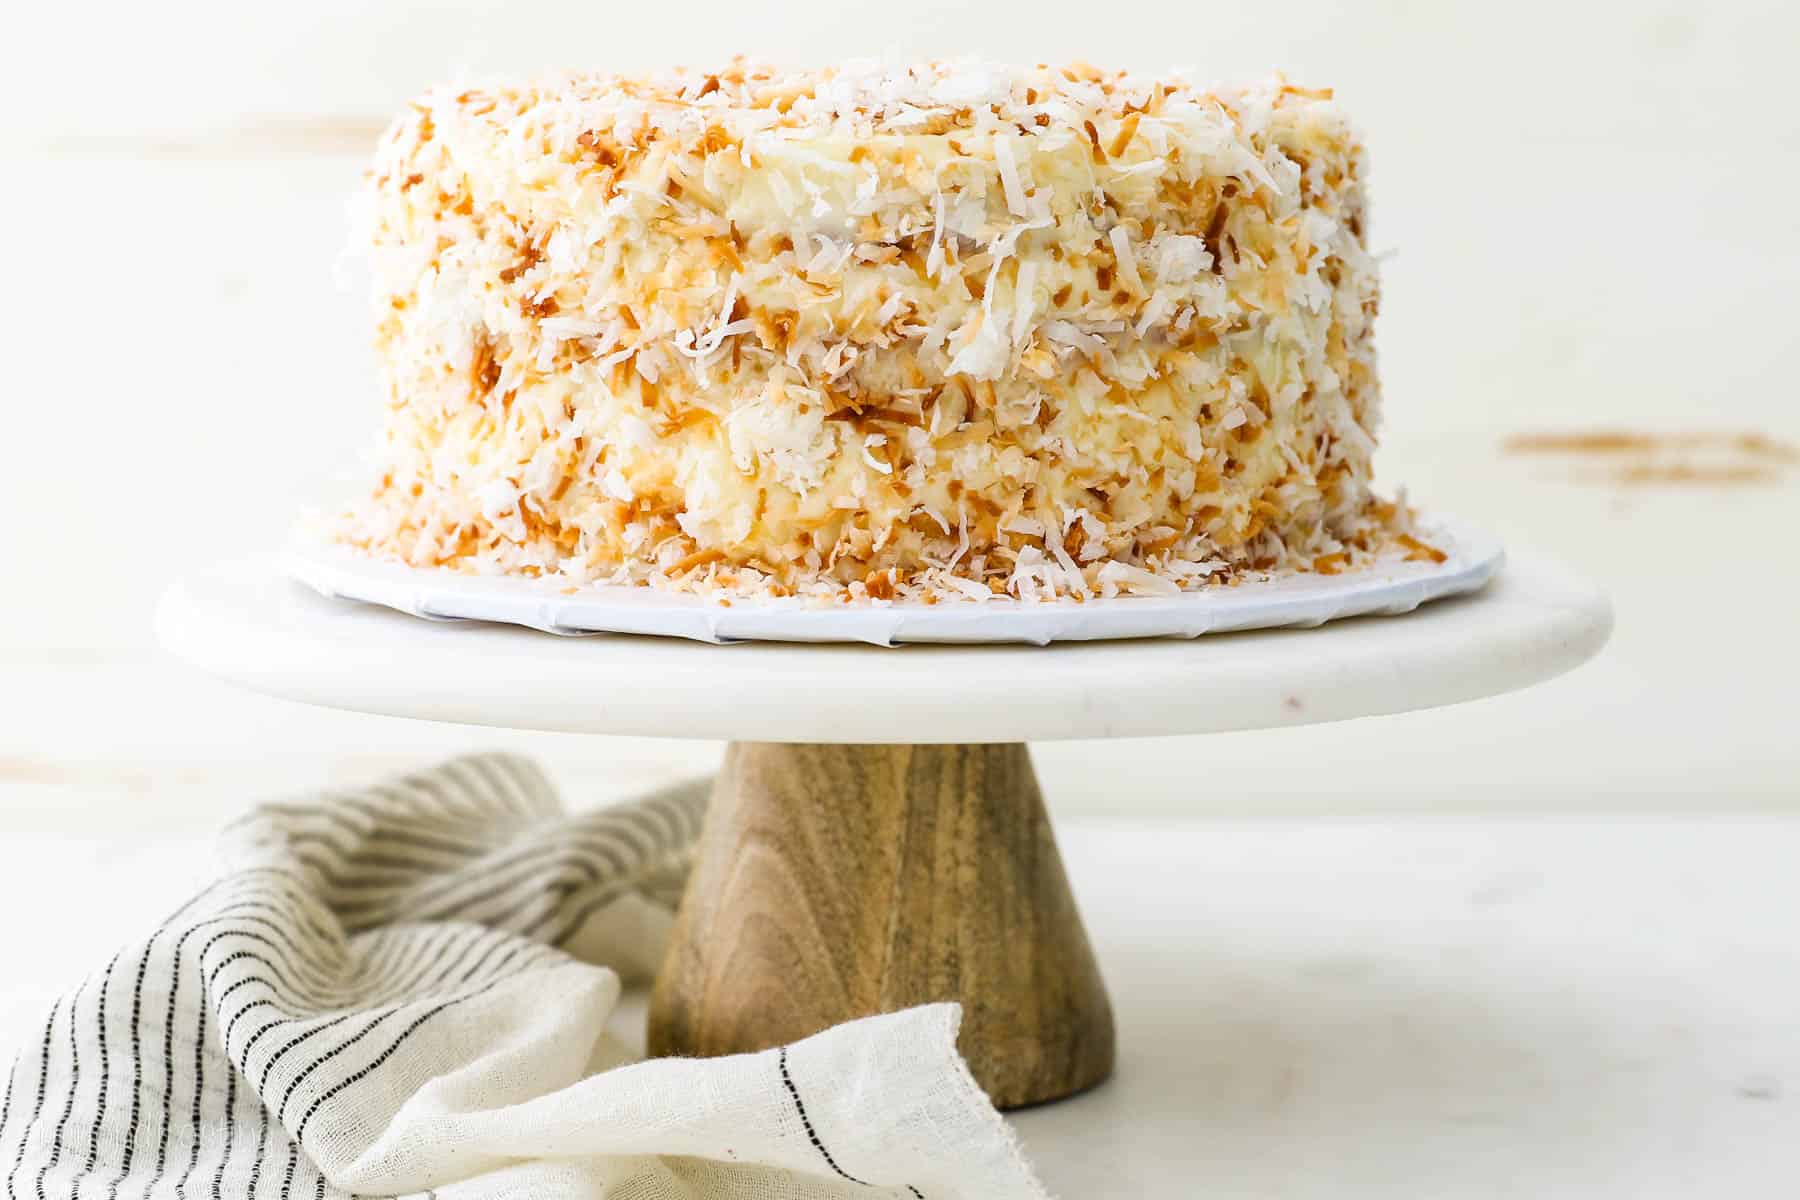
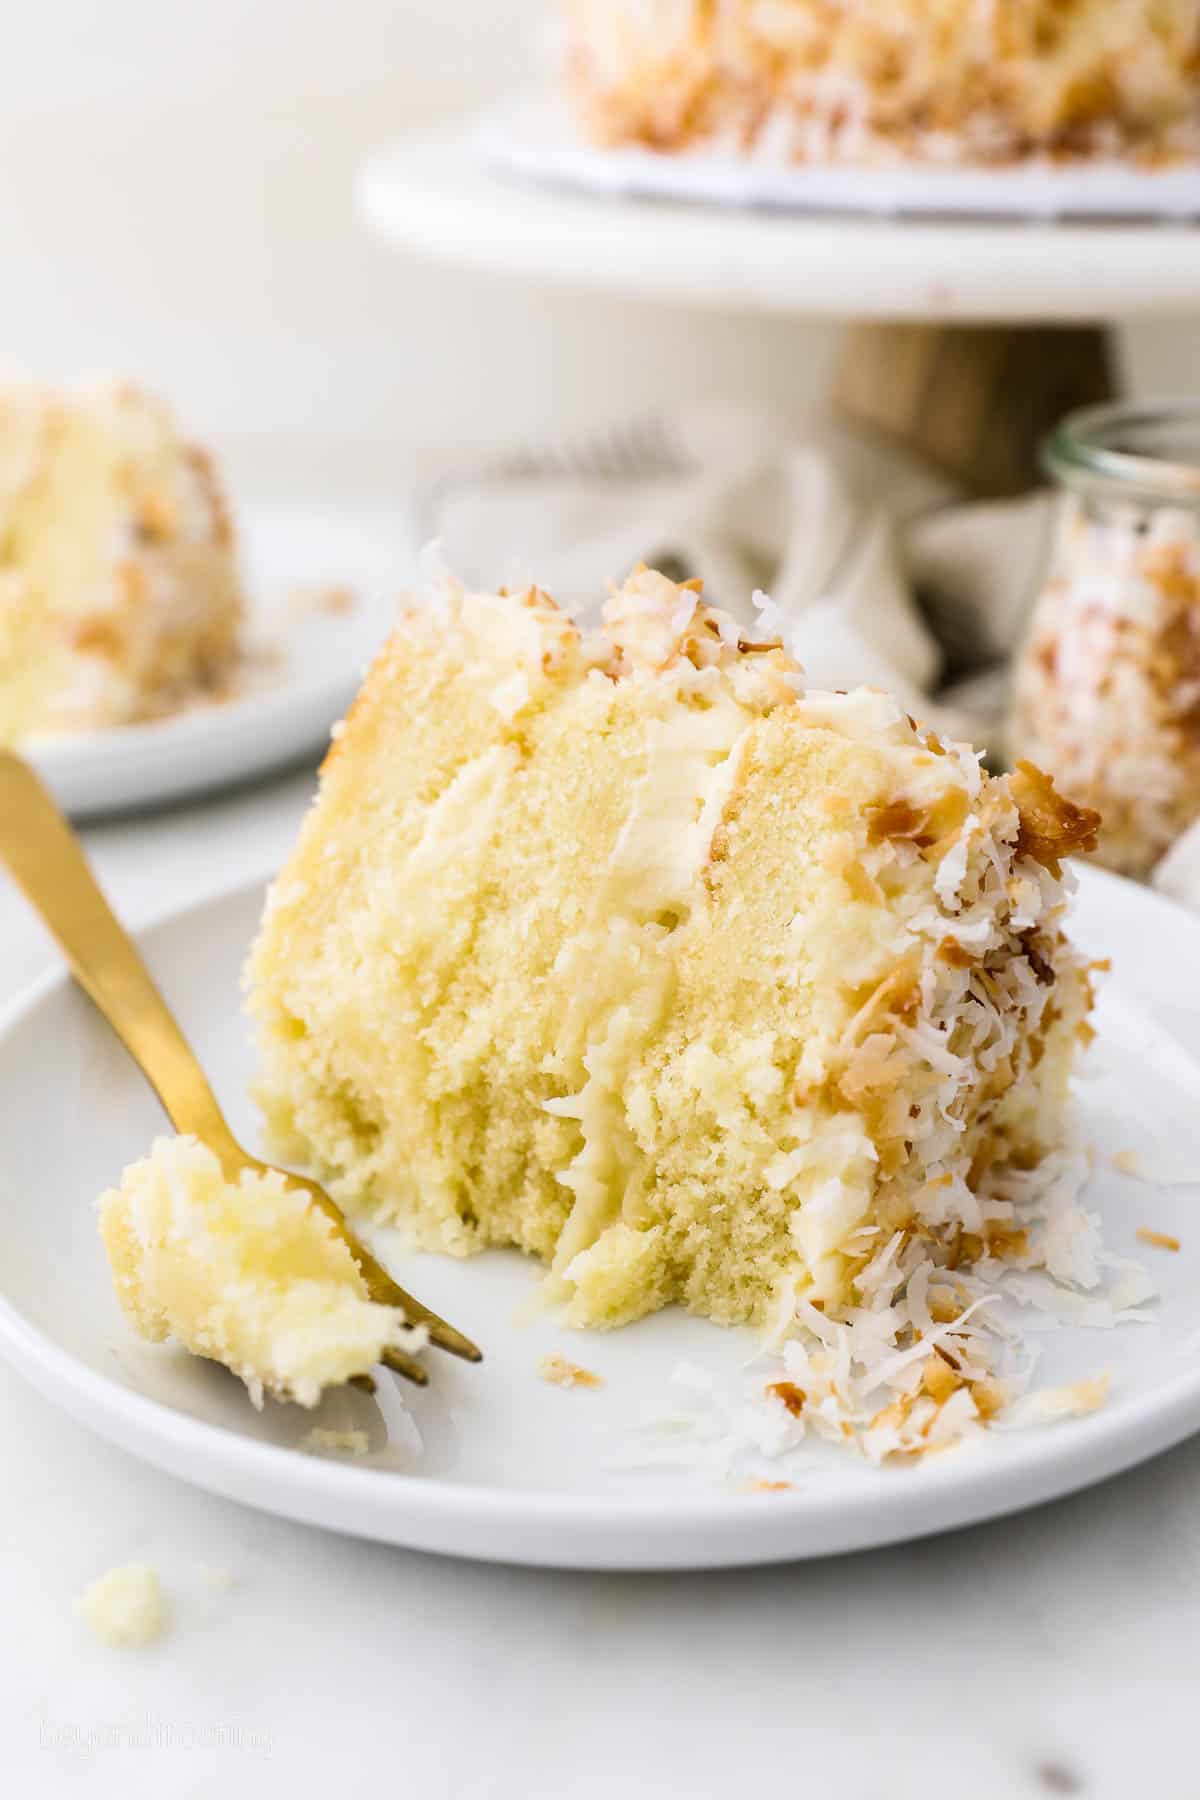
This moist and decadent coconut custard cake is made from fluffy homemade coconut cake layered with a rich and creamy custard, decorated with tangy cream cheese frosting, and golden toasted coconut.
If you love creamy coconut desserts, my coconut cream pie, a personal favorite, or this coconut custard pie, which uses a similar custard filling as this recipe.
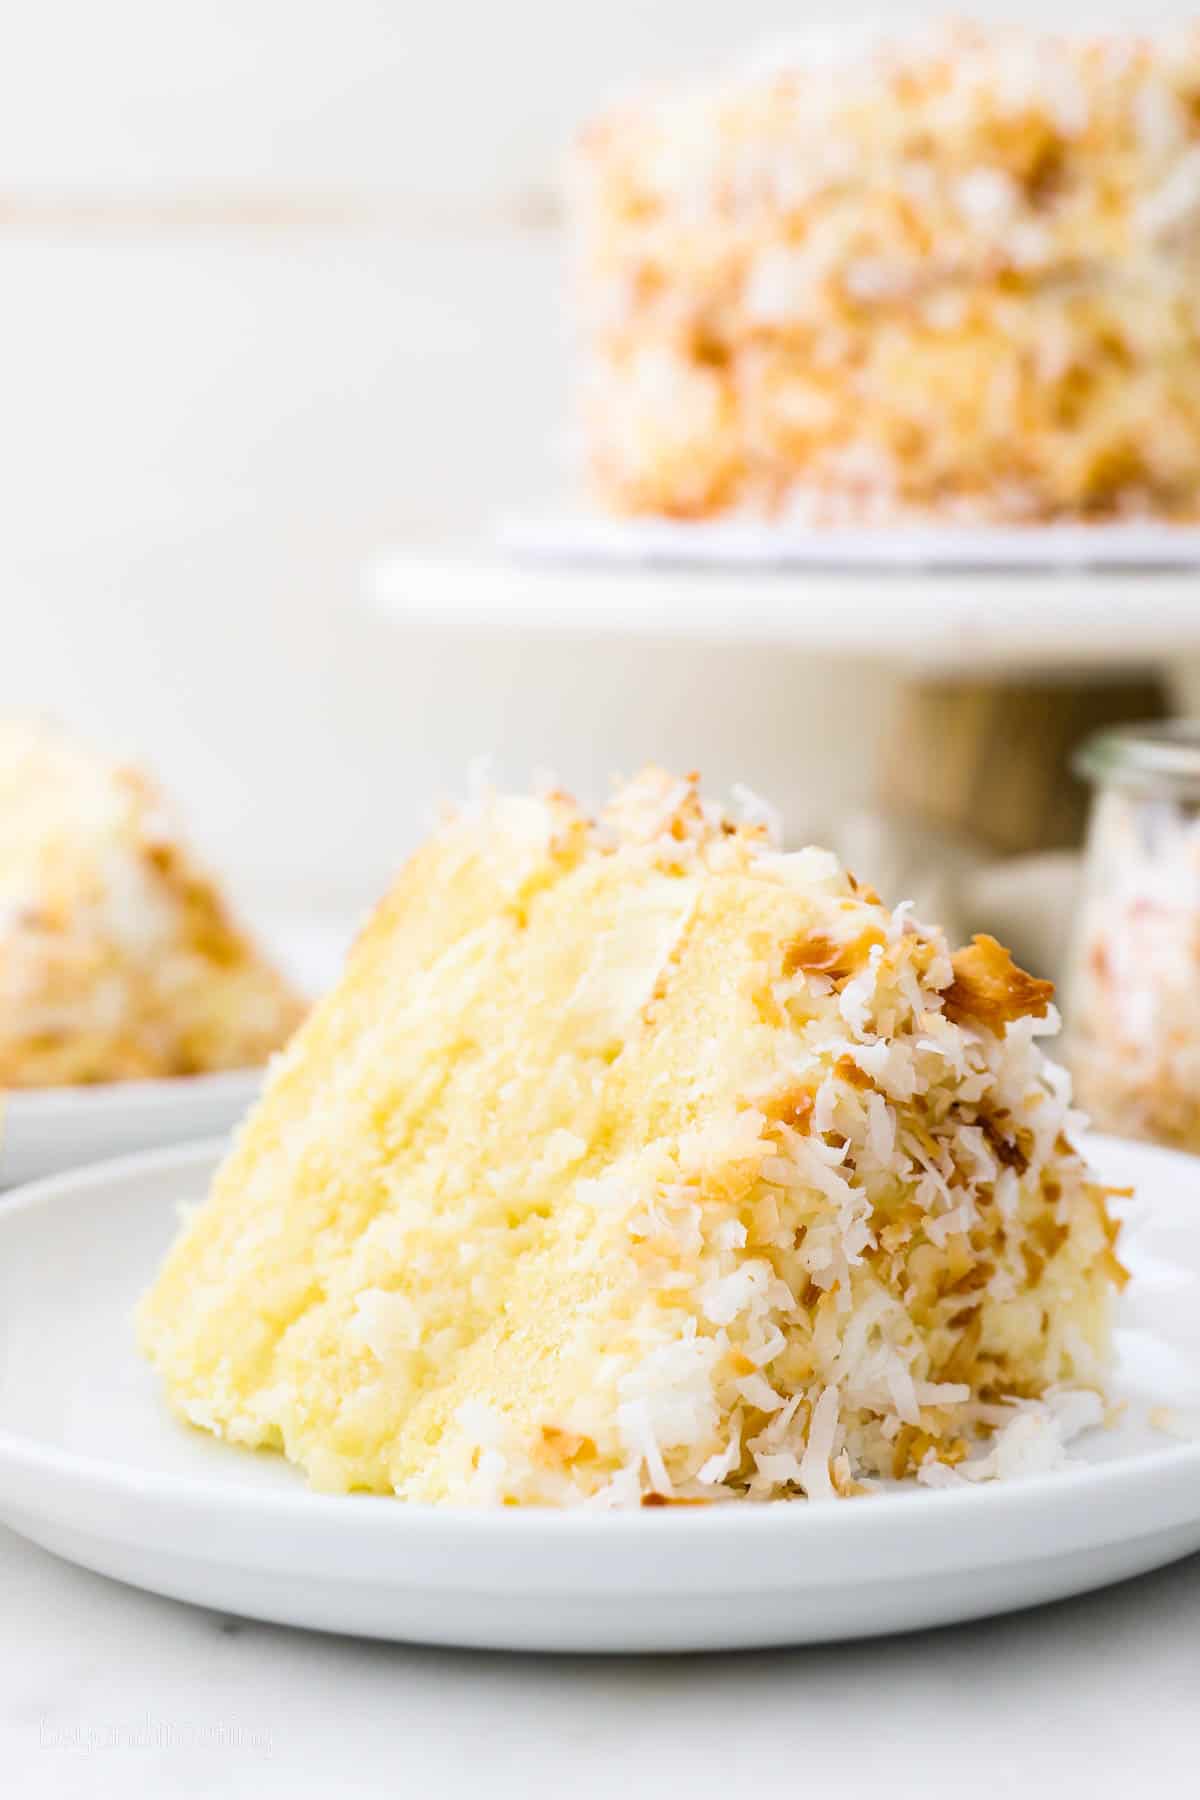
Today’s coconut custard cake is a to-die-for combination of silky coconut filling layered between fluffy and moist coconut cake. The whole thing is finished off with sweet-tangy cream cheese frosting and covered with toasted coconut.
The cake that inspired today’s coconut custard cake is actually from Croissant Bakery in Myrtle Beach, South Carolina. Heidi, the owner, wrote a wonderful cookbook, and the original coconut custard cake was so good, I couldn’t resist making my own version! This coconut cream cake looks impressive, and it’s more than worth the effort.
What Makes This a Stand-Out Coconut Custard Cake
- Ultra-silky custard. I’ve seen recipes that use coconut cream or milk to make the custard filling, but I like to stick with good, old-fashioned heavy cream. It makes the texture SO silky in contrast to the shredded coconut that gets folded in.
- (Literally) layers of flavor. With coconut milk and coconut extract in the cake layers, combined with the creamy coconut filling, tangy cream cheese frosting, and crunchy toasted coconut, there’s plenty of layered flavor and texture in this cake. It’s definitely a cake for coconut lovers!
- Make-ahead for extra convenience. I’ll sometimes prepare the coconut custard filling and buttercream frosting a day or two before, so these components are ready to go when it’s time to bake and assemble the cake. You can even bake the cake layers in advance, and store or freeze them for later. It’s an easy way to get a head start on this cake during the holidays.
Ingredient Notes
I’ve included notes on the important ingredients you’ll need to make this thick and luscious, coconut custard-filled cake. You’ll find the full recipe details in the printable recipe card below the post.
For the Coconut Cake
- Oil and Butter – Oil brings more moisture to the cake crumb than butter would alone, while melted unsalted butter adds richness and flavor.
- Egg and Egg White – The egg helps bind the ingredients, while the addition of an extra egg white makes the cake’s texture extra fluffy.
- Coconut Extract – Despite it being an extract, coconut isn’t a very strong flavor, so I amp up the amount in this recipe.
- Sour Cream – Sour cream brings loads of added moisture to cakes, and it’s especially helpful in this recipe since this cake is refrigerated. If you don’t have sour cream, substitute Greek yogurt instead.
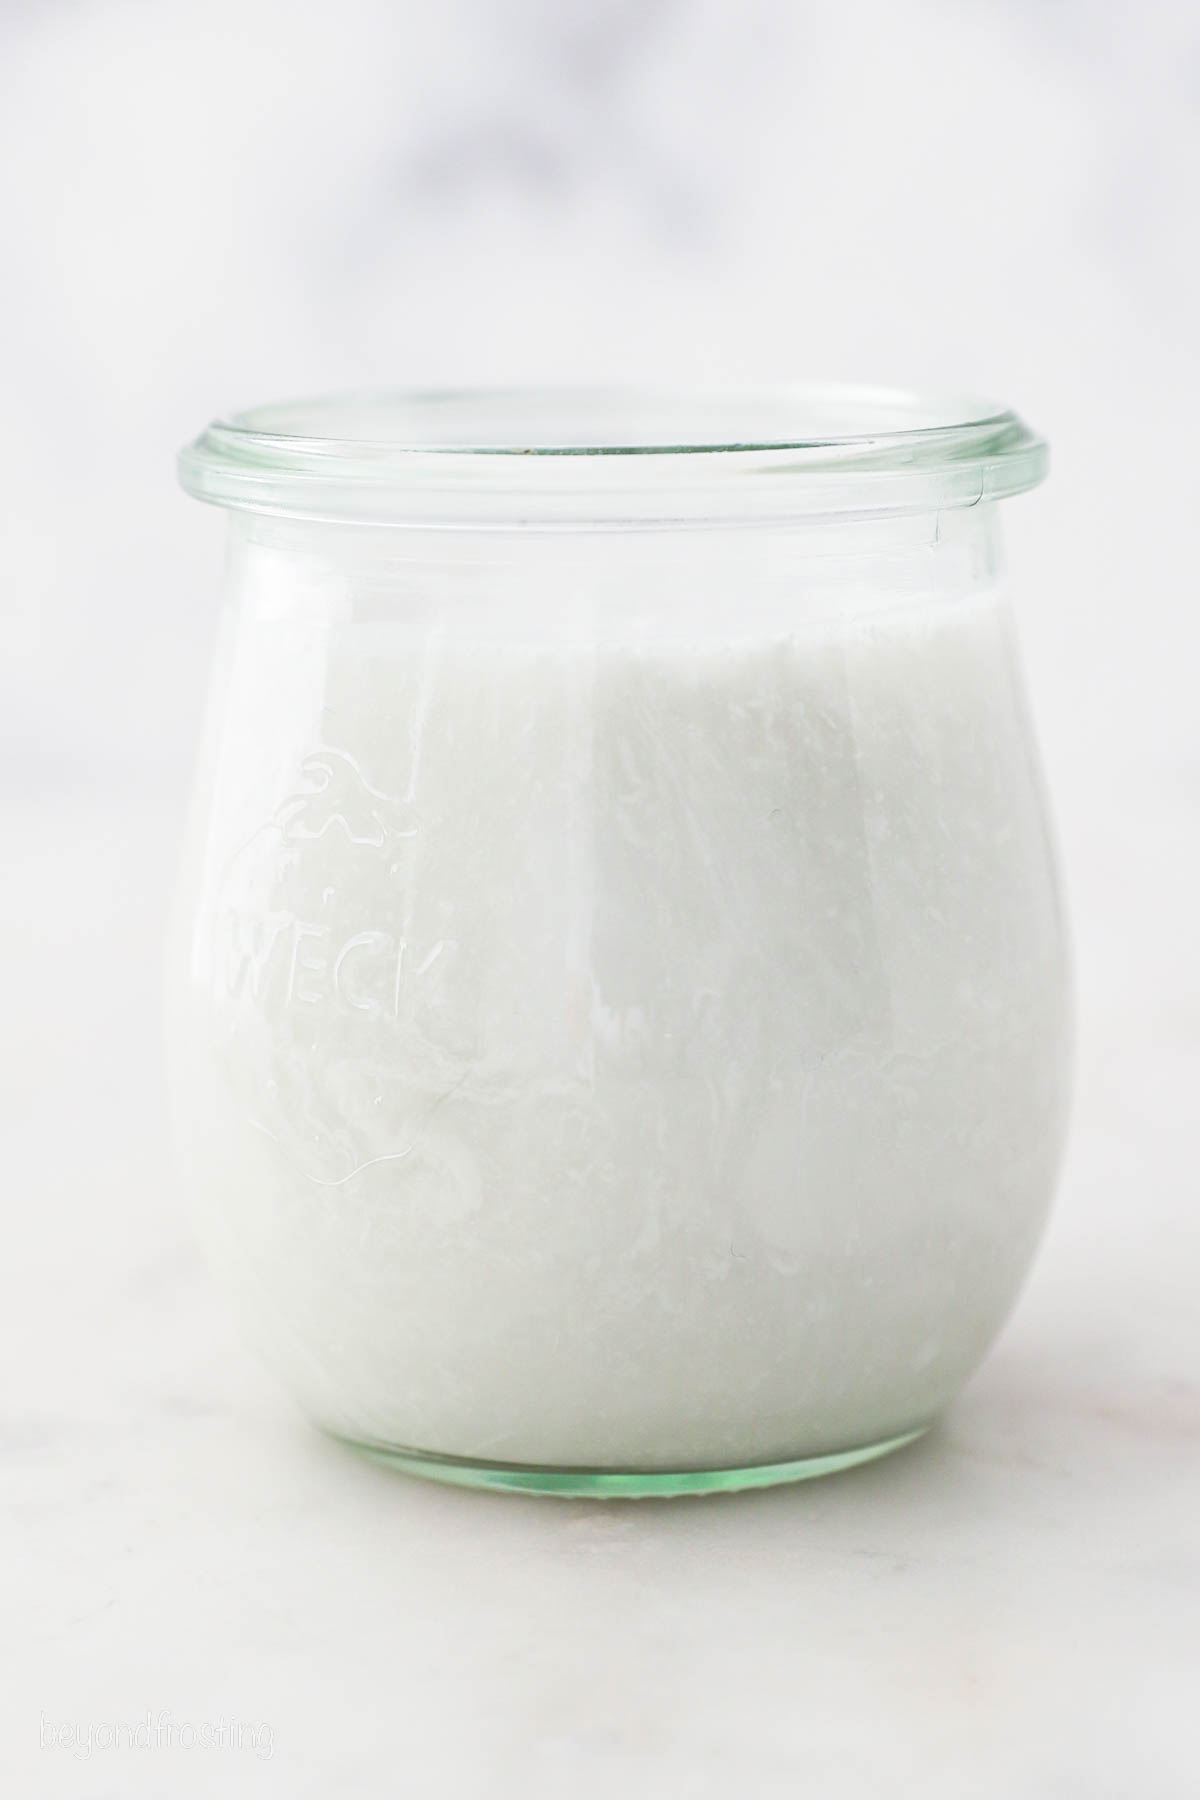
- Coconut Milk – You’ll find cans of coconut milk in the Asian food section of your local supermarket. Make sure you’re buying coconut milk, and not coconut cream. You’ll notice that the fat separates from the liquid, so make sure to stir it well.
For the Custard Filling
- Heavy Cream – Full-fat heavy whipping cream will yield the richest, creamiest coconut custard.
- Shredded Coconut – Rather than flavoring the filling with coconut milk or extract like I do with the cake, I keep it simple with shredded coconut and vanilla extract, adding subtle flavor and contrasting texture. You could use toasted coconut here, too.
- Cornstarch – You’ll combine the cornstarch with the cream, which thickens the custard without making it grainy.
To Make the Cream Cheese Frosting
- Butter and Cream Cheese – I recommend using unsalted butter and the cream cheese (full-fat) that comes in blocks (versus the tub kind). Take both ingredients out of the fridge ahead of time so that they can soften to room temperature.
- Toasted Coconut – For decorating. Don’t forget to check out the section layer on with more decorating tips and ideas!
First, Prepare the Coconut Cake Layers
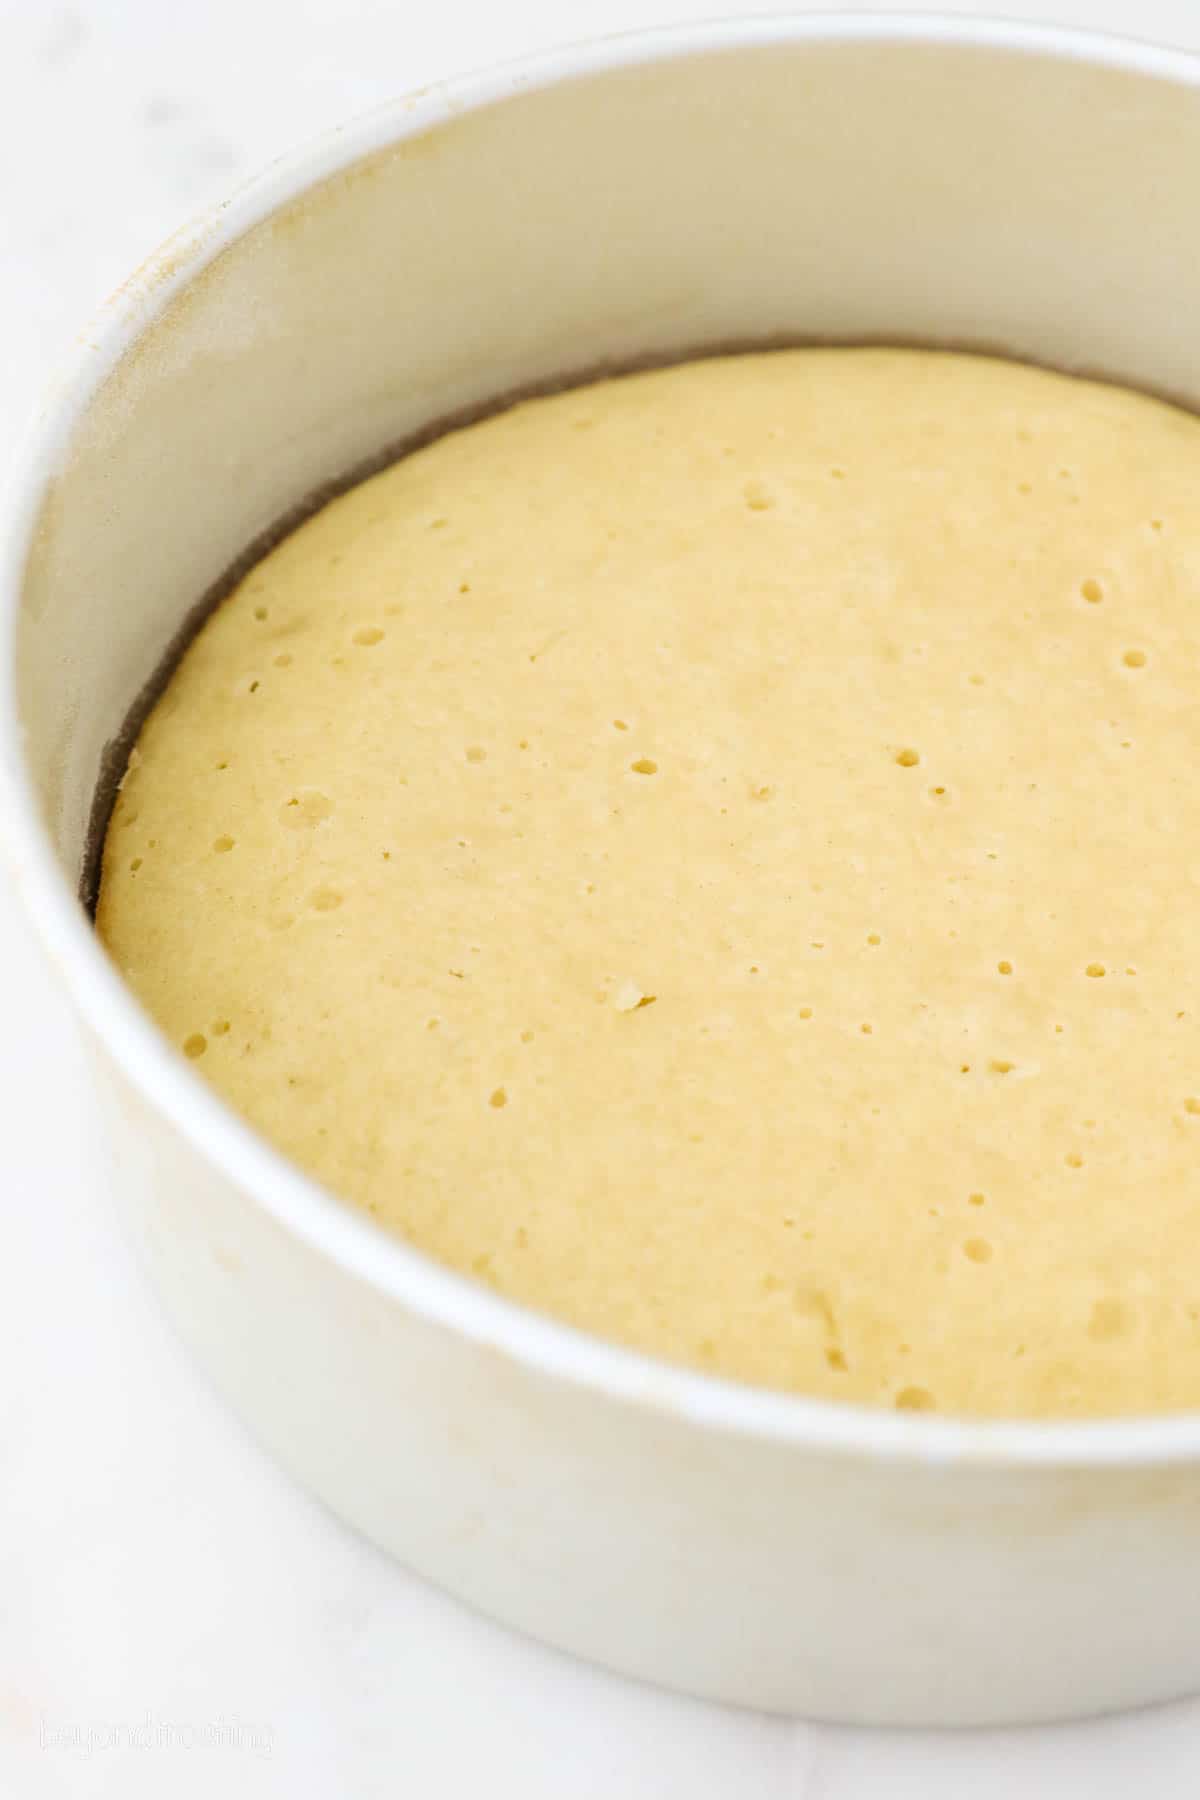
There are a few steps involved in making this cake, but never fear! We’ll start with the homemade coconut cake layers, which are thick and stable, and perfect for stacking. While the oven preheats, grease and then line three 8” round baking pans. Then, follow the steps below. This is an overview, so scroll to the recipe card for the printable instructions.
- Combine the wet ingredients. In a large bowl, cream together the sugar, butter, oil, and wet ingredients.
- Combine the dry ingredients. In a separate bowl, whisk together the dry ingredients. After, add the dry ingredients to the wet ingredients a little at a time, alternating with the coconut milk until just combined.
- Divide and bake. Distribute the batter between the prepared baking pans. Bake the cakes at 350ºF for 20-24 minutes. If you have hot spots in your oven, I recommend rotating the pans in the oven halfway through baking for more evenly baked cake layers.
- Toast the coconut. For some forward-thinking, it’s worthwhile to toast the coconut you’ll use to decorate your cakes while the oven is hot! Spread shredded coconut out across a lined baking sheet, and pop it into the oven for 5 minutes, until the coconut is lightly toasted and golden. Set the toasted coconut aside to cool while you prepare the filling and frosting.
How to Make the Custard
- Make a slurry. Whisk together the cornstarch with the heavy whipping cream. You want the mixture to thicken but stay at a liquid consistency to avoid any clumps.
- Heat the ingredients. Combine the remaining heavy cream with melted butter, sugar, and shredded coconut in a saucepan. Bring the mixture almost to a boil, stirring along the way.
- Combine. Add the cornstarch slurry to the saucepan, and continue to cook and stir until thickened. Lastly, whisk in the vanilla extract.
- Cool. Set the custard aside to cool completely. When I took my custard off the stove, the consistency was thick but still a bit liquid. This is fine, as the custard continues to thicken to a spreadable consistency as it cools.
Make It Ahead
I sometimes like to make the custard filling ahead of time and refrigerate it overnight, to really let the flavors develop. However, it does tend to thicken in the fridge. Take the custard out of the fridge about 30 minutes to 1 hour before you plan to use it.
If the filling still seems too thick to spread once it’s been out of the fridge for a while, pop it in the microwave for just a few seconds at a time. The consistency should be spreadable but not melting.
Easy Cream Cheese Frosting
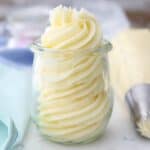
I opted to stay as close as possible to Heidi’s original cream cheese frosting recipe. It’s just perfect for covering this cake in a light layer. This is not a traditional cream cheese frosting, it’s much thinner than I would normally make.
- Beat the butter and cream cheese. In a large bowl, beat the cream cheese with butter until smooth.
- Combine. Add the powdered sugar one cup at a time, and finally, beat in the vanilla extract until the frosting is evenly combined.
Try These Other Frosting Ideas
The original cream cheese frosting for this cake is on the thinner side, ideal for doing a rough crumb coat that I finish off with toasted coconut. If you’d prefer a thicker frosting for piping and decorating, you may wish to use my recipe for traditional cream cheese frosting instead. Or, if you’d like to trade the cream cheese frosting for your own recipe, go right ahead! You can also try my mascarpone whipped cream or any of the ideas you see here.
How to Make a Coconut Custard Cake
Now, it’s time to assemble this coconut custard layer cake! This three-tier cake is easy enough to fill and stack and then decorate with a simple crumb coat, topped with toasted coconut. If you’re new to baking layer cakes, have a look through my step-by-step tutorial on how to make a layer cake for more information.
- Prepare the first layer. First, divide the coconut filling in half, and have your bottom cake layer ready on a cake board.
- Fill and repeat. Pipe a border of frosting around the outside edge of the cake (see how to use piping tips), then fill it with custard. This frosting “dam” keeps the custard from oozing out of the sides. Afterward, place the second layer gently on top. Repeat with the third and final layer.
- Frost the cake. Give the top and sides of the cake a light coating with cream cheese frosting. It doesn’t have to be a thick layer, as we’re going for more of a crumb coat. Finally, pat the shredded toasted coconut from earlier in an even layer on top of the frosting.
- Chill. Place the frosted coconut custard cake, covered, into the fridge for at least half an hour before serving.
Helpful Notes
- Make sure to evenly mix the cake batter. Remember to scrape down the sides of the bowl as needed, and give the batter a good stir from bottom to top.
- Start with flat, even cake layers before filling. This helps make a stable cake. I like to use bake-even strips as these prevent the cakes from “doming” too much as they bake. You can also use a bread knife to trim off the domes, as needed.
- Get a head start on your cake. Both the frosting and the filling can be prepared ahead of time and kept in the refrigerator. The cream cheese frosting is usually still spreadable after sitting in the fridge overnight, though you can soften it up by letting it sit out with the filling before assembling the cake.
- You will have leftovers. This recipe was originally a 4-layer cake that I turned into a 3-layer cake. Be careful not to overfill your layers. Turn the leftover batter into coconut cupcakes!
- Add sprinkles. Top your coconut custard cake with your favorite colored sprinkles, nonpareils, or sanding sugar (in place of or in addition to toasted coconut.
- Garnish with fruit. Citrusy lime and coconut are a zesty pair. Top your cake with lime wedges or lime zest for a pop of color and zing. Or, make a pineapple coconut cake with a garnish of fresh chopped pineapple.
How to Store
- Refrigerate. Due to the custard filling and cream cheese frosting, you’ll want to keep your finished coconut custard cake refrigerated. Store the cake in an airtight container (such as a cake carrier) or wrap the entire cake with plastic wrap to keep it from drying out. Remove the cake from the fridge approximately 20-30 minutes before serving to take the chill off.
- Freeze. I don’t recommend freezing cakes with custard or cream fillings, as the filling tends to separate once thawed and turns the cake soggy. If you’d like to prepare the cake layers in advance, however, you can freeze the individual cakes. It’s easy to wrap the cooled cake layers tightly in plastic wrap and then freeze them for up to 3 months. Thaw the cakes in the fridge, prepare your filling and frosting, and assemble the cake as usual.
More Coconut Desserts
Coconut Custard Cake
- Prep Time: 60 minutes
- Cook Time: 30 minutes
- Total Time: 1 hour 30 minutes
- Yield: 12 slices
- Category: Cake
- Method: Baked
- Cuisine: American
Description
Coconut custard cake is made from moist coconut cake layers filled with silky coconut custard and frosted with tangy cream cheese frosting. Cover this cake with shredded coconut for the ultimate coconut lover’s dessert!
Ingredients
For the cake:
- 1 ½ cups (285g) granulated sugar
- ½ cup (118 ml) vegetable oil
- 2 tablespoon (28g) unsalted butter, melted
- 2 large egg
- 2 large egg white
- ½ cup (118 ml) sour cream
- 2 ½ cups (350g) all-purpose flour
- 2 teaspoon (7.5g) baking powder
- 1 teaspoon (4.5g) baking soda
- 1 teaspoon (5g) salt
- 1 tablespoon (15ml) coconut extract
- 1 teaspoon (5ml) pure vanilla extract
- 1 1/3 cup (315ml) coconut milk, well stirred
For the filling:
- 1 ¼ cup (296ml) heavy whipping cream, divided
- 4 teaspoons (13g) cornstarch
- 1/2 cup (114g) unsalted butter
- ¾ cup (142g) granulated sugar
- 2 ¼ cups (170g) shredded coconut, sweetened
- ¼ teaspoon vanilla extract
For the icing:
- 1/2 cup (114g) unsalted butter, softened
- 12 oz (339g) cream cheese, softened
- 1 teaspoon (5ml) vanilla extract
- 3 cups (390g) powdered sugar
- 2 cups (151g) shredded sweetened coconut, toasted
Instructions
For the cake:
- Preheat the oven to 350°F. Prepare three 8-inch round baking pans, line the bottom with parchment paper, and grease the sides. Prepare your bake even stripes if desired.
- In a large mixing bowl, combine the sugar, vegetable oil, butter, eggs, and sour cream. Beat on medium speed until well incorporated and the batter is lighter in color, about 2 minutes. Scrape down the bowl as needed.
- In a separate bowl, combine the remaining dry ingredients. Alternate adding half the dry ingredients, the extracts, and half the coconut milk at a time and mix just until the flour starts to incorporate. Repeat until all ingredients have been added. Use a spatula to scrape down the sides of the bowl and stir the batter from the bottom to the top to ensure it’s well mixed.
- Divide the batter evenly between the three pans, about 1 2/3 cups of batter per pan. Bake at 350°F for 20-24 minutes and rotate your pans in the oven halfway through.
- Test the cake for doneness by inserting a toothpick into the center of the cake. If the toothpick comes out clean, your cake is done. Remove from the oven and allow to cool completely.
- Toast the coconut in the preheated oven. Line a baking sheet with parchment paper, and spread the coconut evenly on the pan. Bake for 5-8 minutes, or until the desired color is reached. Transfer to a bowl or plate to stop the cooking process. Cool completely.
For the filling:
- In a small bowl, combine 3 tablespoons of heavy whipping cream and cornstarch and whisk until thickened. Add additional heavy cream if necessary to get a liquid consistency.
- In a medium saucepan, melt the butter over medium heat and add the remaining heavy whipping cream, sugar, and shredded coconut. Heat the mixture, stirring occasionally, just until the mixture is nearly boiling.
- Lastly, add the cornstarch mixture and continue to heat over medium-high heat until the mixture is thickened, stirring constantly. Whisk in the vanilla extract last. Set the mixture aside and allow it to cool completely.
For the frosting:
- Once the cake and filling have cooled, prepare the frosting. In a large mixing bowl, combine the butter and cream cheese and beat on medium-high speed using the paddle attachment. Beat until smooth and creamy.
- Gradually add the powdered sugar, one cup at a time. As the mixture thickens, add the vanilla extract.
To assemble the cake:
- Divide the coconut filling in half. Place the bottom layer of cake on an 8 or 10-inch cake board. Pipe a dam of frosting around the outside edge of the cake using a large round piping tip.
- Fill the center with the coconut filling and gently spread evenly. Place the second layer of cake and repeat the above steps. Place the final layer of cake on top. Ice the top and sides of the cake with the cream cheese icing, you don’t need a very thick layer.
- Use your hands to gently pat the shredded coconut into the frosting, covering the cake as thoroughly as possible.
- Refrigerate the cake for at least 30 minutes before serving. Keep covered in an airtight container to prevent the cake from drying out.
Notes
- Recipe adapted from Bonjour Y’all. If you are looking for the original recipe you can download it here.
- Both the frosting and the filling can be made ahead of time and refrigerated. Let them sit out at room temperature for 30 minutes before using. The coconut filling might still be too firm to spread, and if so, pop it into the microwave for 15-25 seconds until it’s a spreadable consistency. Make sure to let it cool completely.
- You will have a little bit of leftover frosting and filling since this was originally a 4-layer cake and I turned it into a 3-layer cake. Don’t overfill your layers.
- Storing: Due to the custard filling and cream cheese frosting, you’ll want to keep your finished coconut custard cake refrigerated. Store the cake in an airtight container.
Nutrition
- Serving Size: 1 slice
- Calories: 1061
- Sugar: 83g
- Sodium: 547mg
- Fat: 68g
- Carbohydrates: 109g
- Fiber: 2g
- Protein: 9.7g
- Cholesterol: 146mg



I just made this for the second time, and I love it…however, now that I read the original recipe, I think I would have liked it better. The original uses coconut cream and heavy cream in batter instead of coconut milk, sour cream, and oil. Also the original used 4 whole eggs, as opposed to 2 whole eggs and 2 whites…why? Her batter was divided into over 2 1/4 cups per pan, and this recipe was only 1 2/3 cups per pan, so smaller layers.
Hi Linda, the original recipe (from a published cookbook) produced inconsistent results. It was also 4 layers instead of 3, so these 3 layers are actually taller than the original as far as thickness goes.
I have made this cake a few times, it is delicious. Thank you for the recipe.
I love that so much Sherry, thank you!!
Hi , I would love to make this cake , but curious , with the measurements, is it best to use the grams ( mentioned ) or cups .? Please help me .
Regards
Sonu
I always recommend using a scale if that accessible to you
I would like to use the custard filling minus the shredded coconut for your White Vanilla Moist Cake recipe. I assume all I have to do is leave out the coconut and the custard will spread and taste just as good. Unless you have a different custard filling recipe for white cakes? Because the Moist Vanilla cake got so many great reviews I want to make it for my mom’s birthday.
Thank you,
Hi there, so I have not made the custard without the coconut filling but I do think it helps to thicken and adds some structure. So this would need to be tested before you stacked a cake.
I just made this cake for after church dinner tomorrow and I had the cut off dome, some custard and frosting leftover. Yummy, yummy, yummy!!!!! Thanks for the recipe!
Lesa
That’s wonderful! I hope you all enjoyed it!
Could you freeze just the custard? I often make buttercream and other fillings ahead of time.
It’s not something I’ve tried
Can I use egg whites from a carton or can I use 3 whole eggs instead? Thank you
Hi Laura, this recipe calls for 2 whole eggs, and an additional 2 egg whites. I cannot confirm any variations that are different than what the recipe calls for
Tastes good but need to adjust recipe. It’s not clear that you add your dry ingredients to your wet ingredients when you mix in flavoring and coconut milk. I wound up with a flour dough ball just following the recipe.
Thank you for the feedback. This is important info for me to have, and I have followed up with you via email to get more specifics.
I pasted below what the instructions say. Can you help me understand the part that is confusing so I can make it more clear?
I ask because I’m so used to making it that while it makes sense to me, clearly others are confused and I’d like to revise it to be more understandable.
“ In a separate bowl, combine the remaining dry ingredients. Alternate adding half the dry ingredients, the extracts, and half the coconut milk at a time and mix just until the flour starts to incorporate. Repeat until all ingredients have been added.”
Thank you so much!
Fantastic!! So moist. Not too sweet. Just right. My new favorite cake. Will definitely make this again.
I love that Dina, thank you so much!
I love coconut cake and decided to make one this morning. This cake is absolutely delicious!! It was easy to make and I am so happy I made it! This is definitely going to be my go-to coconut cake! Thank you!
Yeees Erin! That’s amazing, thank you!
I made this cake for a friend’s birthday. It was pretty easy to make – follow the directions! I made the cake part the day before and made the custard and the frosting the day of the party. It assembled pretty quickly. I made a different recipe for the cream cheese frosting since I had made a second cake for another person’s birthday and it called for a cream cheese frosting as well, so I used the same frosting for both. Of the two cakes, this cake was the one most people loved! A definite keeper! And the birthday girl, who LOVES coconut, couldn’t get enough! Well done!
Amazing Cathy! Thank you, I appreciate that so much!
Hi, I would love to make this cake but have a guest that does not like the texture of coconut. Can I leave this out of the custard filling?
Please let me know, thanks!
Hi Pia, I do feel that without the coconut, the custard would not offer as much flavor for the cake. I recommend that you try making a smaller, half batch and see if you like the flavor without the coconut.
I was wondering if I could use this filling for a coconut custard pie and if so would I need to double or triple for a 9 in pie?
Hi Barbara, this is not something I’ve personally tried.
@Pia, you could also add coconut extract when leaving out the pieces. Or, reserve a portion of the coconut filling without the pieces, and use that for just one section of the cake for the friend that does not like the pieces.