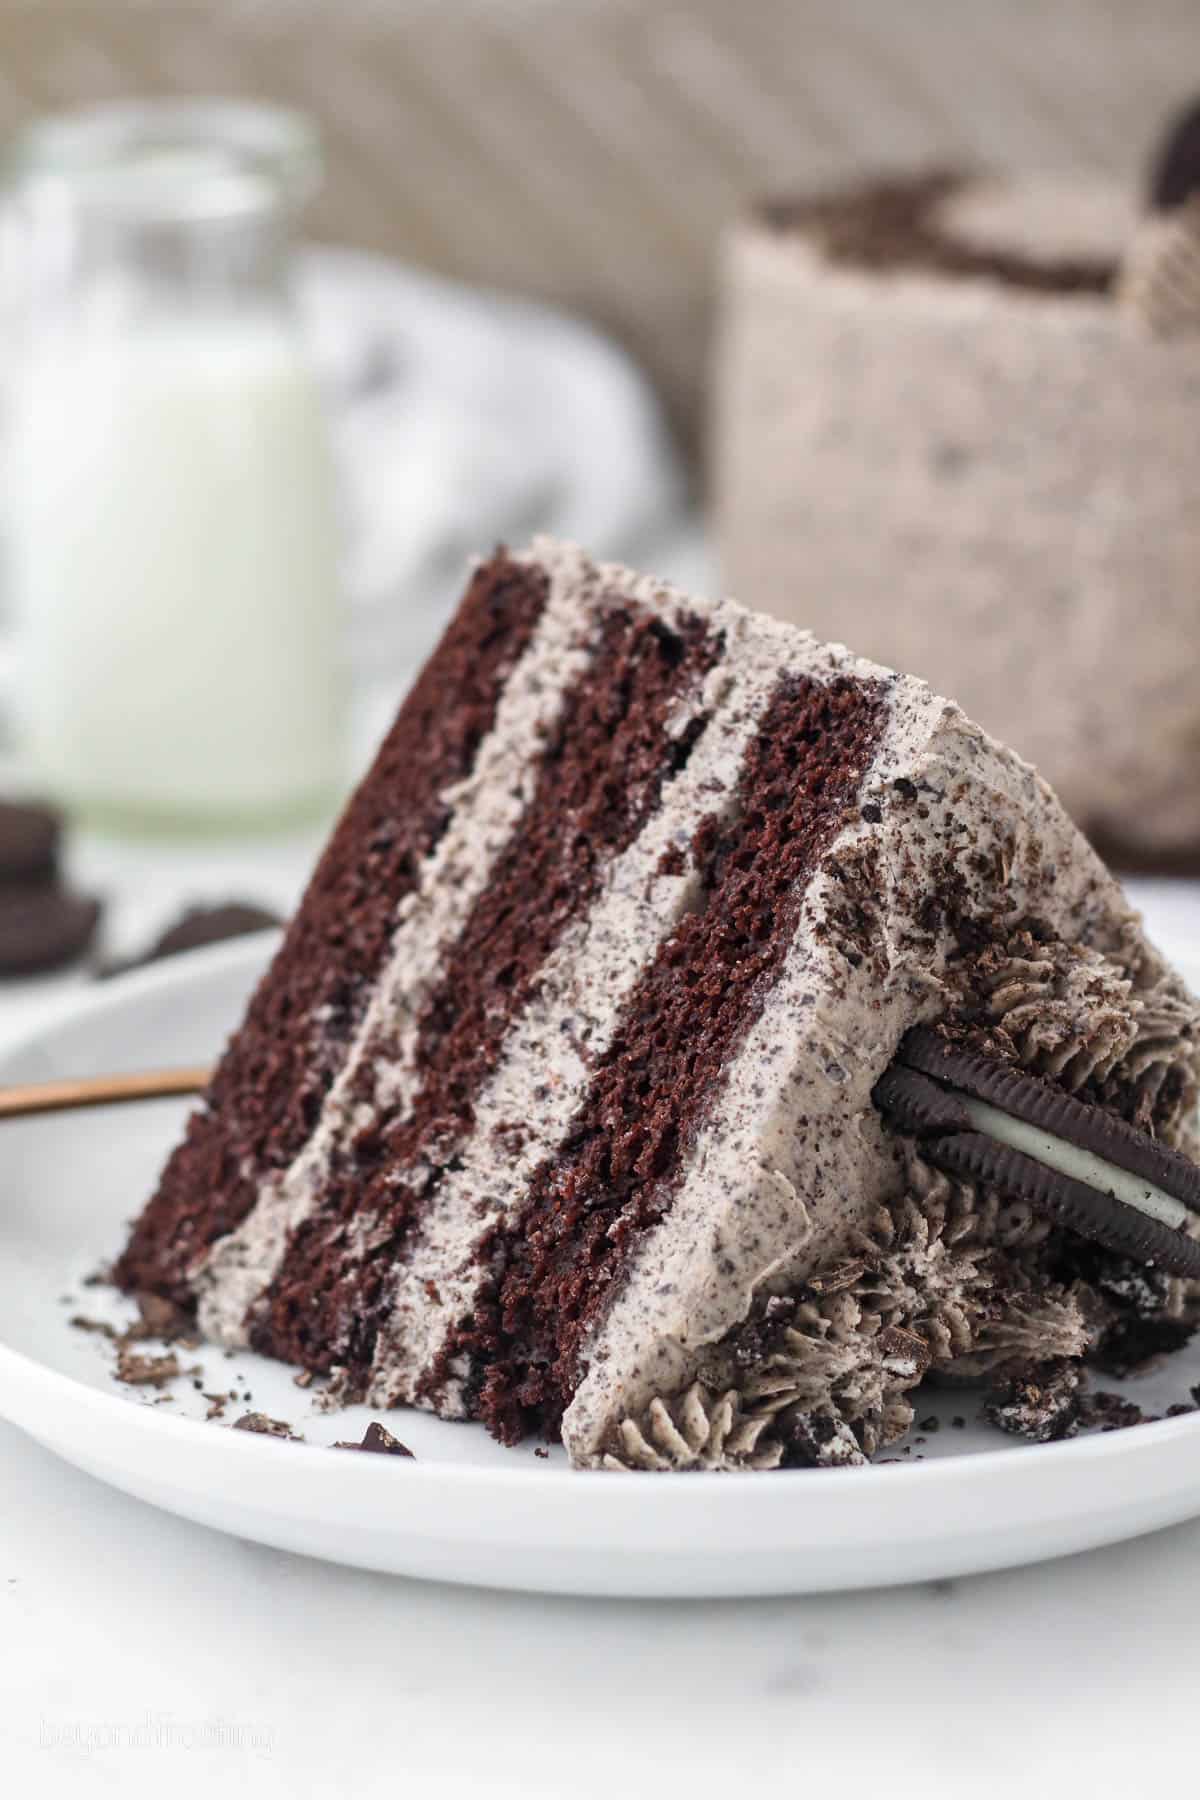
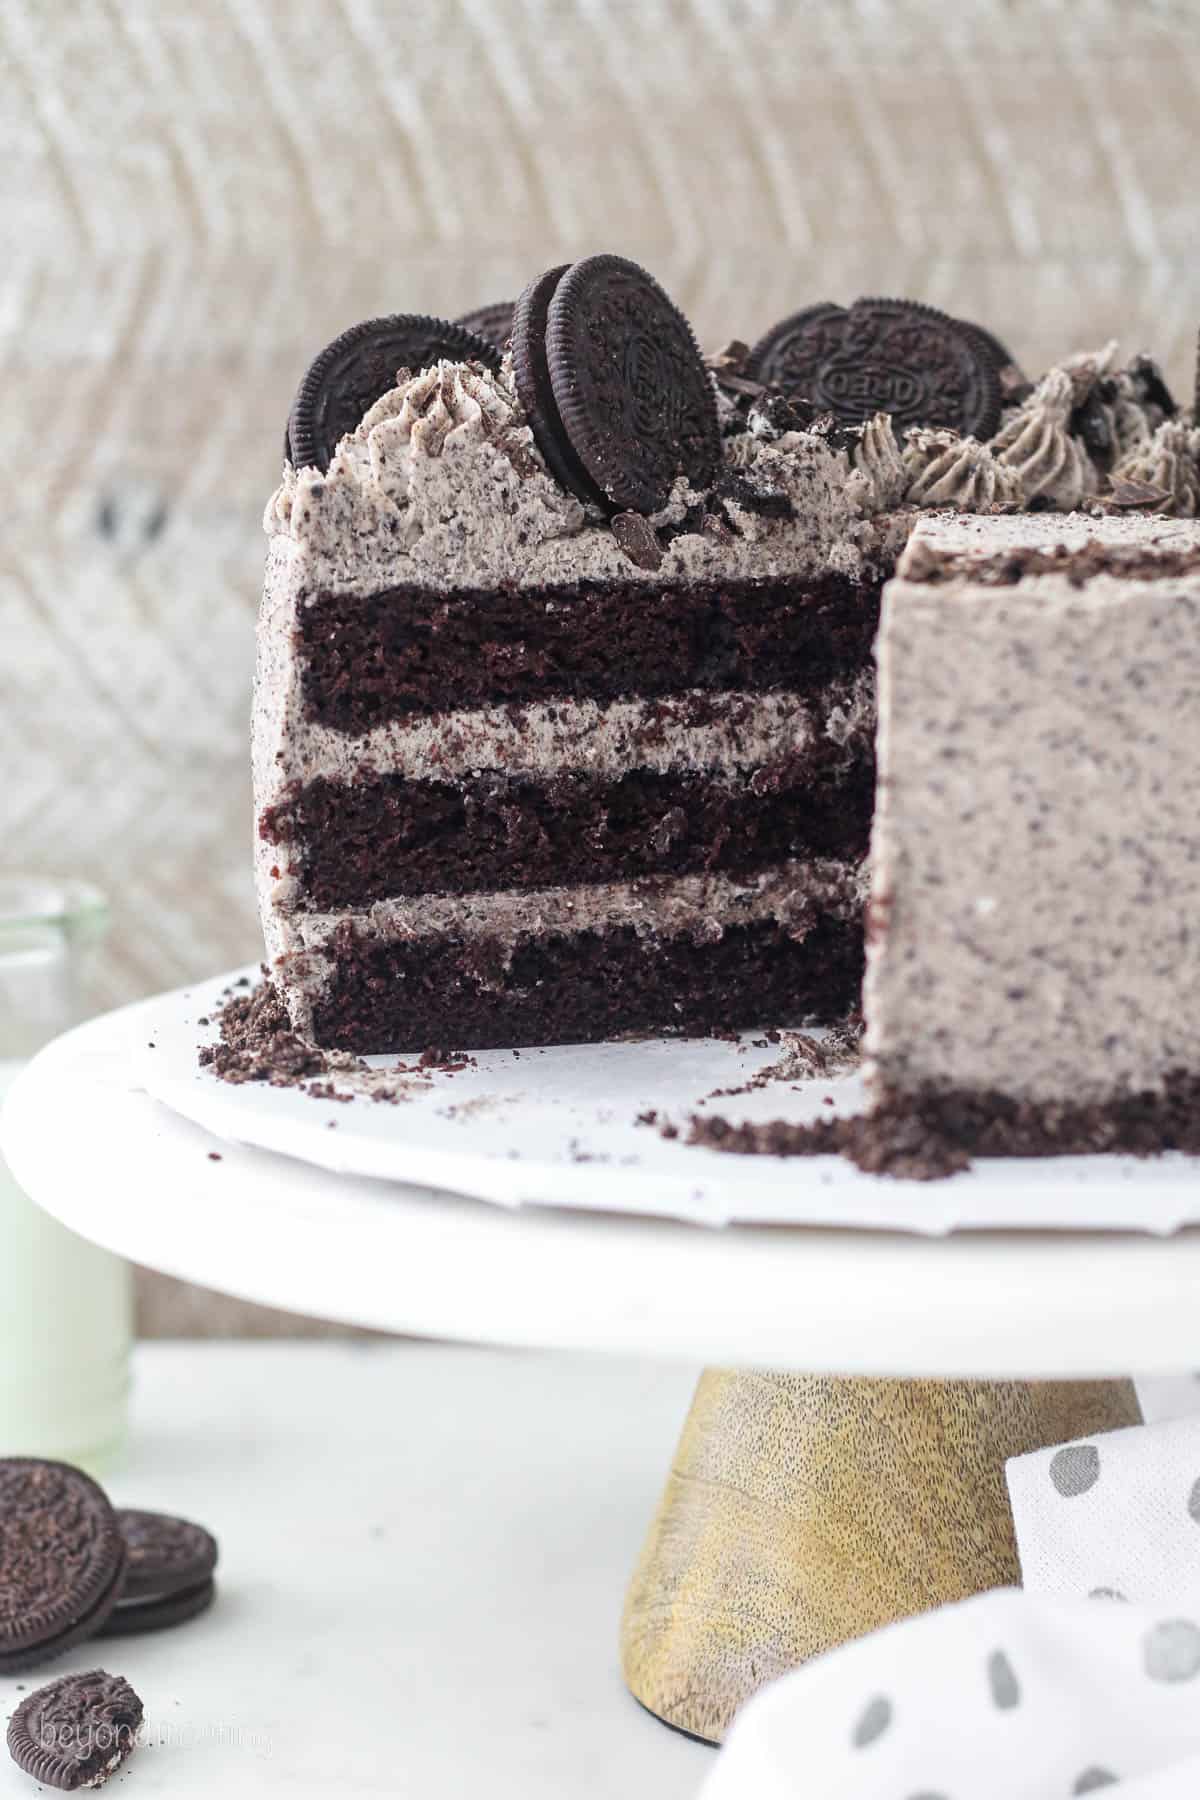
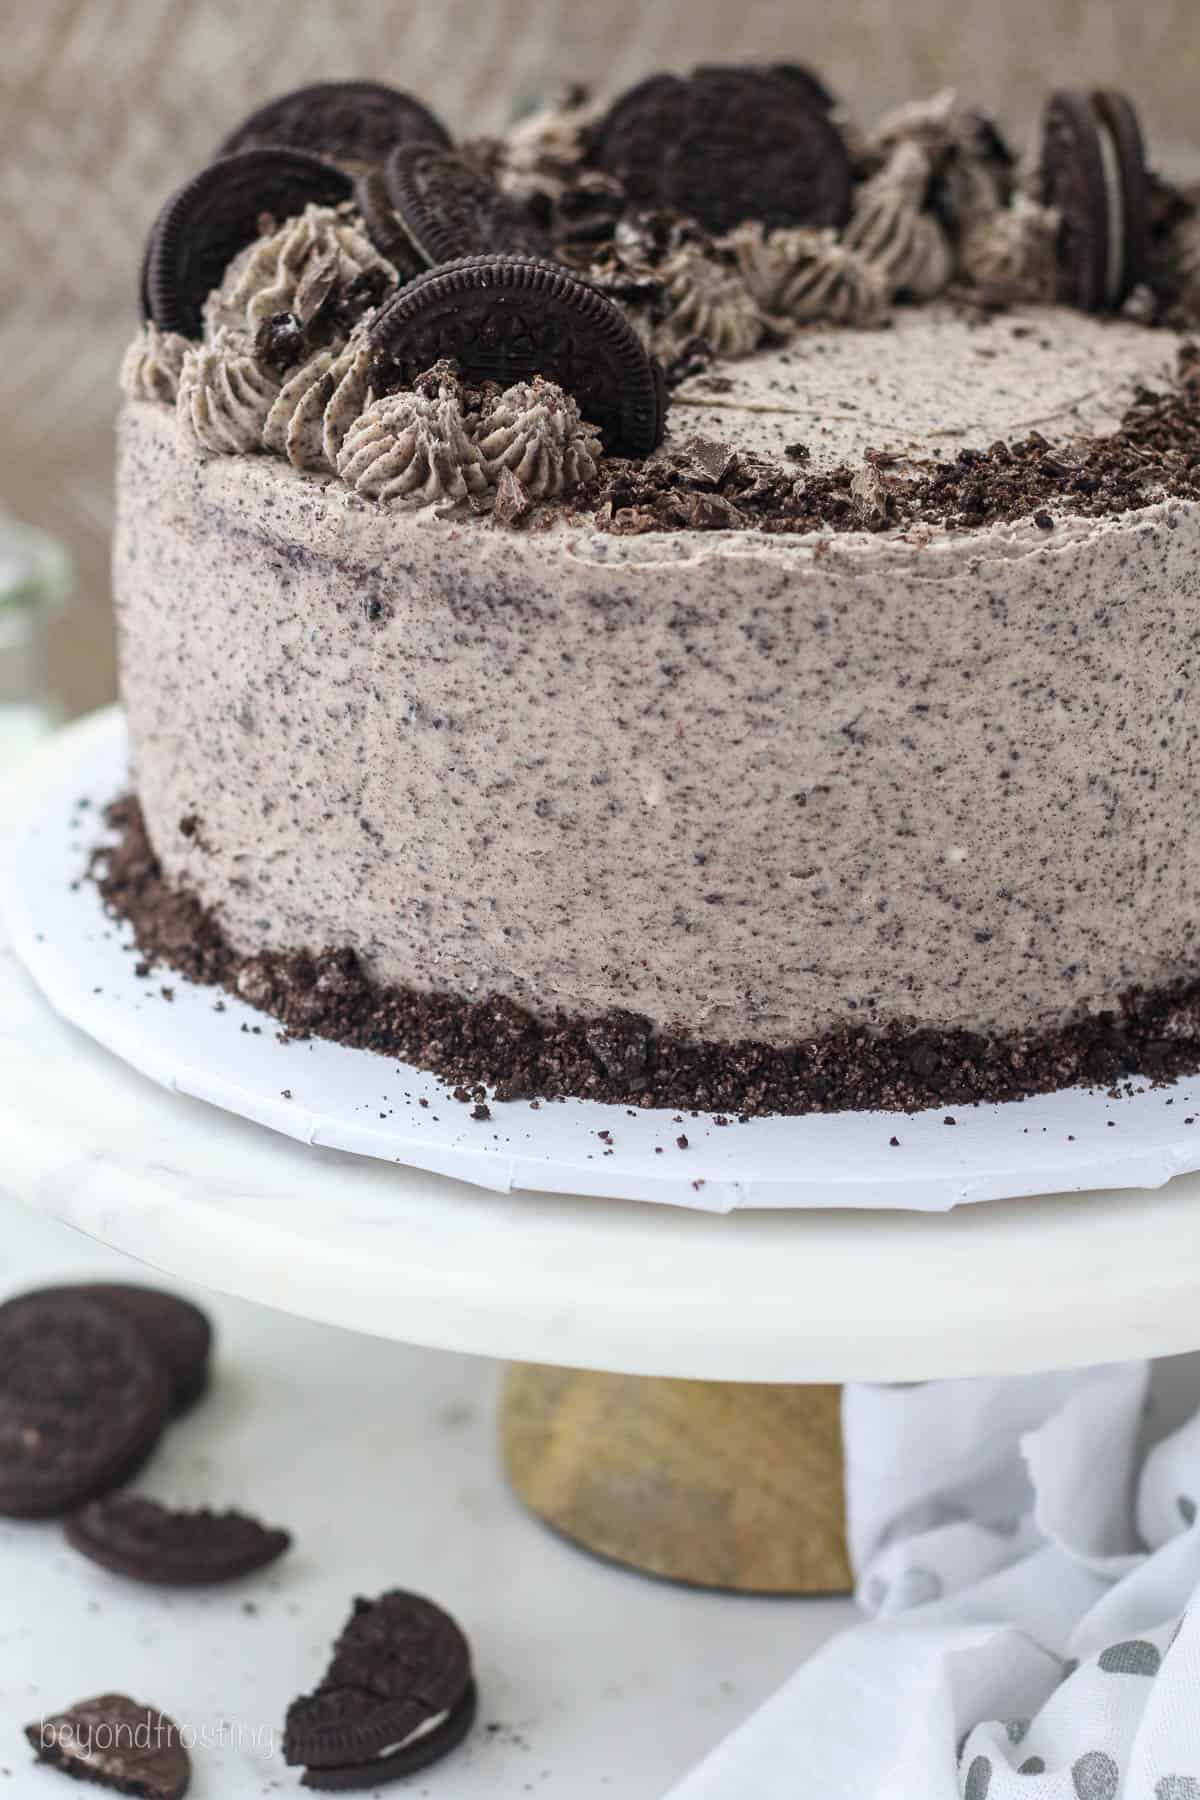
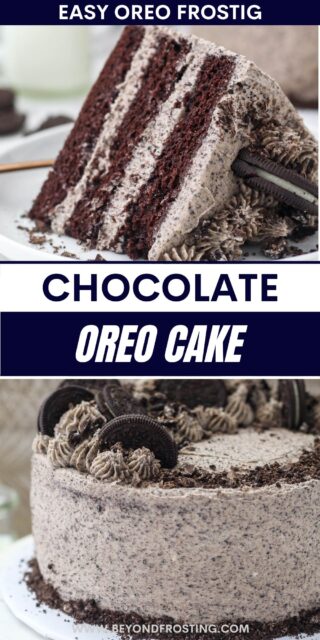
This homemade Oreo chocolate cake has three layers of decadent chocolate cake frosted inside and out with creamy Oreo buttercream frosting bursting with crushed cookies.
Easy Chocolate Cake With Oreo Frosting
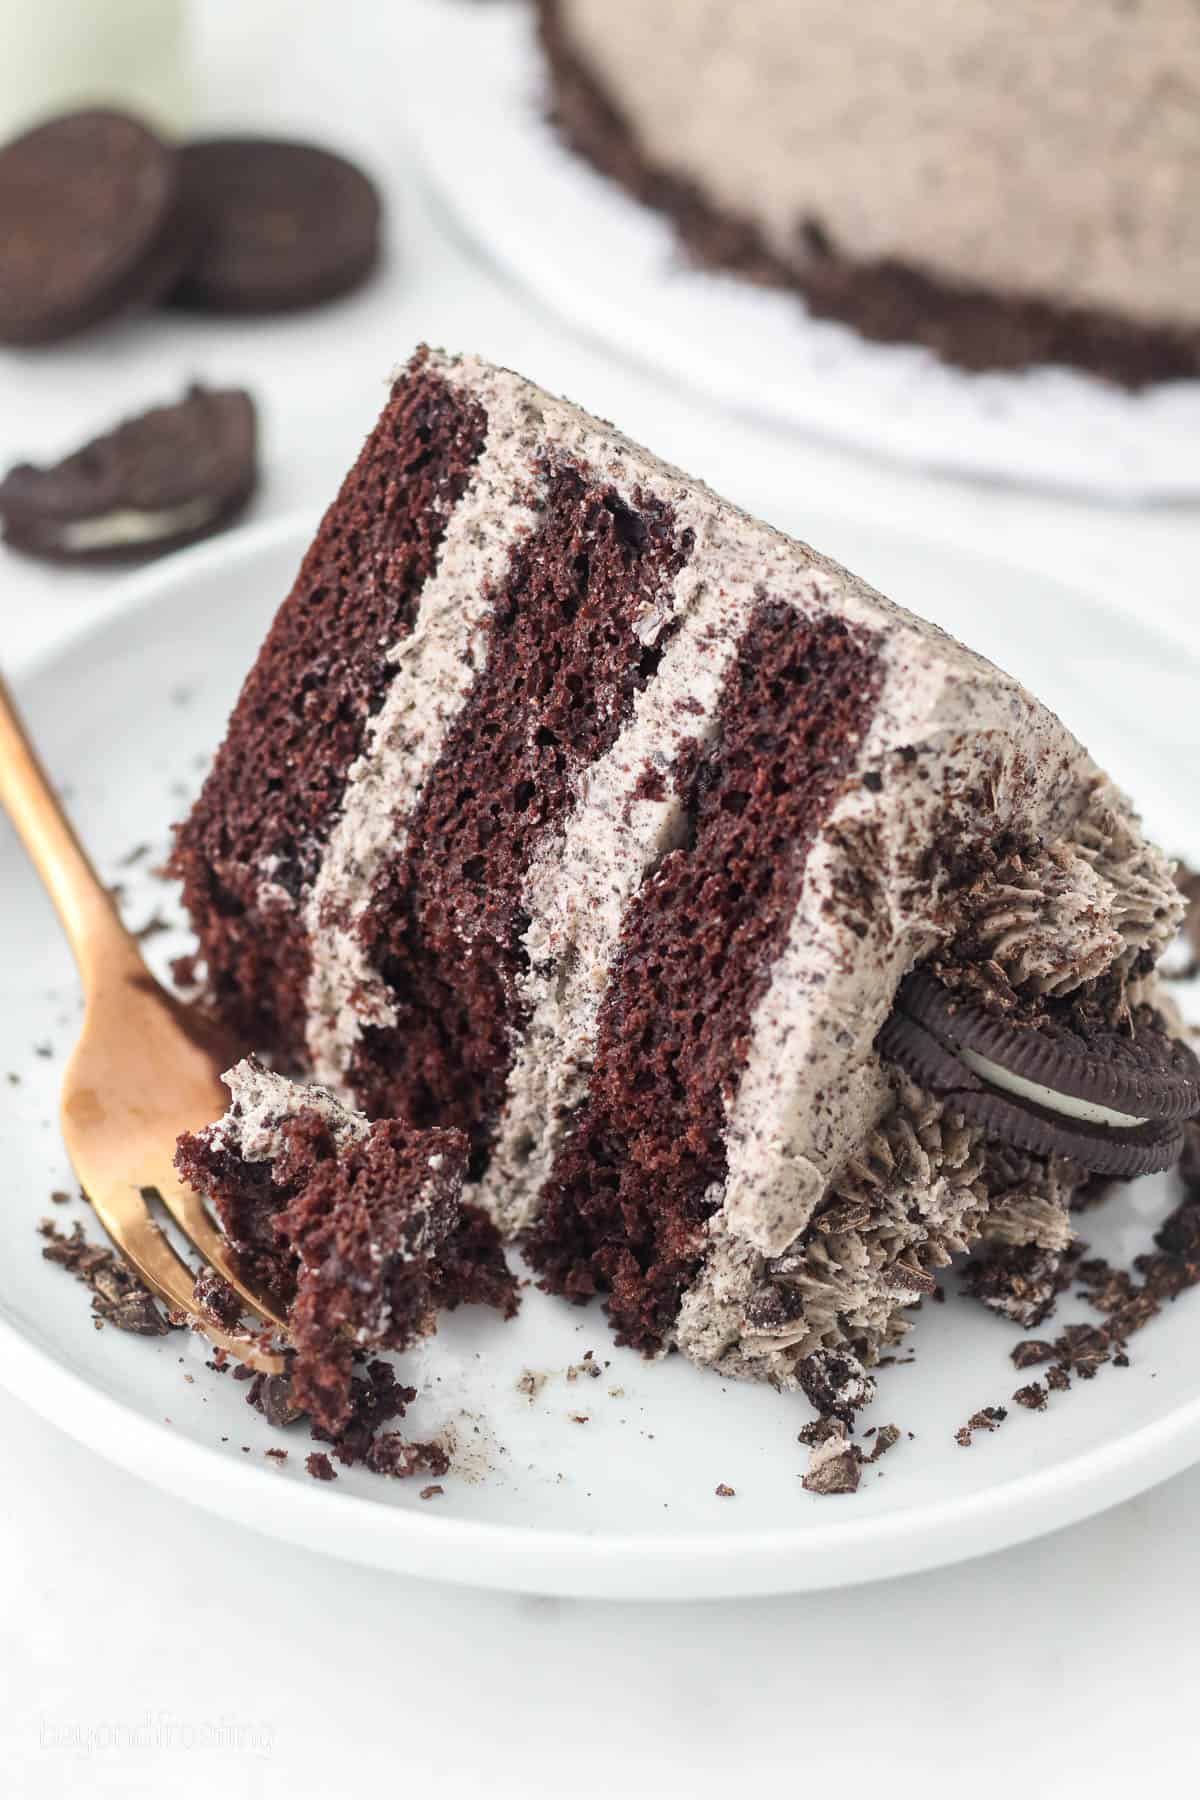
If you loved my Oreo cookies and cream cake, wait until your forks meet this incredibly rich and fluffy Oreo chocolate cake. This cake is three decadent layers of my favorite moist chocolate cake, filled with the creamiest homemade Oreo frosting bursting with chocolate cookie crumbs. Every bite is loaded with cookies and cream flavor. It’s the ultimate birthday cake for the Oreo lovers in your life!
Why You’ll Love This Oreo Chocolate Cake Recipe
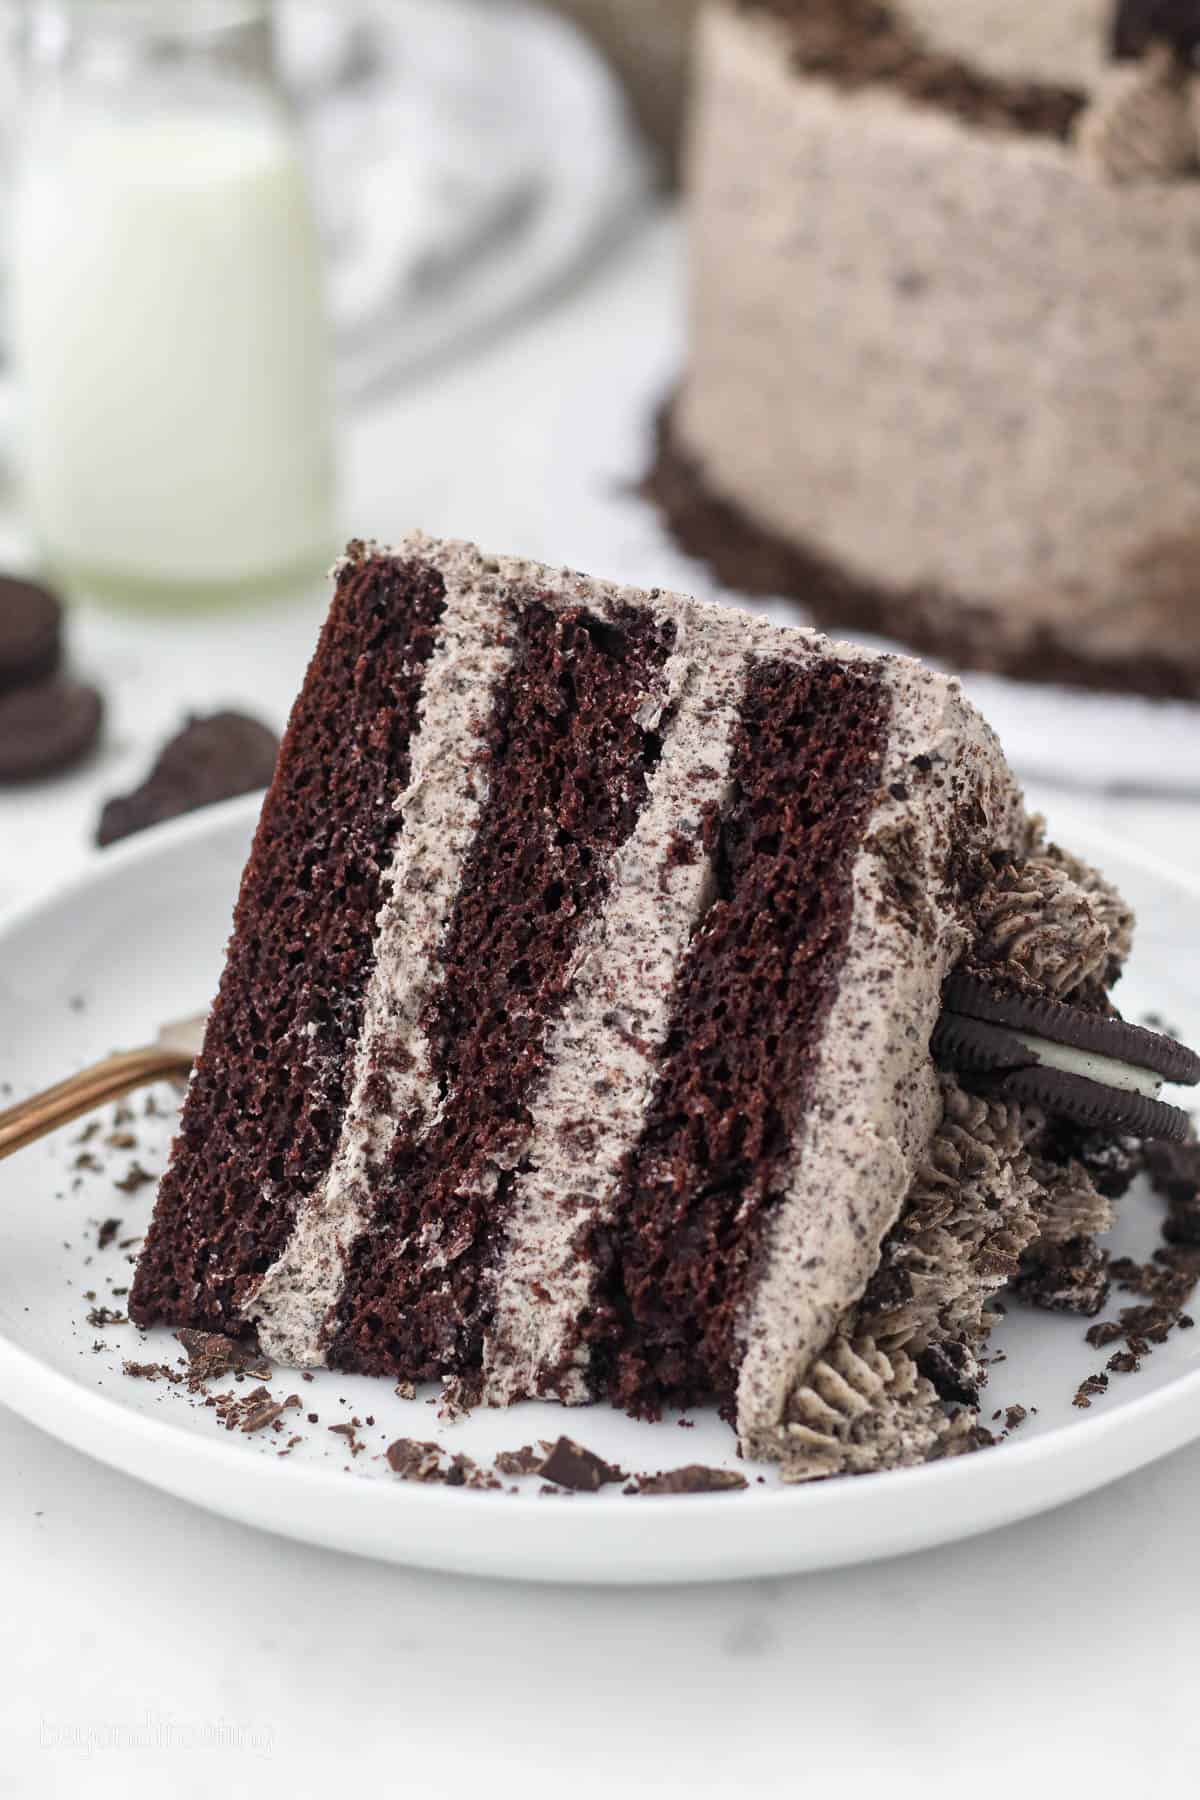
- Fluffy, chocolatey layers. The chocolate cake layers are extra-moist, soft, yet stable. Perfect for stacking!
- Full of Oreos. The frosting for this cake is a cookies and cream dream, made with silky vanilla buttercream loaded with crushed Oreos. It tastes just like the creme filling inside everyone’s favorite chocolate sandwich cookie!
- Oil-based cake. Making cakes with oil instead of butter yields a much more tender crumb. There’s also no need to wait while a brick of butter comes to room temperature before you start.
Ingredient Notes
Below are some notes on the important ingredients you’ll need to make this Oreo chocolate cake. Don’t forget to scroll to the recipe card for the full recipe amounts and details.
- Oil and Sour Cream – Two ingredients for an ultra-moist, tender cake. I recommend vegetable oil and either light or full-fat sour cream.
- Cocoa Powder – You can use natural unsweetened cocoa powder or Dutch-processed cocoa powder for this cake recipe. See my resource on natural vs. Dutch-processed cocoa powder to learn the differences.
- Espresso Powder – You won’t taste the coffee, but espresso powder helps to intensify the chocolate flavor of chocolate cakes. Optional, but recommended!
- Brewed Coffee – Added for the same reason as the espresso powder, to enhance the fudgy flavors of the cake layers.
- Frosting – I include the recipe for my easy homemade Oreo frosting made from vanilla buttercream and crushed Oreo cookies.
How to Make an Oreo Chocolate Cake
You’ll start by preparing three 8” chocolate cake layers:
- Make the cake batter. Begin by creaming together the sugar, oil, eggs, and vanilla, followed by the sour cream. Sift together the dry ingredients separately, and gradually add them to the wet batter, alternating with the brewed coffee.
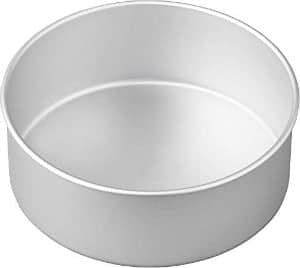
- Fill the pans. When your cake batter is well mixed, divide it evenly between three greased and lined 8” round pans.
- Bake. Bake the cakes at 350ºF for 20-24 minutes. I recommend rotating the pans about halfway through, to ensure the cakes bake evenly. Afterward, let the cakes cool completely before you frost them.
Assembling the Cake
Next, you’ll make a quick batch of Oreo frosting before stacking the cake. I go into further detail in my tutorial on how to make a layer cake, but here’s a short step-by-step on how to assemble an Oreo chocolate cake:
- Make the frosting. First, whip butter in a bowl until it’s fluffy and easily spreadable. Slowly beat in powdered sugar, alternating with heavy cream and vanilla, until everything is incorporated. Give the frosting a good whip before adding the crushed Oreo cookies.
- Assemble. Beginning with the first cake layer, pipe a layer of Oreo frosting over top, and spread it evenly. Place the second cake layer over the first, and repeat, finishing with the third and final layer.
- Create a crumb coat. Use an offset spatula to create a crumb coat. This will catch any stray cake crumbs and keep them from coming loose while you frost the cake.
Decorating an Oreo Cake
Finally, it’s time to decorate!
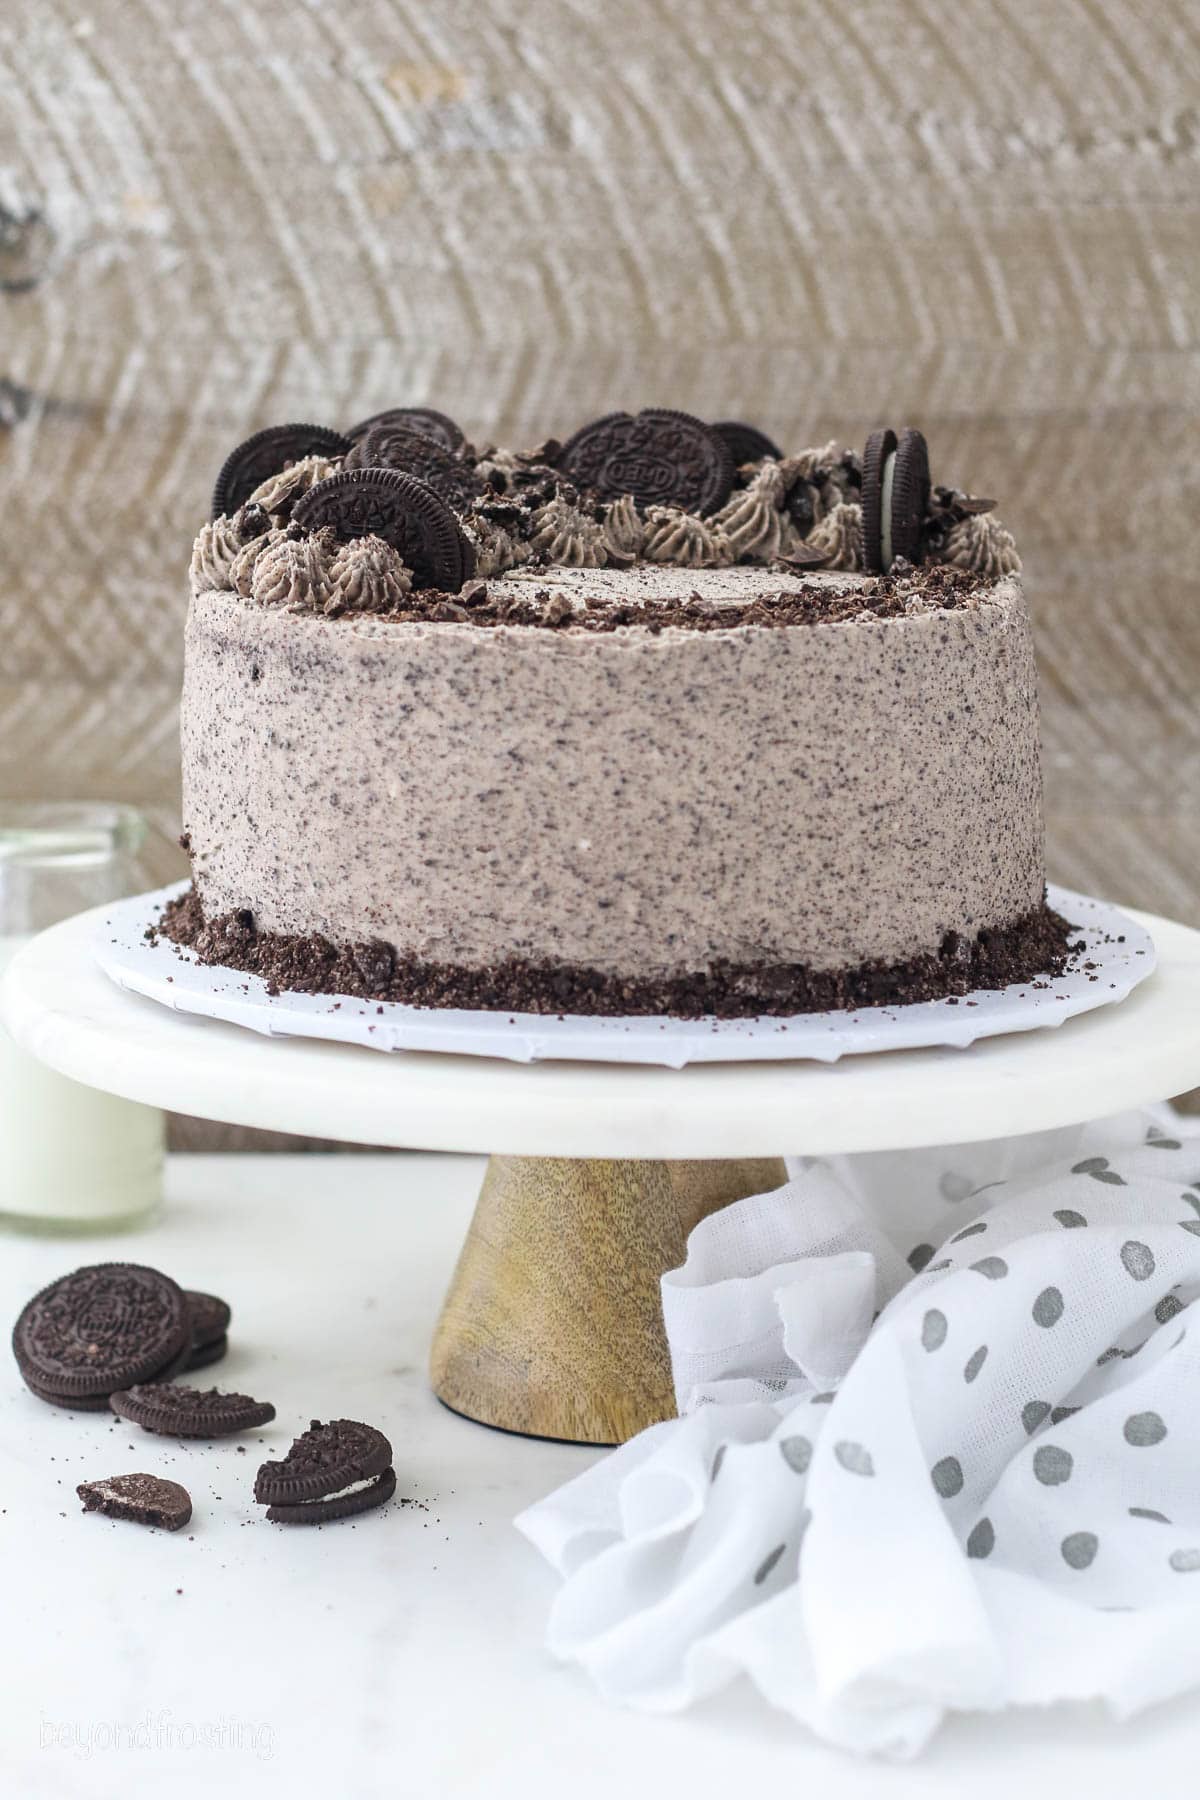
- Frost the cake. Use a cake icer tip to pipe or a filled piping bag with the tip cut off, frosting over the outside edge of the cake, then smooth out the frosting using your offset spatula or icing smoother.
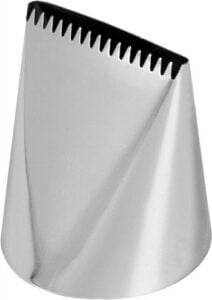
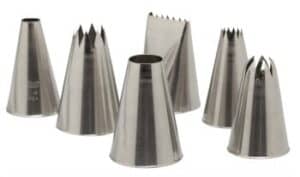
- Decorate. Next, use an open star tip and additional Oreo frosting to pipe rosettes over the top of the cake. Finally, garnish with leftover Oreos before slicing and serving.
Recipe Tips
Whether you’re making this Oreo layer cake for a birthday or any other occasion, there are a few key things to keep in mind for best results:
-
- Portion the batter evenly. Use a large measuring cup to portion approximately 1⅔ cups of cake batter per baking pan. This will yield evenly-baked cake layers.
-
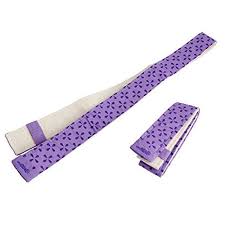
- Use bake-even strips. These help the edges of the cake from baking too quickly, preventing high domes. You can find bake-even strips online or in the baking section at the craft store.
-
- Chill the cake. If you have time, refrigerate the cake for 20 minutes after you’ve created the crumb coat, before frosting the final coat.
-
- Crush the Oreos up finely. Use a food processor (if you have one) to grind the Oreos for the frosting into a fine crumb. The finer the crumbs, the smoother the frosting. You can also do this by hand, just be sure that the cookies are crushed up well.
Can I Prepare This Chocolate Layer Cake In Advance?
Certainly. Your chocolate cake layers can be baked, cooled, and stored airtight 1-2 days in advance. You can also prepare the Oreo buttercream a couple of days ahead and keep it stored airtight in the fridge until you’re ready to assemble and frost the cake. Take the buttercream frosting out of the fridge and let it come to room temperature beforehand, then stack, fill, and frost the cake as directed.
Can I Make Oreo Cupcakes Instead?
Yes! This cake recipe makes enough batter for 24-26 Oreo chocolate cupcakes. Remember to pick up an extra package of Oreos if you’d like to have enough cookies to decorate each cupcake. Also, see my recipe for cookies and cream Oreo cupcakes for a variation made with vanilla cake.
More Ways to Decorate
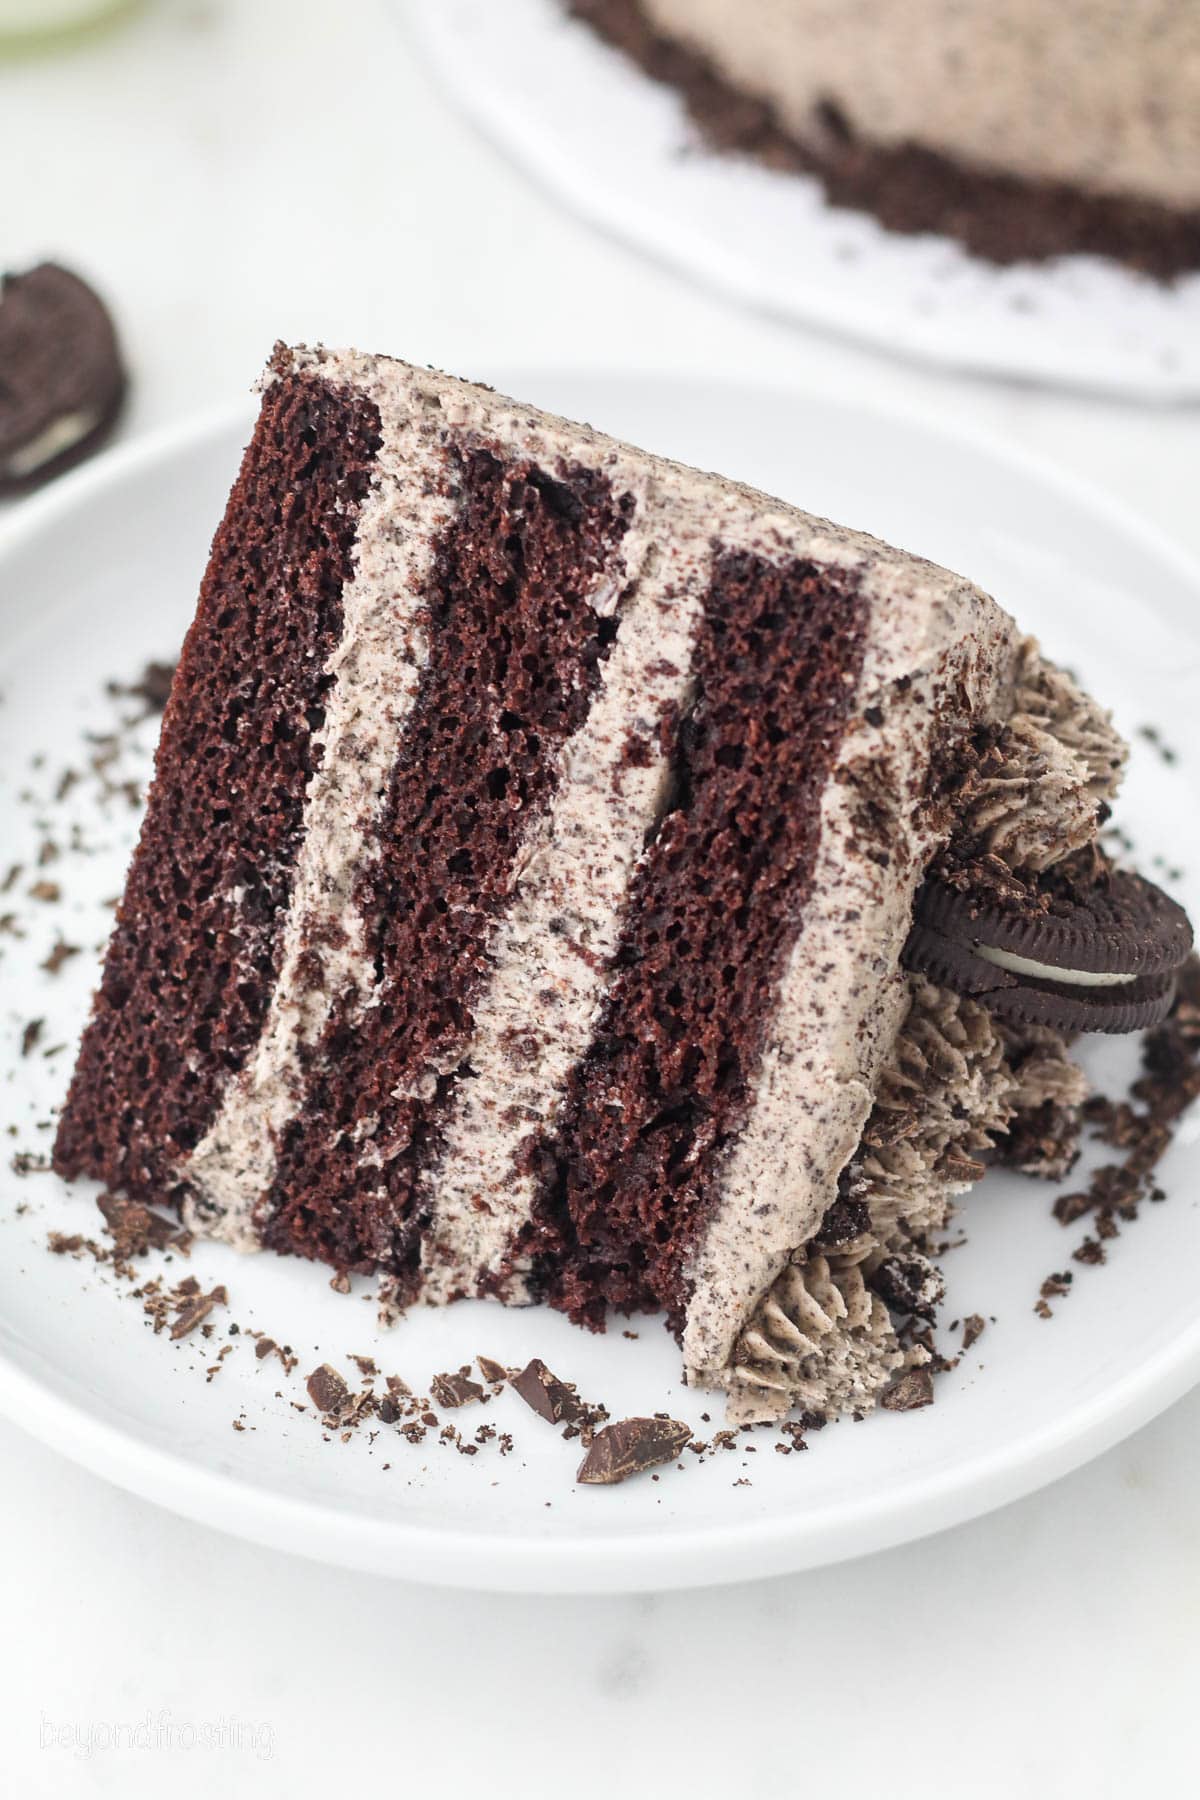
I’ve used a variety of open star tips to top this Oreo cake with decorative rosettes, with crushed cookies for garnish. But decorating is your chance to make this cake your own! If you’d prefer to use another kind of frosting, try a classic chocolate buttercream filled with Oreos instead. You’ll also find loads of helpful cake decorating tips in my tutorials on how to use piping tips and how to use a piping bag.
You can top your finished cake with a drizzle of chocolate ganache, a sprinkle of chocolate shavings or chopped chocolate, or swirls of homemade whipped cream or chocolate whipped cream. It’s totally up to you!
How to Store
- To Store. Store in an airtight at room temperature for up to 1-2 days, or up to 3-4 days in the fridge. I recommend using a cake carrier to keep your cake fresh. This cake is best served at room temperature, so remember to take it out of the fridge about 30 minutes ahead of serving.
- Freeze. You can freeze the frosted cake airtight, either whole or in individual slices. Wrap the cake in a double-layer of plastic wrap and keep it frozen for up to 2 months. Defrost in the fridge or at room temperature before serving.
More Oreo Cake Recipes to Try
- Oreo Poke Cake
- No-Bake Oreo Cheesecake
- Oreo Dirt Poke Cake
- No-Bake Oreo Mousse Cake
- Oreo Ice Cream Cake
- No-Bake Chocolate Oreo Cheesecake
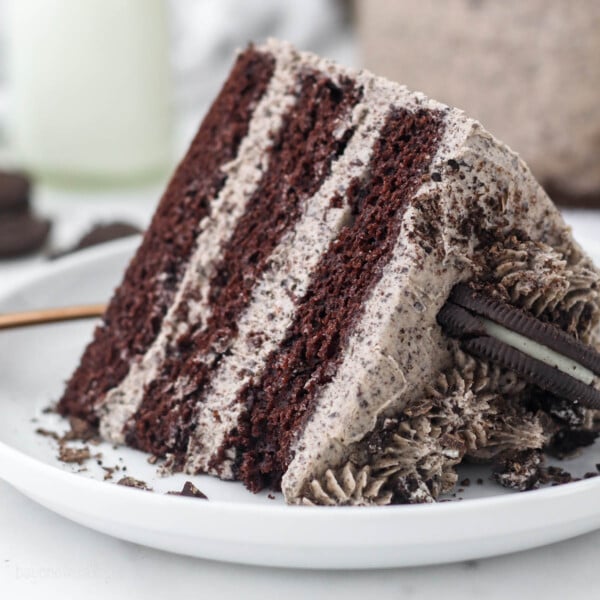
Oreo Chocolate Cake
- Prep Time: 45 minutes
- Cook Time: 22 min
- Total Time: 1 hour 7 minutes
- Yield: 10-12 slices
- Category: Cake
- Method: Bake
- Cuisine: American
Description
This decadent Oreo chocolate cake is layers of moist, homemade chocolate cake filled with creamy Oreo frosting bursting with crushed cookies.
Ingredients
For the Cake
- 1 ½ cups (285g) granulated sugar
- ½ cup (118 ml) vegetable oil
- 3 large eggs, at room temperature
- 1 tablespoon (15 ml) pure vanilla extract
- ½ cup (120g) sour cream, at room temperature
- 2 cups (280g) all-purpose flour, sifted
- ½ cup (40 g) cocoa powder, sifted
- 1 tablespoon (5g) espresso powder (optional)
- 2 ½ teaspoons (9 g) baking powder
- ½ teaspoon (2 g) baking soda
- 1 teaspoon (5 g) salt
- 1 ¼ cup (296 ml) hot brewed coffee
For the Frosting
- 2 cups (453g) unsalted butter, cold
- 7–8 cups (910-1041g) powdered sugar
- 1 tablespoon (15ml) vanilla extract
- 3 tablespoons (30-44ml) heavy whipping cream
- 1 bag (14.3 oz) Oreos
- Pinch of salt
Instructions
For the Cake
- Preheat the oven to 350°F. Prepare 3 8-inch round baking pans, line the bottom with parchment paper and grease the sides. Prepare your bake even stripes if desired.
- In a large mixing bowl, combine the sugar, vegetable oil, eggs and vanilla extract. Beat on medium speed until the eggs and oil are well incorporated and the batter is lighter in color. Next mix in the sour cream and beat until well combined.
- In a separate bowl, sift together the dry ingredients. Add half the dry ingredients to the wet ingredients, followed by half of the coffee, and mix until the flour is incorporated at a low speed. Then add the remaining dry ingredients and coffee. Beat until all of the ingredients are well combined. Use a spatula to scrape down the sides of the bowl and stir the batter from the bottom to the top to ensure it’s well mixed.
- Divide the batter evenly between the three pans, about 1 2/3 cups of batter per pan. Bake at 350°F for 20-24 minutes. Test the cake for doneness by inserting a toothpick into the center of the cake. If the toothpick comes out clean, the cake is done. Remove from the oven and allow to cool completely.
For the Frosting
- Cut the butter into pieces. Using the paddle attachment, whip the butter at a high speed for 3-4 minutes, scraping down the bowl occasionally. Beat the butter until it’s light, fluffy and spreadable.
- Slowly add the powdered sugar, 2 cups at a time, adding the heavy whipping cream intermittently, mixing on low speed until it’s incorporated into the butter. Then increase the speed to high and beat for 30-60 seconds. Repeat until all your powdered sugar has been added.
- Save 6 Oreos for garnish. In a food processor, grind the remaining Oreos into a fine crumb. Add the crushed Oreos to the frosting along with the vanilla extract. Slowly beat the crumbs into the frosting then beat at a high speed for 60 seconds.
To Assemble
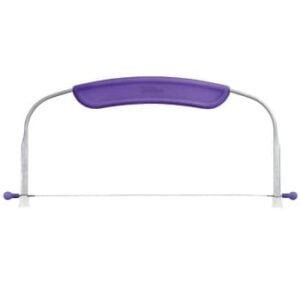
- Level the cake layers if needed. Place a dollop of frosting on your cake board and place the bottom layer of cake on top of that. Place half of the frosting in a large piping bag, then cut off the end of the piping bag. Pipe the first layer of frosting, pipe in circles working outside edge to the middle. Spread evenly with an offset spatula.
- Add the second layer of cake and add the remaining frosting. Place the third layer of cake on top, and invert the top layer.
- Use the piping bag to fill in any gaps between the layers and to create a crumb coat. Using an offset spatula or icing smoother, wipe away the excess frosting, leaving just enough to coat the outside of the cake.
- With the remaining frosting, proceed to frost the top and sides of the cake using an offset spatula. To pipe the rosettes on top, use an open star tip such as Ateco 844. Use leftover Oreos for garnish. You can either cut them in half and place them on top or crush the crumbs and sprinkle them around the outside edge of the cake.
Notes
Ingredient Substitutions
- Cocoa powder: I prefer to use Hershey’s Special Dark Cocoa Powder for the cake
- Sour cream substitute: If you don’t have sour cream, substitute plain or Greek yogurt.
- Brewed coffee substitute: If you don’t want to use coffee, you can use milk, but I do recommend heating it up.
Storing and Freezing
- To Store. Store in an airtight at room temperature for up to 1-2 days, or up to 3-4 days in the fridge. I recommend using a cake carrier to keep your cake fresh. This cake is best served at room temperature, so remember to take it out of the fridge about 30 minutes ahead of serving.
- Freeze. You can freeze the frosted cake airtight, either whole or in individual slices. Wrap the cake in a double-layer of plastic wrap and keep it frozen for up to 2 months. Defrost in the fridge or at room temperature before serving.
Nutrition
- Serving Size: 1 slice
- Calories: 880
- Sugar: 95.6 g
- Sodium: 295.9 mg
- Fat: 44.5 g
- Carbohydrates: 119.6 g
- Fiber: 1.7 g
- Protein: 5.8 g
- Cholesterol: 133.3 mg


This cake was easy to make and had a really good flavor. I personally like thicker layers so next time i will probably just make it a 2 layer cake. It is a very moist cake with great flavor. I can’t deduct any points because of my person preference. Thank you for sharing this recipe I will make it again.
Thank you Danna! I’ve made the cake recipe plenty of times as a two layer 8-inch cake, it’s definitely thicker!
Can I make this recipe in 29 inch pans and would I make the same amount of frosting?
Hi Cheryl, yes you can bake this as two 9inch pack. The suggested bake time for two layers is around 28-32 minutes. Baking times will vary due to how full the pans are, type of pans and true oven temperature. Please note these did “crust” a little more on the outside edge due to extended baking times and they rose quite a bite in the middle, so you’ll lose more of the “dome” of the cake. This means you may need to cute the dome down to a much thinner layer if you intend to stack them.
I would cut the frosting by at least 1/3
can’t wait to try!
Could you make these into cupcakes? We love it as a cake too! SO good!
Yes! The cake will make 24 cupcakes and you won’t need quite as much frosting, instead follow this recipe for Oreo Frosting
Really Nice! The crushed Oreos in the icing just made the cake flow! However the icing was a tiny bit too sweet but it was really nice overall.
Thank you so much for sharing!
This cake is amazinggg!! The cake itself is delicious- the coffee really brings out the chocolate flavor. It’s moist and could be eaten by itself it’s so delicious. The frosting is SO GOOD! It’s the perfect buttercream and made even better with the Oreo crumbs and light crunch. I will definitely make this cake again. It came together really easily and tastes amazing!
How wonderful Christina! Thank you so so much for sharing!
It sounds really good i am going to use your recipe so should I keep the cake out of refrigerator overnight I will be baking my birthday cake on Saturday
Hi Ashley- as long as you do not live in a hot or humid climate, this should be okay on the counter in an airtight container under Saturday. It’s okay to refrigerate this too but it’s best served at room temp
Soooo easy to make. Looks amazing and can’t wait to cut in it
Woohoo! Thank you so much, Kristin!
So good!! The cake is a great texture, just a bit more dense than cakes I usually make. My husband isn’t a big chocolate cake fan and he even loved it. The whole thing is delicious and not overly sweet. My only challenge was the frosting being quite stiff and difficult to spread. I’m sure I did something wrong with that, but not sure what.
Thank you Charlie! I am so glad you enjoyed it. Next time, whip your butter for longer in the beginning and just keep beating it for longer as you add the powdered sugar. You can also add a bit more liquid 2-3 teaspoons of milk or cream.
The cake itself was perfect and moist. The icing was way too sweet, even for my kids. The icing tasted fine after 4 cups of icing sugar but I figured I should stick to the recipe as maybe I would end up with not enough icing if I didn’t add the additional sugar. Nope, ended up with too much icing that was sickeningly sweet. Will definitely use the cake recipe again but will try it with different icing.
Hi Jacinta, thanks for your feedback. You did the right thing to add more icing, 4 cups would have left you short, generally speaking, it’s 2 cups of powdered sugar for every 1/2 cup of butter. If you ended up with extra icing it’s likely that you just did;t use as much between your layer or to frost and decorate with. If you want a much less sweet frosting, you could try a Swiss meringue buttercream and add Oreo cookie crumbs
You may also try removing some of the icing from the cookies before crushing them. I love adding whipping cream to my frostings. That may help to temper down the sweetness more to you liking.
This frosting does have whipping cream :). but yeah, if you want to remove the filling of the Oreos, be my guest 🙂
I made this cake for a 30yr old bday who thoroughly enjoys chocolate and Oreos and it was perfect!
The cake came out beautifully, no problems, and the frosting makes the cake! I did end up adding more like 5-6 tbs of heavy cream to smooth the frosting out! It is a fudge like consistency.
The cake was not over the top super sweet, it was very palatable and perfect for chocolate & Oreo fans! Thanks for sharing this recipe!
Aww thank you Michele! I am so glad you enjoyed it!
Hi
Any tips on how to make it in a rectangle or square pan. Do I just fill the pan half way depending on the size?
Hi Kaaya, the batter is about 5 cups. Do to make sure layers are baked evenly, you would just divide that by the number of layers you’re making. Or if it’s a 9×13 inch pan, you can just bake the whole batter at one time for approximately 25 minutes.
I made this cake for my son’s birthday. I followed the recipe to the T. The cake was extremely soft.It was difficult to remove from the pans without breaking them😥.
I managed to salvage them….and put them im the freezer for 3 hours before attempting to ice them.
Also the icing was extremely sweet and almost inedible. I was really disappointed.
Hi Vasie, I make this chocolate cake quite often, and never have an issue removing them from the pan. Did you make sure to grease and flour them really well? The cake is soft but should be quite stable to handle. You always have the option to use less powdered sugar in the frosting, but it will produce different results as far as texture, taste and overall yield of the frosting