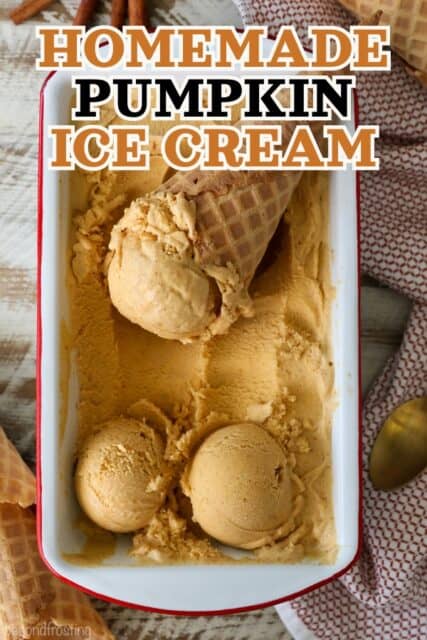
This rich, creamy pumpkin pie ice cream is perfectly scoopable and filled with real pumpkin and spice. It’s a delicious fall treat that tastes just like the pumpkin ice cream from my favorite ice cream parlor! I make this recipe at home with an easy ice cream base, no eggs needed.
Fall is here, but don’t retire your ice cream maker just yet. Give this homemade apple ice cream a try, next.
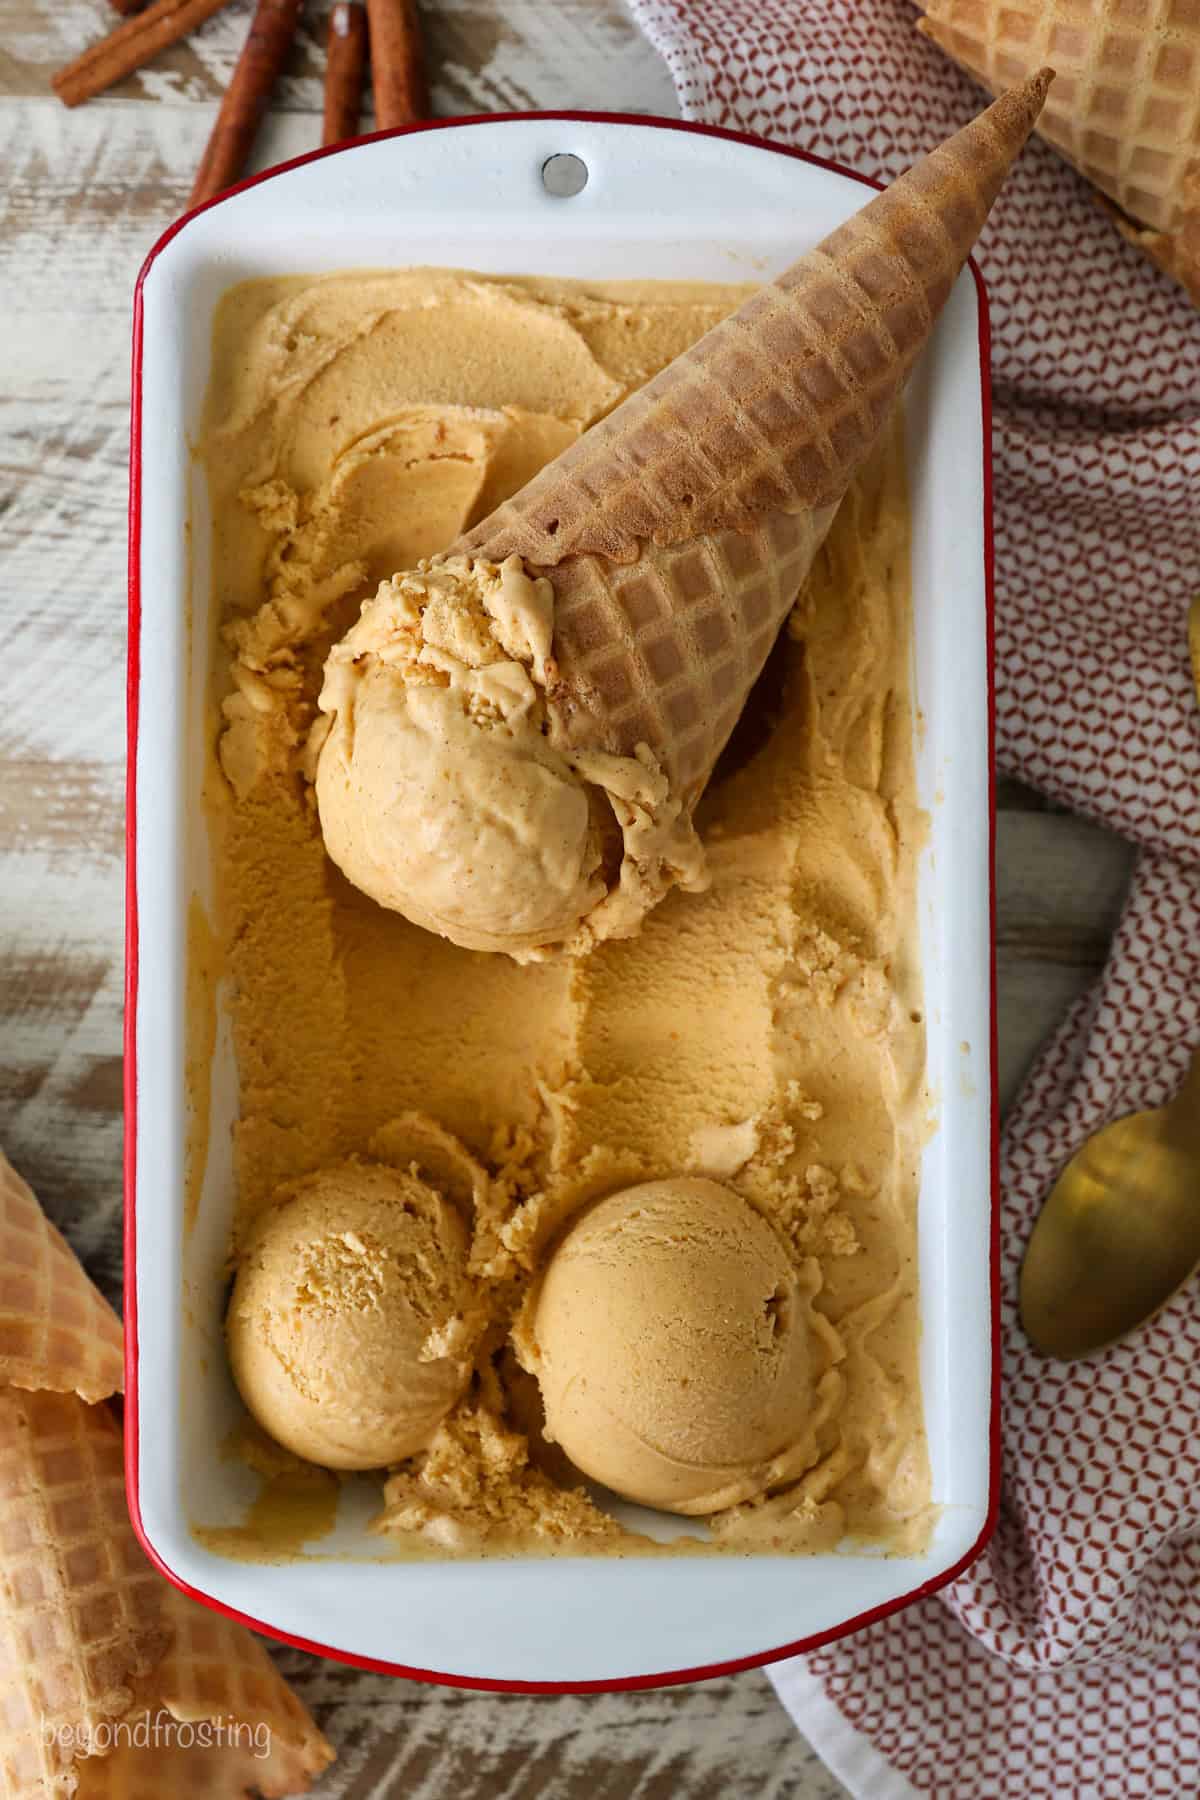
The Best Pumpkin Pie Ice Cream
I’ve been trying for YEARS to find a pumpkin ice cream recipe that rivals my favorite Vermont creamy, Wilcox ice cream. I finally found it, and I didn’t have to go further than my kitchen.
This homemade pumpkin pie ice cream is filled with the rich flavors of real pumpkin and cozy fall spice. It tastes like homemade pumpkin pie in a cup! Consistency-wise, homemade ice cream will always have a bit of an icy texture due to the churning process, but the flavor is spot on. This recipe uses a few key (and special) ingredients to get a perfect, scoopable base, and I can’t believe how good it turned out.
I am Obsessed With This Pumpkin Ice Cream Recipe
- Plenty of pumpkin flavor. This ice cream recipe is rich and creamy, made with pumpkin puree and fall spices churned with silky heavy cream and brown sugar.
- No eggs. The consistency of this pumpkin pie ice cream is totally parlor-worthy, even without a traditional egg custard base. Instead of egg yolks, this ice cream recipe uses xanthan gum as a thickener and a combination of sugar and corn syrup for a scoopable texture. It’s an easy trick for perfect homemade ice cream.
- Easy. You’ll need your ice cream maker for this one, but the soft, creamy results are worth it. The ice cream base is quick to make on the stovetop, and after a bit of chilling time, most of the work gets left to the ice cream maker. The good news is you can also use your Ninja Creami machine to, in fact, sometimes I prefer that.
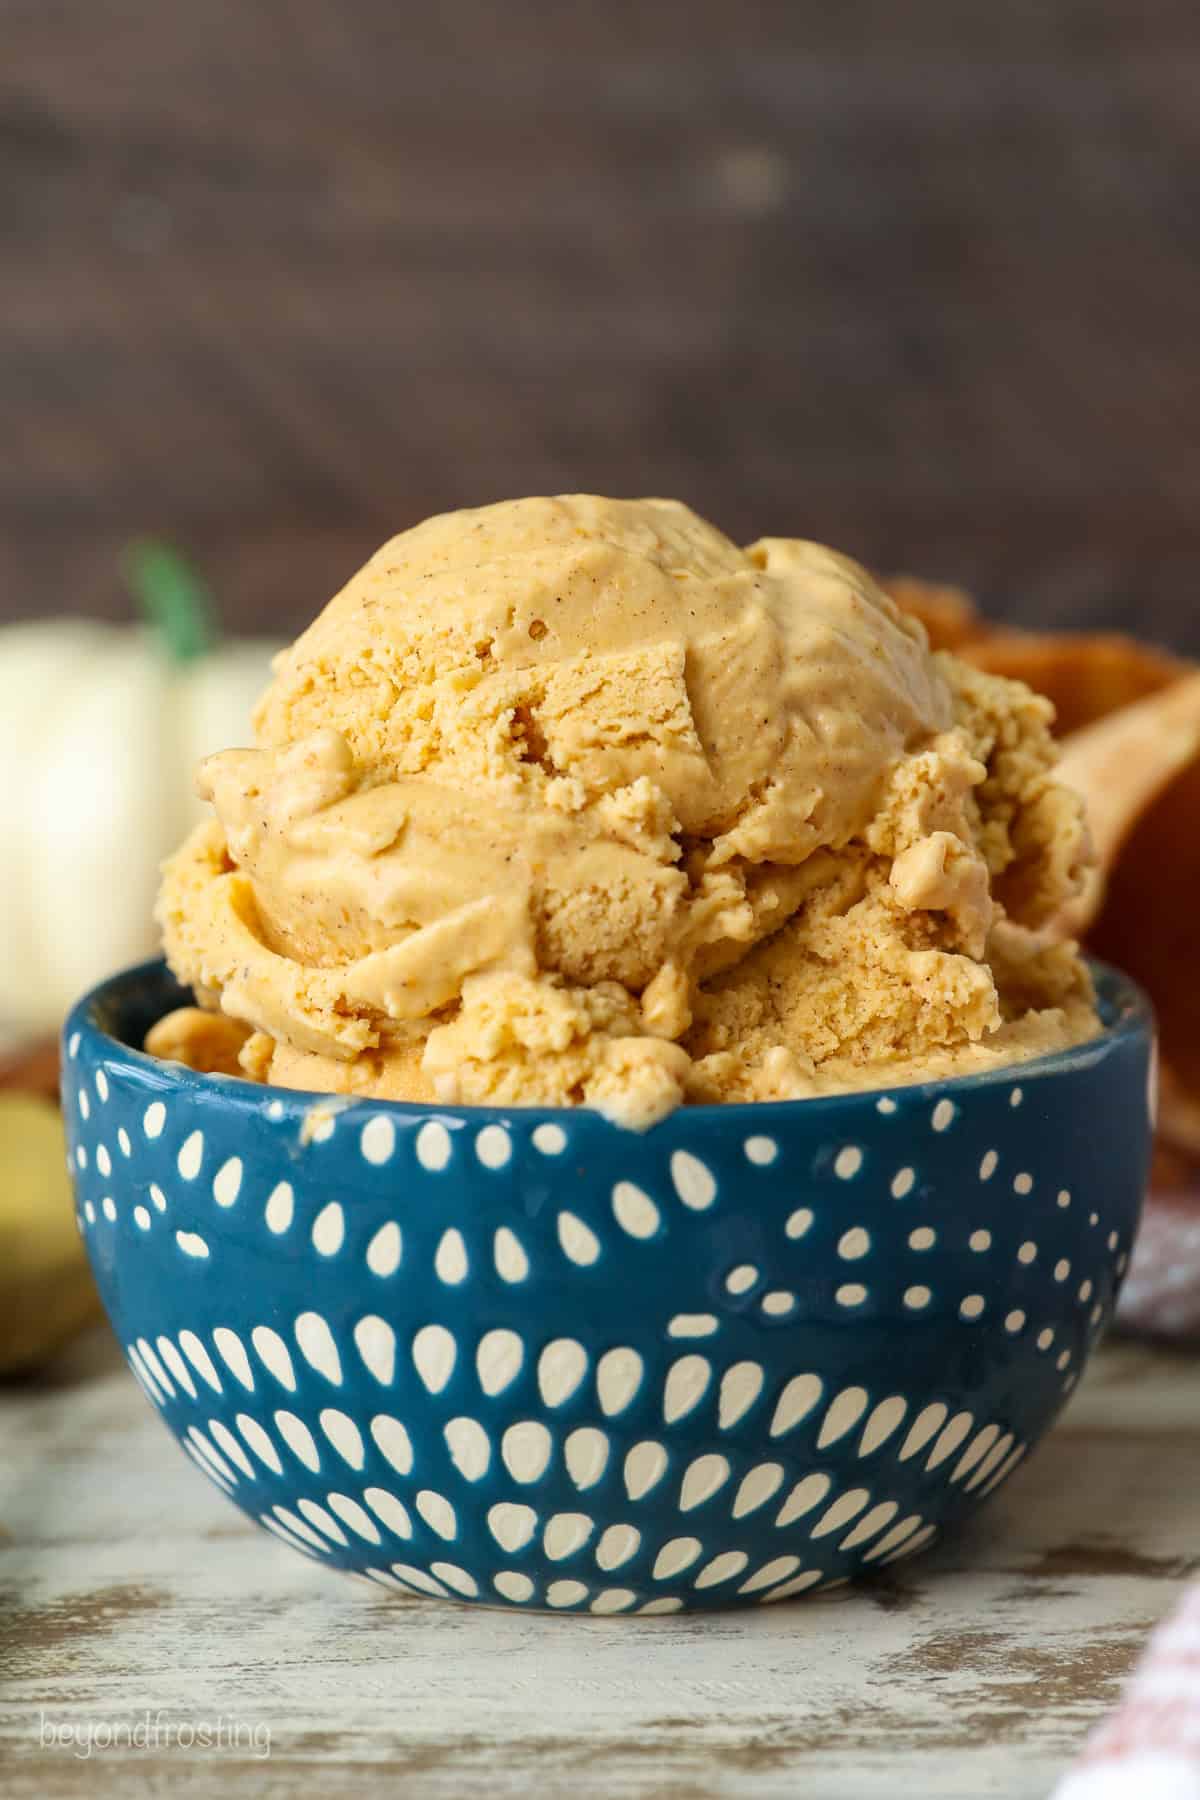
Important Ingredient Notes
The base recipe for this ice cream is from my Portland local, Salt and Straw. It is seriously one of the best base recipes I’ve tried. There are a few ingredients here that you may not immediately have on hand, but each one plays a key role. Tyler Malek, the head ice cream maker at Salt and Straw, explains their ingredients in detail in this YouTube video.
I include my notes below, also, to get things started. Don’t forget to scroll to the recipe card for a printable ingredients list with the full recipe details.
- Dry Milk Powder – Enhances the milk flavor in the ice cream. If you are only buying it for this recipe, then I’d recommend grabbing this package, it’s a very affordable option and comes packaged in small portions.
- Fall Spices – Pumpkin pie spice and cinnamon. You can use only cinnamon if needed, or a combination of spices like cinnamon, nutmeg, ginger, and allspice.
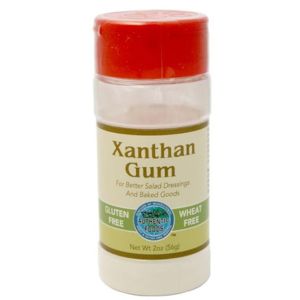
- Xanthan Gum – Acts as a binder, which you would typically get by using eggs in custard-based ice cream recipes. As noted by thekitchn.com, xanthan gum helps to prevent ice crystals from forming. This in turn makes for a richer and creamier ice cream. You’ll only need a small amount, and I usually purchase this one from Amazon. Once you have it, you can also make my cake batter ice cream.
- Corn Syrup – Corn syrup is the secret to making the ice cream scoopable at freezing temperatures.
- Salt – This is not a part of Salt and Straw’s base recipe, but it enhances the flavor of this pumpkin ice cream.
- Sugar – Regular granulated sugar, plus brown sugar for a more caramelized flavor.
- Pumpkin Puree – Make sure it’s 100% canned pumpkin and not pumpkin pie filling.
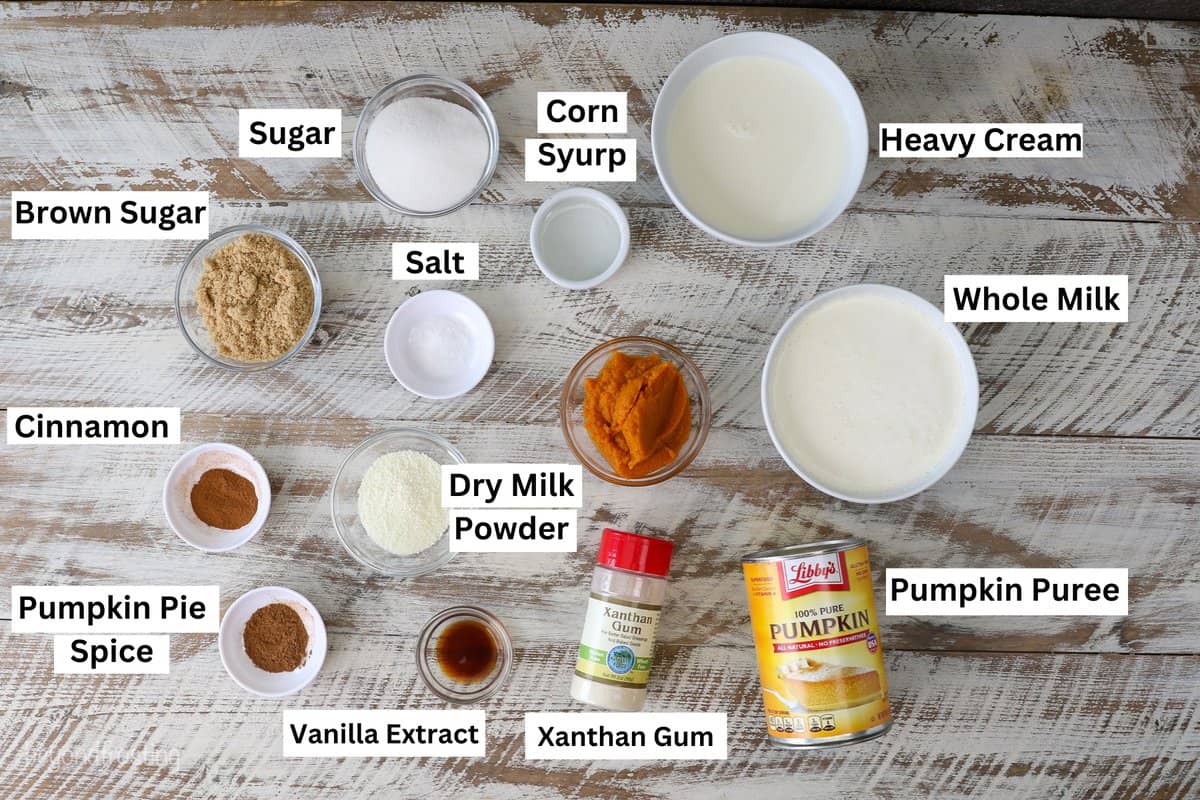
How To Make Pumpkin Pie Ice Cream
If you’re new to making ice cream in the ice cream maker, let’s go over the steps below. You’ll find the printable instructions in the recipe card.
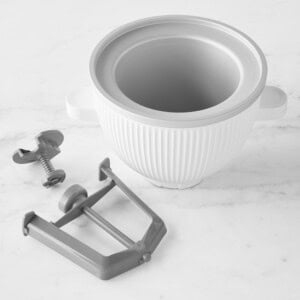
- Prep your ice cream maker. You’ll likely need to pre-chill your ice cream maker. Some models take overnight, so read over the manufacturer’s instructions ahead of time.
- Heat the ingredients. First, combine all of the dry ingredients in a bowl. Meanwhile, combine the milk and corn syrup in a saucepan over medium heat, stirring to combine then slowly whisk in the dry ingredients, and let that cook for 3-5 minutes until the dry ingredients are FULLY dissolved.
- Strain. Once the sugar is fully dissolved, pass the mixture through a fine mesh sieve and into a large bowl. Stir in heavy cream, vanilla, and pumpkin puree.
How to Tell The Mixture is Ready
Fully dissolving the dry ingredients is the key step to ensuring the ice cream base will have a smooth consistency. To test this, dip a spoon into milk mixture, and rub a drop of liquid between your finger tips. You should not feel any granules. The next step is straining the liquid just incase there’s any lingering dry ingredients, the sieve will catch them.
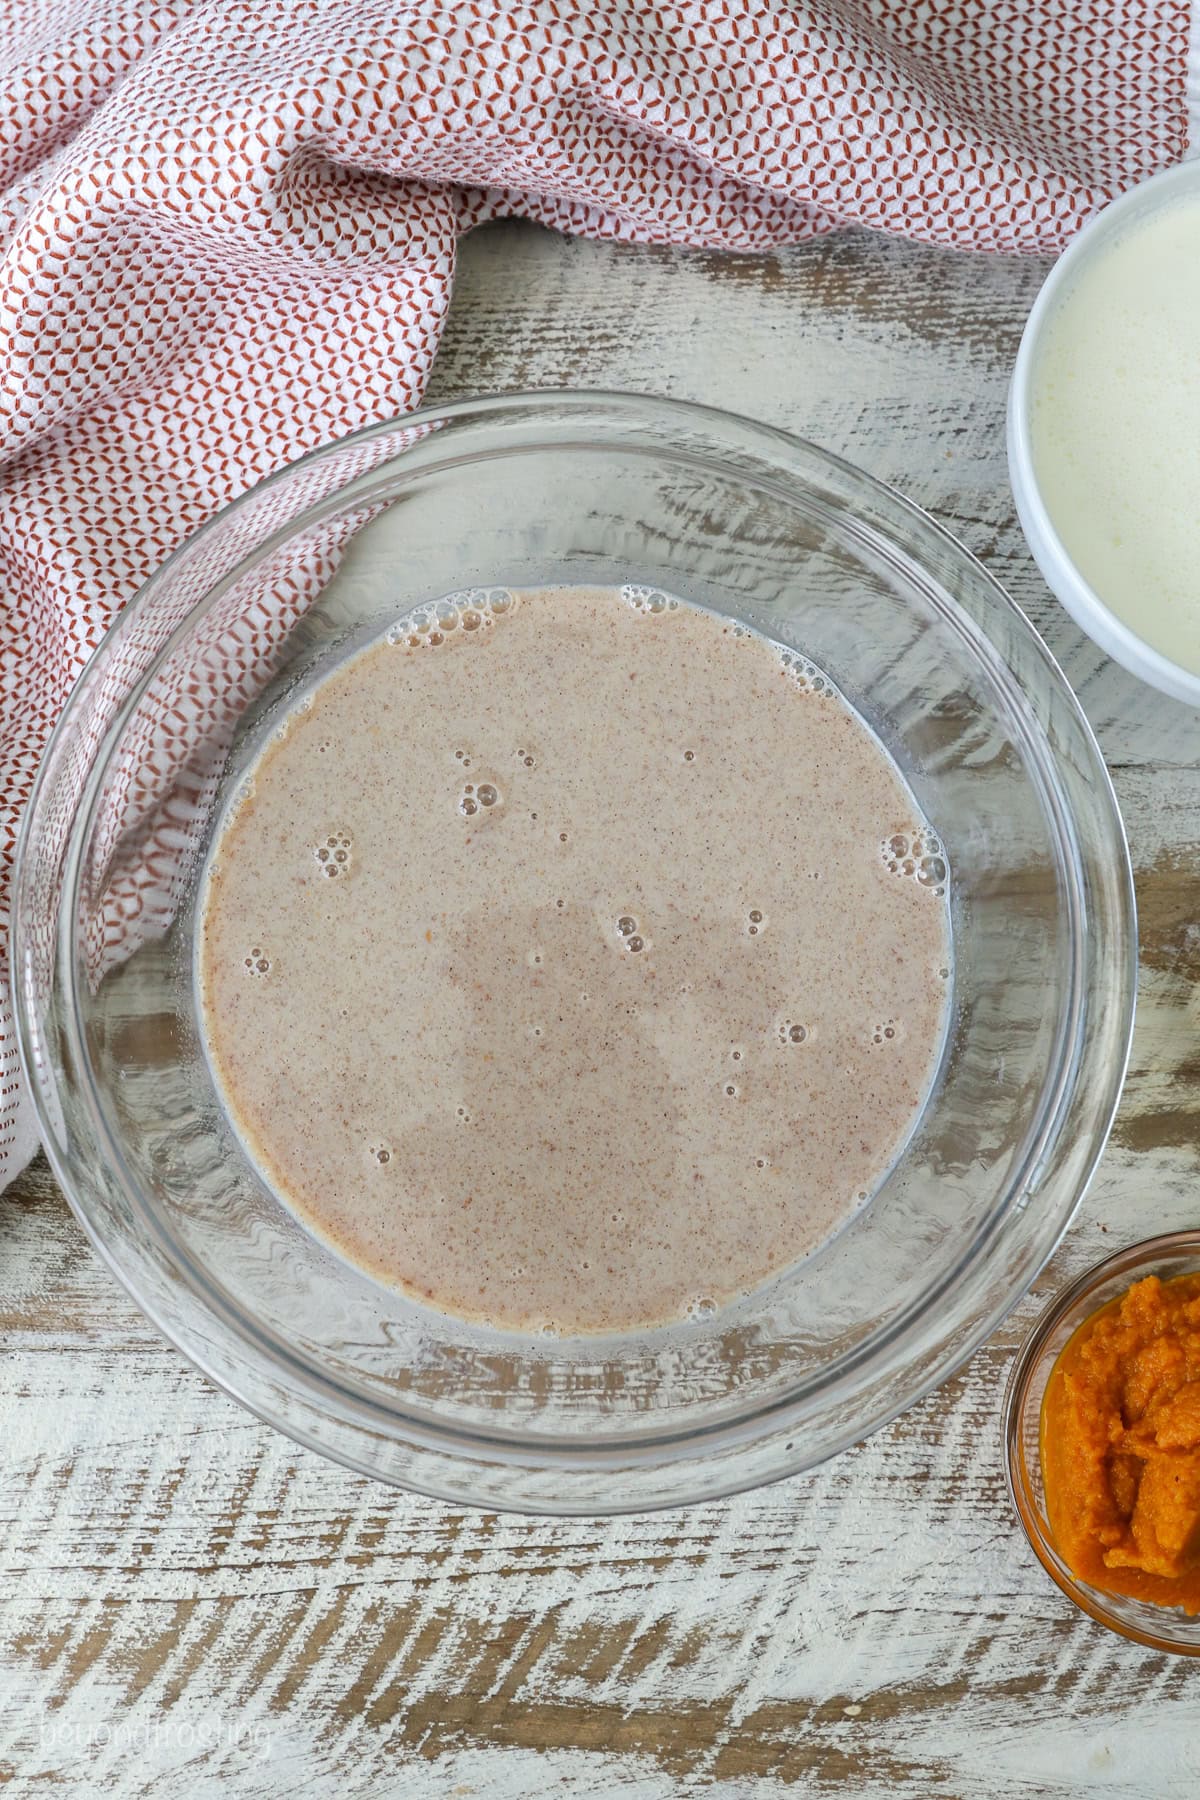
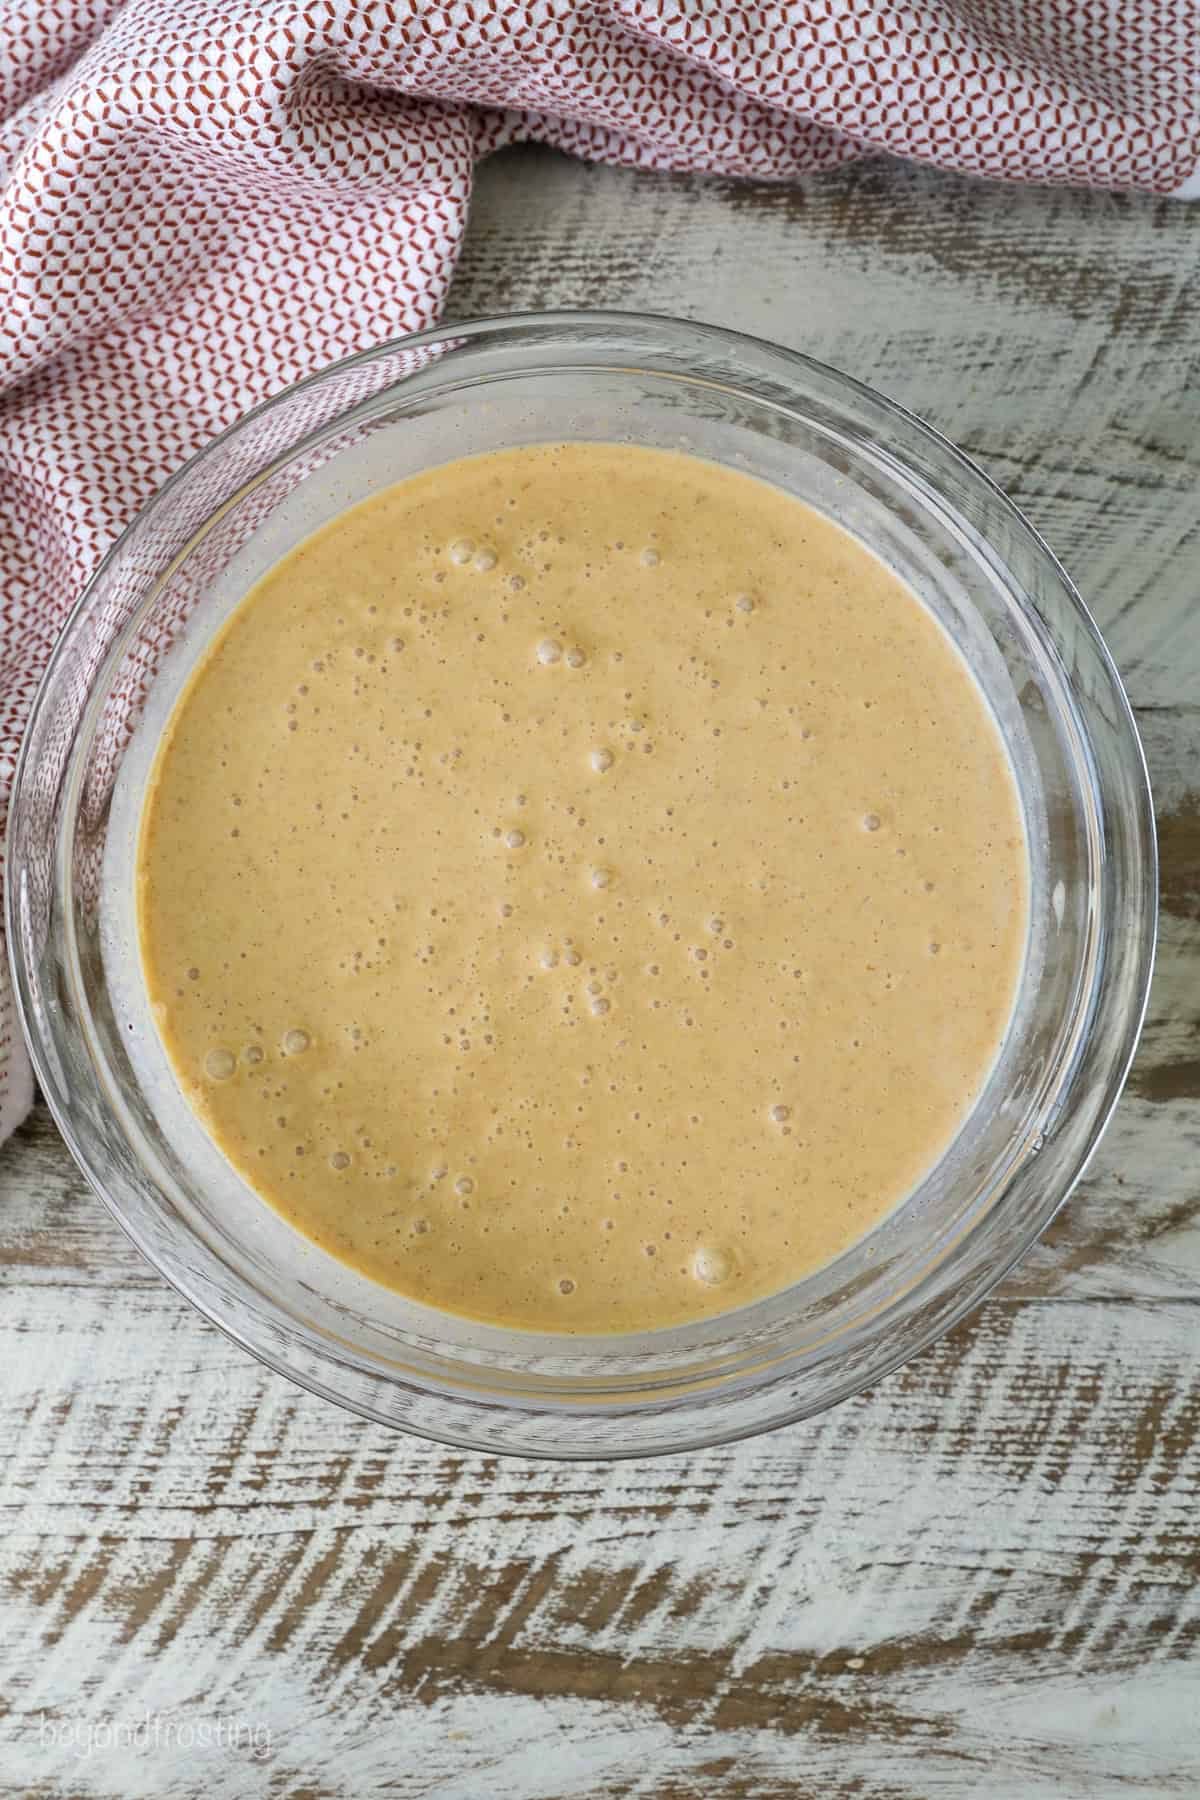
- Chill the base. Afterward, let the base cool on the countertop before moving it to the fridge to chill completely. I usually do this overnight while my ice cream make is chilling.
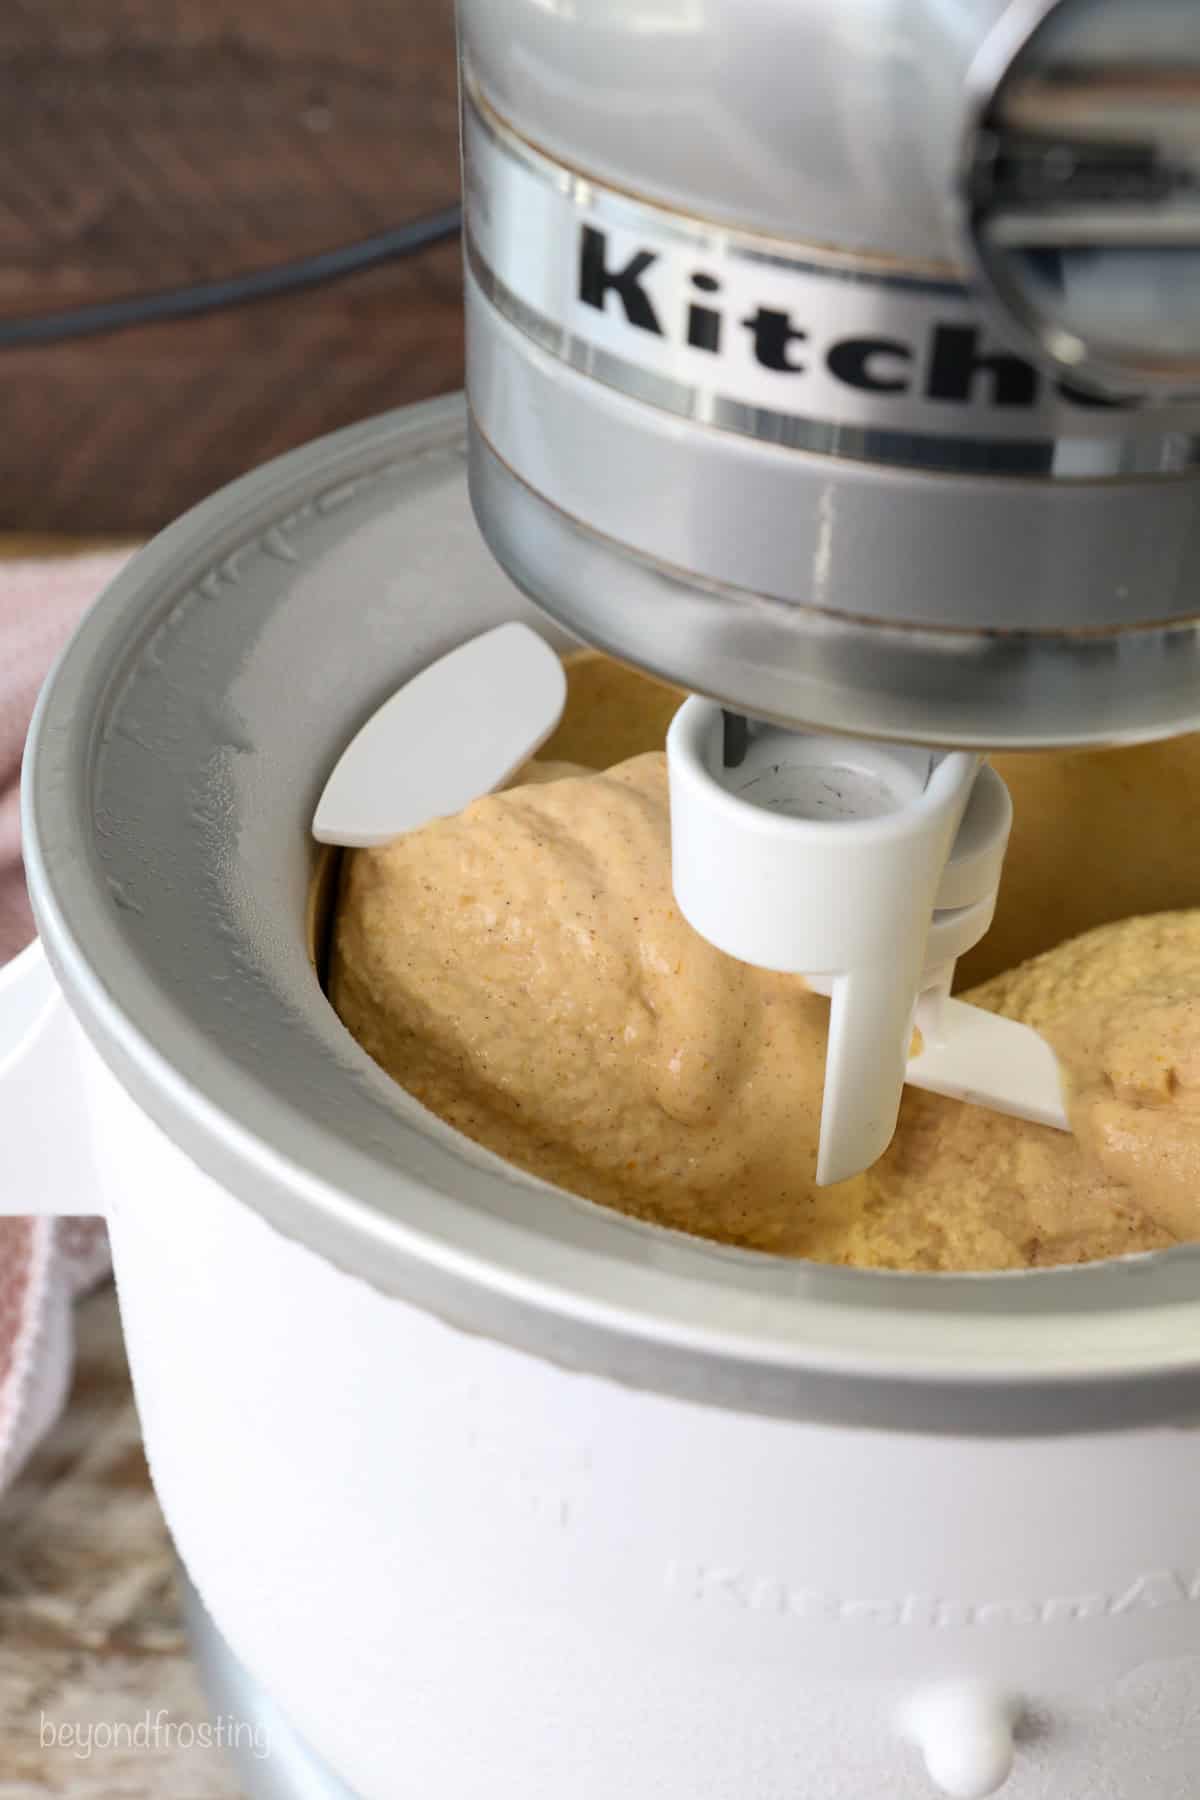
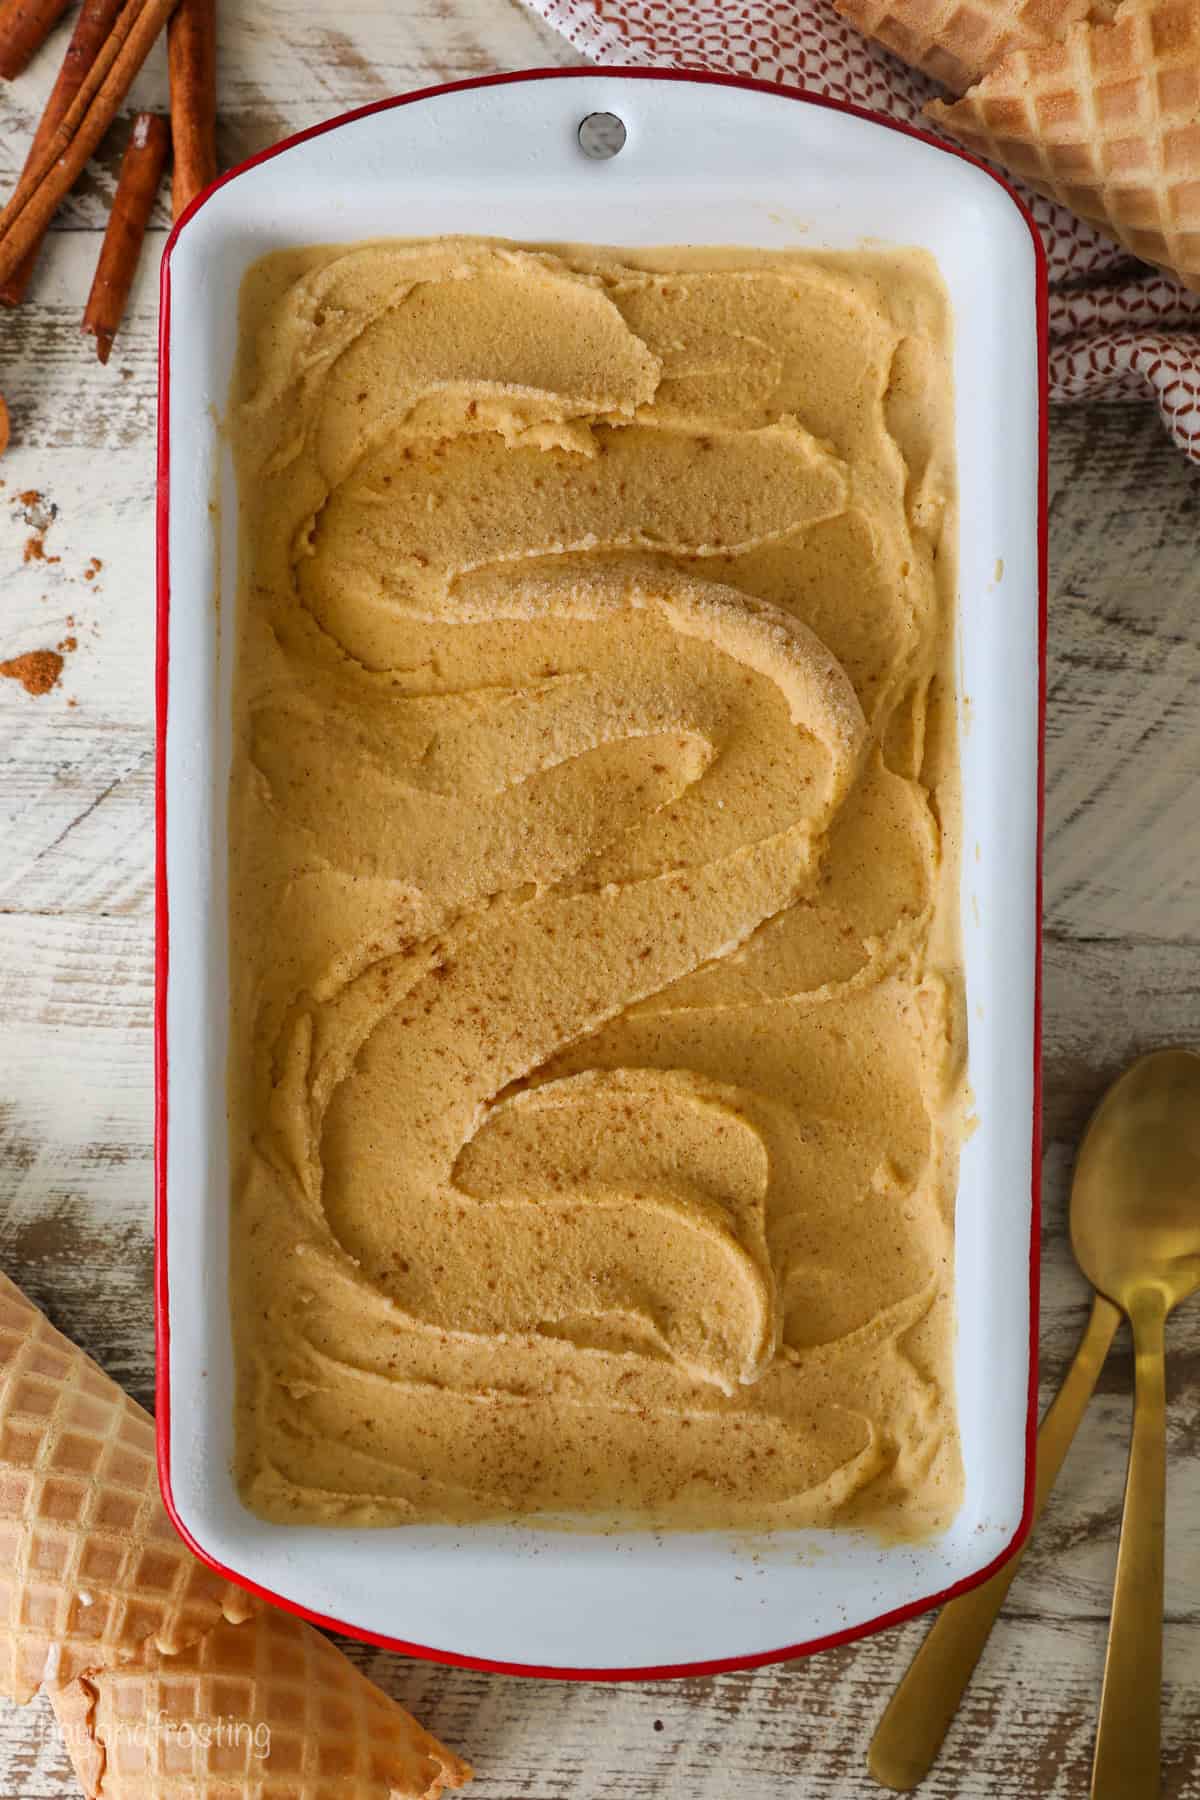
- Churn. When you’re ready, churn the pumpkin ice cream base following the directions for your ice cream maker. Mine takes about 30 minutes. Finally, transfer the finished ice cream to a loaf pan or container and freeze for 4-6 hours before serving.
Churning Tip!
When churning homemade ice cream, it can appear to be finished after about 10 minutes. It looks light and fluffy, but keep going. The additional churn time makes for a better consistency and it will thicken the ice cream as it churns.
If the ice cream base has some liquid at the top, use a spatula to push it back into the bowl (see below photo)
Do I Need An Ice Cream Maker For This Recipe?
Yes, you will need an ice cream maker to churn the pumpkin ice cream in this recipe. Make sure to read the instructions for your ice cream maker model in advance, as most involve chilling the bowl overnight. You can also use a Ninja Creami for this recipe. Pour the ice cream base into your creami containers and freeze accordingly.
If you’re looking for an easy ice cream recipe to make without an ice cream maker, check out my no-churn tiramisu ice cream or this no-churn brownie batter ice cream.
Recipe Tips
- The sugar must be completely dissolved. To check, carefully place a drip of the warm milk mixture between your finger tips. It should be completely smooth, and not grainy.
- Keep an eye on the ice cream as it churns. If you see a lot of liquid rising to the top, quickly stop the machine and use a spatula to push it back down into the machine so that it can be churned into a solid.
- Use a Ninja Creami. This ice cream recipe works wonderfully in a Ninja Creami. You can freeze the ice cream base directly in the Creami containers. I’ll sometimes scoop leftover frozen ice cream into my Creami containers and just respin it. It makes the smoothest ice cream consistency.
- Add-ins. If you’d like to add more texture to your pumpkin pie ice cream, in the last few minutes of churning, add in crushed graham crackers, gingersnap cookies, chopped pecans, or chocolate chips.
Serving Suggestions
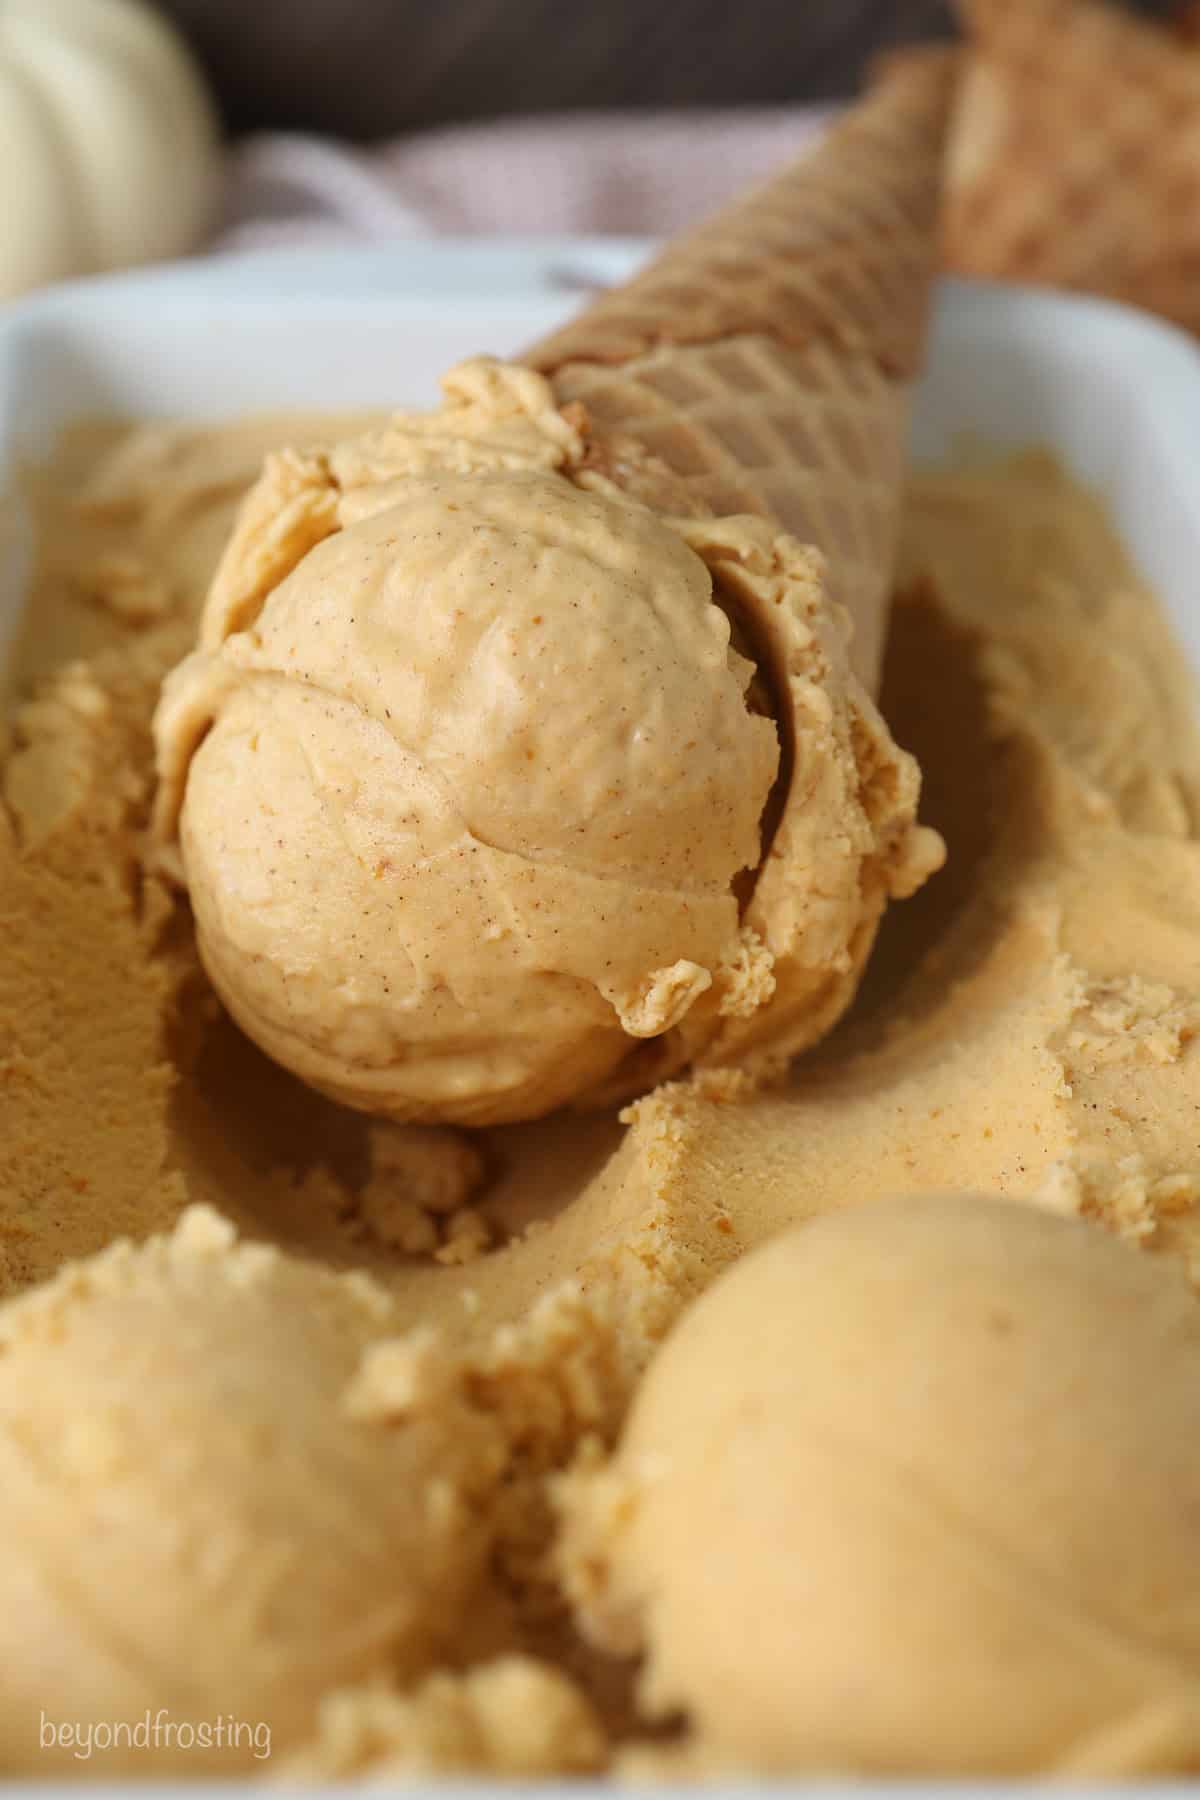
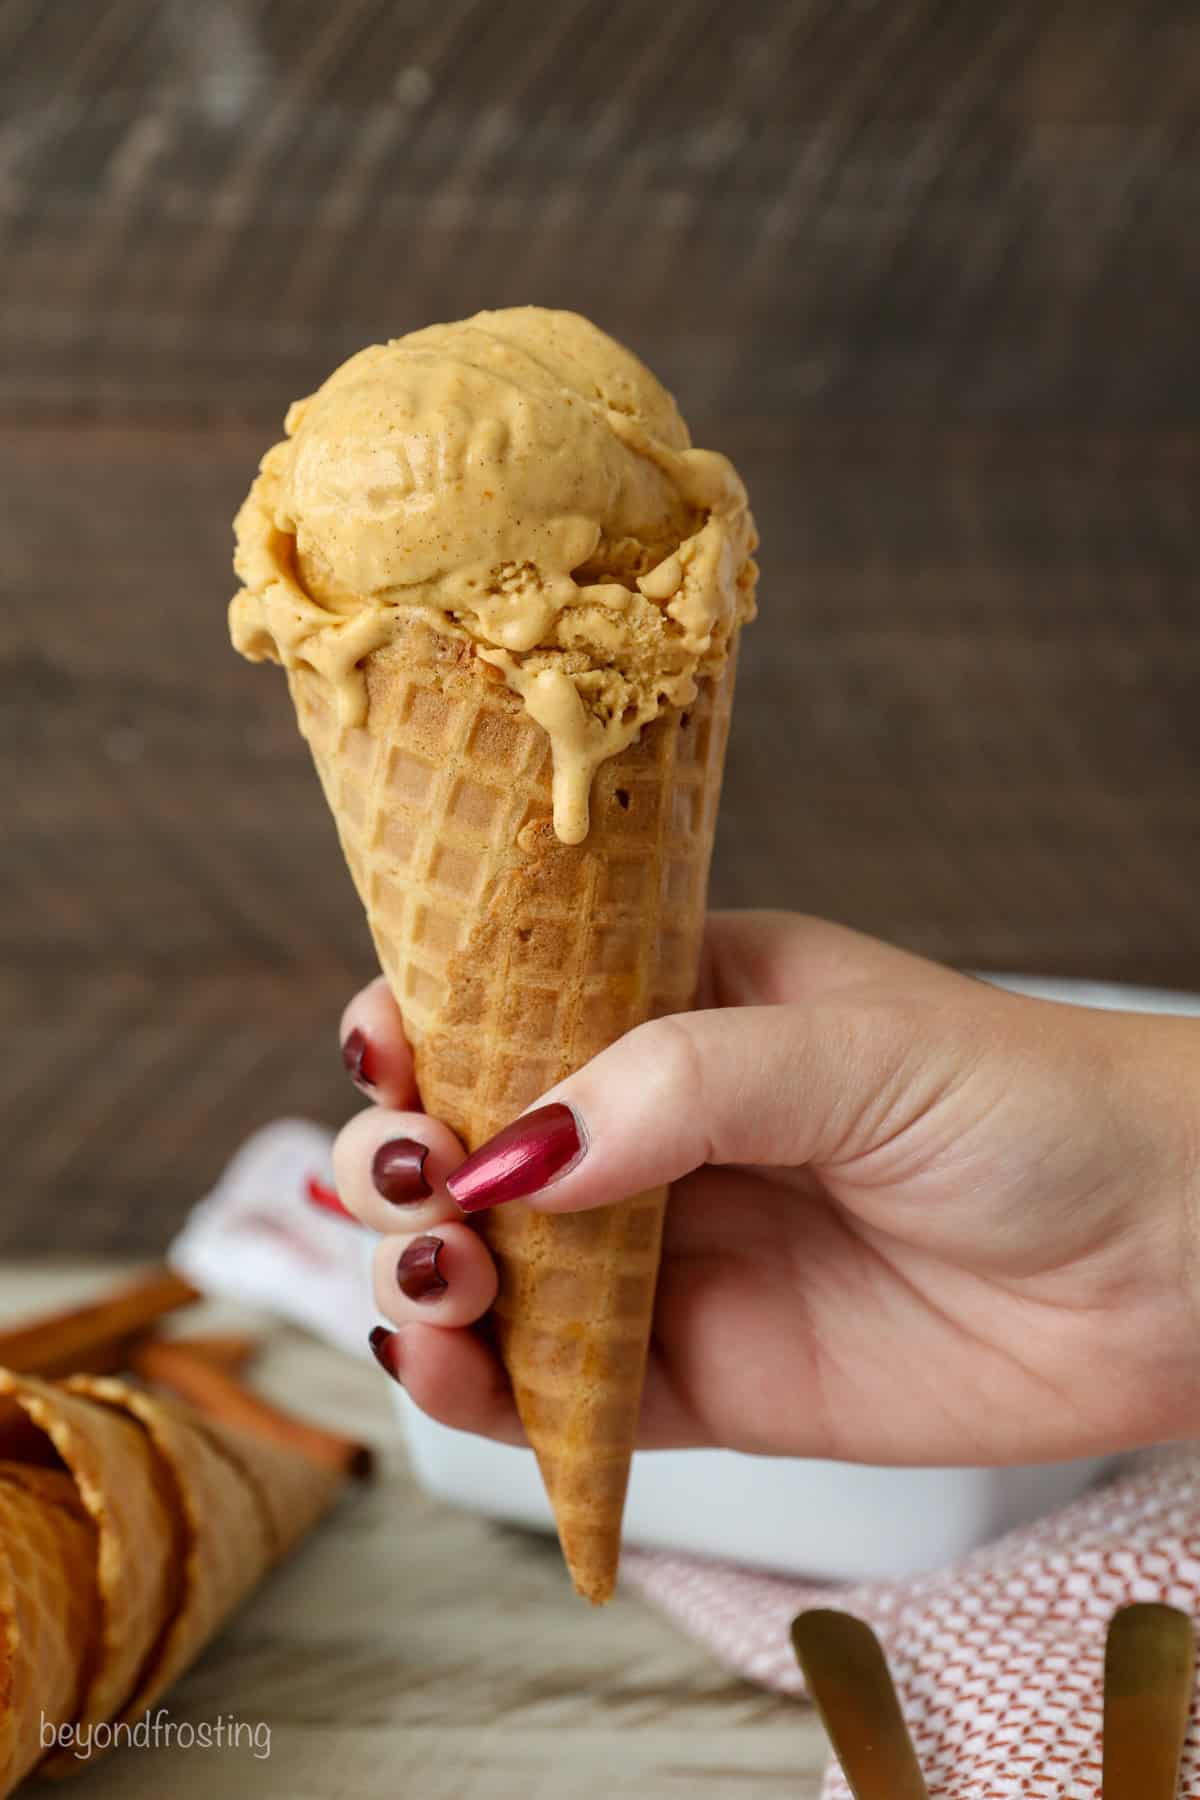
Pumpkin pie ice cream is a treat on its own, served in a bowl topped with crushed graham crackers or scooped into a crunchy waffle cone. Sometimes, I’ll give my pumpkin ice cream a generous drizzle of salted caramel sauce or warm chocolate ganache. I also love adding a spoonful of homemade apple pie filling as a topping.
Enjoy apple pie a la mode with a fall-inspired spin. Or, for a fall sundae, serve this ice cream over pumpkin swirl brownies topped with swirls of homemade whipped cream or cinnamon maple whipped cream. A scoop of creamy pumpkin pie ice cream goes perfectly with a slice of pound cake as well.
How to Store
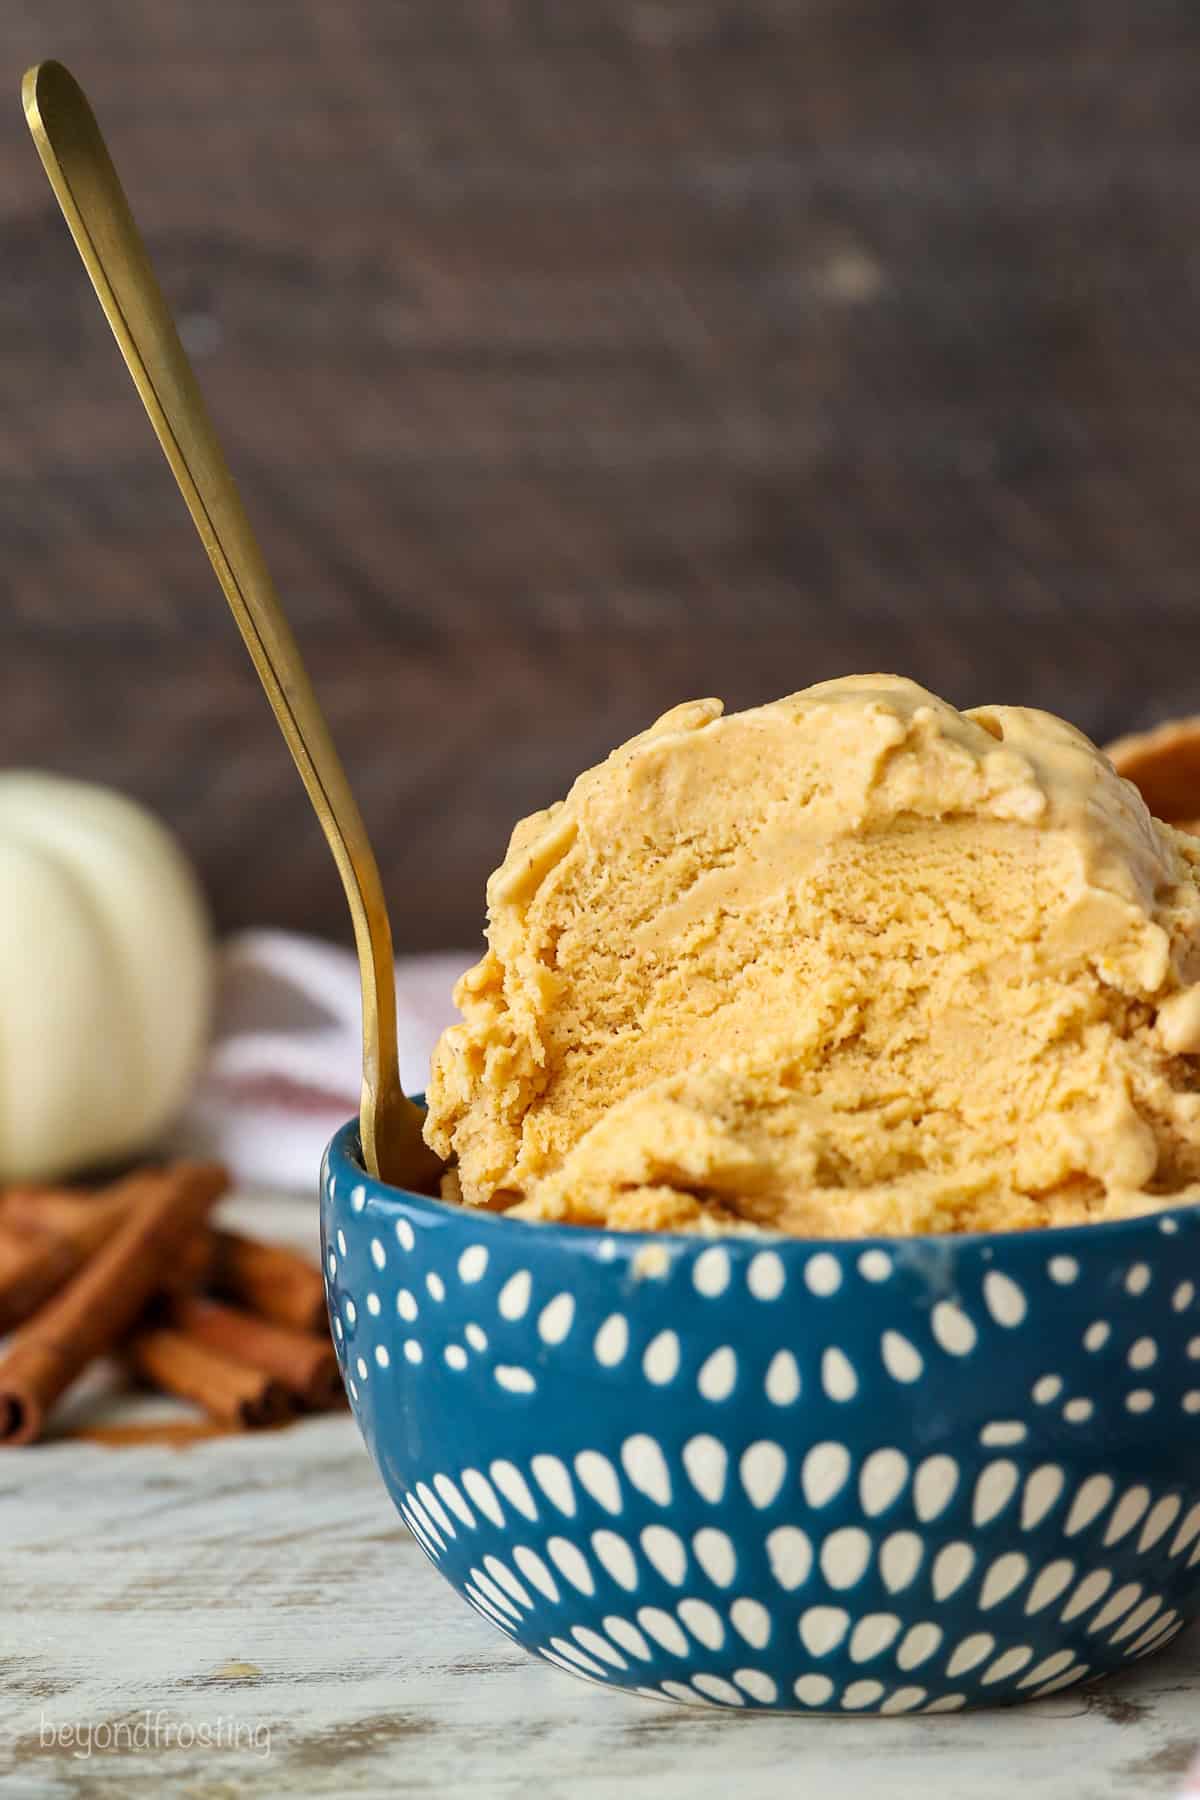
The best way to store homemade ice cream is in a freezer-safe Tupperware or another freezer-safe airtight container. Press a layer of plastic wrap directly over the surface of the ice cream before closing the lid, to help prevent freezer burn.
Properly stored, this pumpkin ice cream will last for up to 2 weeks. I recommend taking it out of the freezer 10-15 minutes ahead of scooping to make it a little easier to scoop, and also running the ice cream scoop under warm water (patting dry) helps to compress the ice cream into the scoop without it sticking.
More Pumpkin Desserts
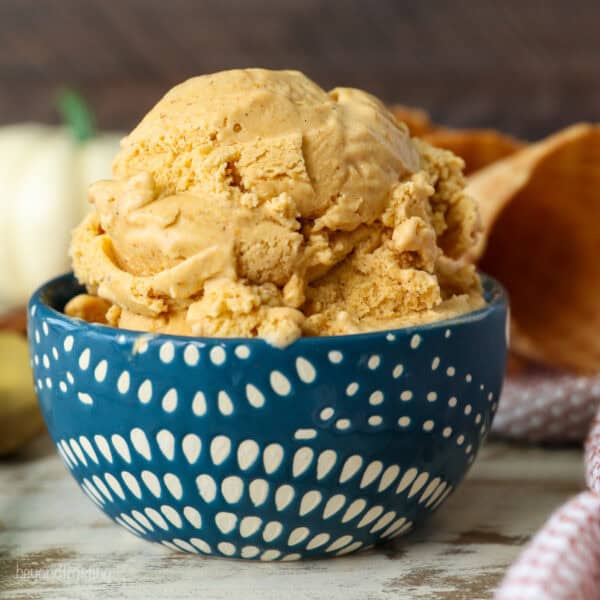
Pumpkin Pie Ice Cream
- Prep Time: 30 minutes
- Chill Time: 6 hours
- Total Time: 6 hours 30 minutes
- Yield: 5 cups
- Category: Ice Cream
- Method: Ice Cream Maker
- Cuisine: American
Description
Make rich, creamy pumpkin pie ice cream that’s soft, perfectly scoopable, and packed with fall flavor. Every bite is filled with real pumpkin and spice!
Ingredients
- 1/4 cup (48g) granulated sugar
- ¼ cup (56g) light brown sugar
- 2 tablespoons dry milk powder
- 1 teaspoon pumpkin pie spice
- ½ teaspoon ground cinnamon
- ¼ teaspoon xanthan gum
- ¼ teaspoon salt
- 2 tablespoons (30ml) light corn syrup
- 1 1/3 cup (314ml) whole milk
- 1 1/3 cup (314ml) heavy whipping cream
- 2 teaspoons (10ml) Pure vanilla extract
- 1 cup (244g) pumpkin puree
Instructions
- Pre-chill the ice cream maker according to the manufacturer’s instructions.
- Combine all the dry ingredients in a small bowl and stir well to combine.
- In a medium saucepan over medium to medium-low heat, combine the milk and corn syrup, whisking until combined. Slowly stir in the dry ingredients then whisk vigorously until there are no lumps. Cook for 3-5 minutes, until the sugar is dissolved, then remove the saucepan from the heat.
- Strain the mixture through a sieve into a large mixing bowl, then mix in the heavy cream, vanilla extract, and pumpkin puree until well combined. Cool on the counter for about 20 minutes, then cover tightly with plastic wrap and refrigerate until it’s fully chilled (2-4 hours or overnight).
- Churn the ice cream base according to the manufacturer’s instructions, this should take around 20-30 minutes. Transfer the ice cream to a freezer-safe container and freeze for 4-6 hours before scooping.
Notes
- Storing: Homemade pumpkin ice cream will last for up to 2 weeks, if stored properly. The best way to store homemade ice cream is in a freezer-safe plastic or Tupperware container.
Nutrition
- Serving Size: 1/2 cup
- Calories: 232
- Sugar: 21.7 g
- Sodium: 120 mg
- Fat: 14.3 g
- Carbohydrates: 23.5 g
- Fiber: 1.1 g
- Protein: 3.5 g
- Cholesterol: 45.4 mg




Hi Sonja, I am looking back at the BHG website, this is an older recipe I made for them and unfortunately I can’t recall the specific churn time snd Better Homes and Gardens doesn’t seem to list it either. I will amend this with a note on the recipe. Generally speaking you should be churning the ice cream until it reaches a thick consistency.
Thank you Candace. BHG took down their blog where this was posted. I just updated the link to the original recipe and posted a recipe card with my updates on it. Appreciate it!