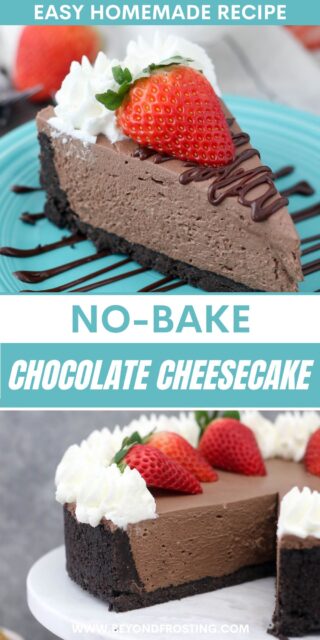
No oven? No problem. This indulgent No Bake Chocolate Cheesecake recipe comes out perfectly rich, chocolatey, and creamy without one. This is the best no-bake dessert to make in the summertime, with just a bit of prep before your fridge takes over.
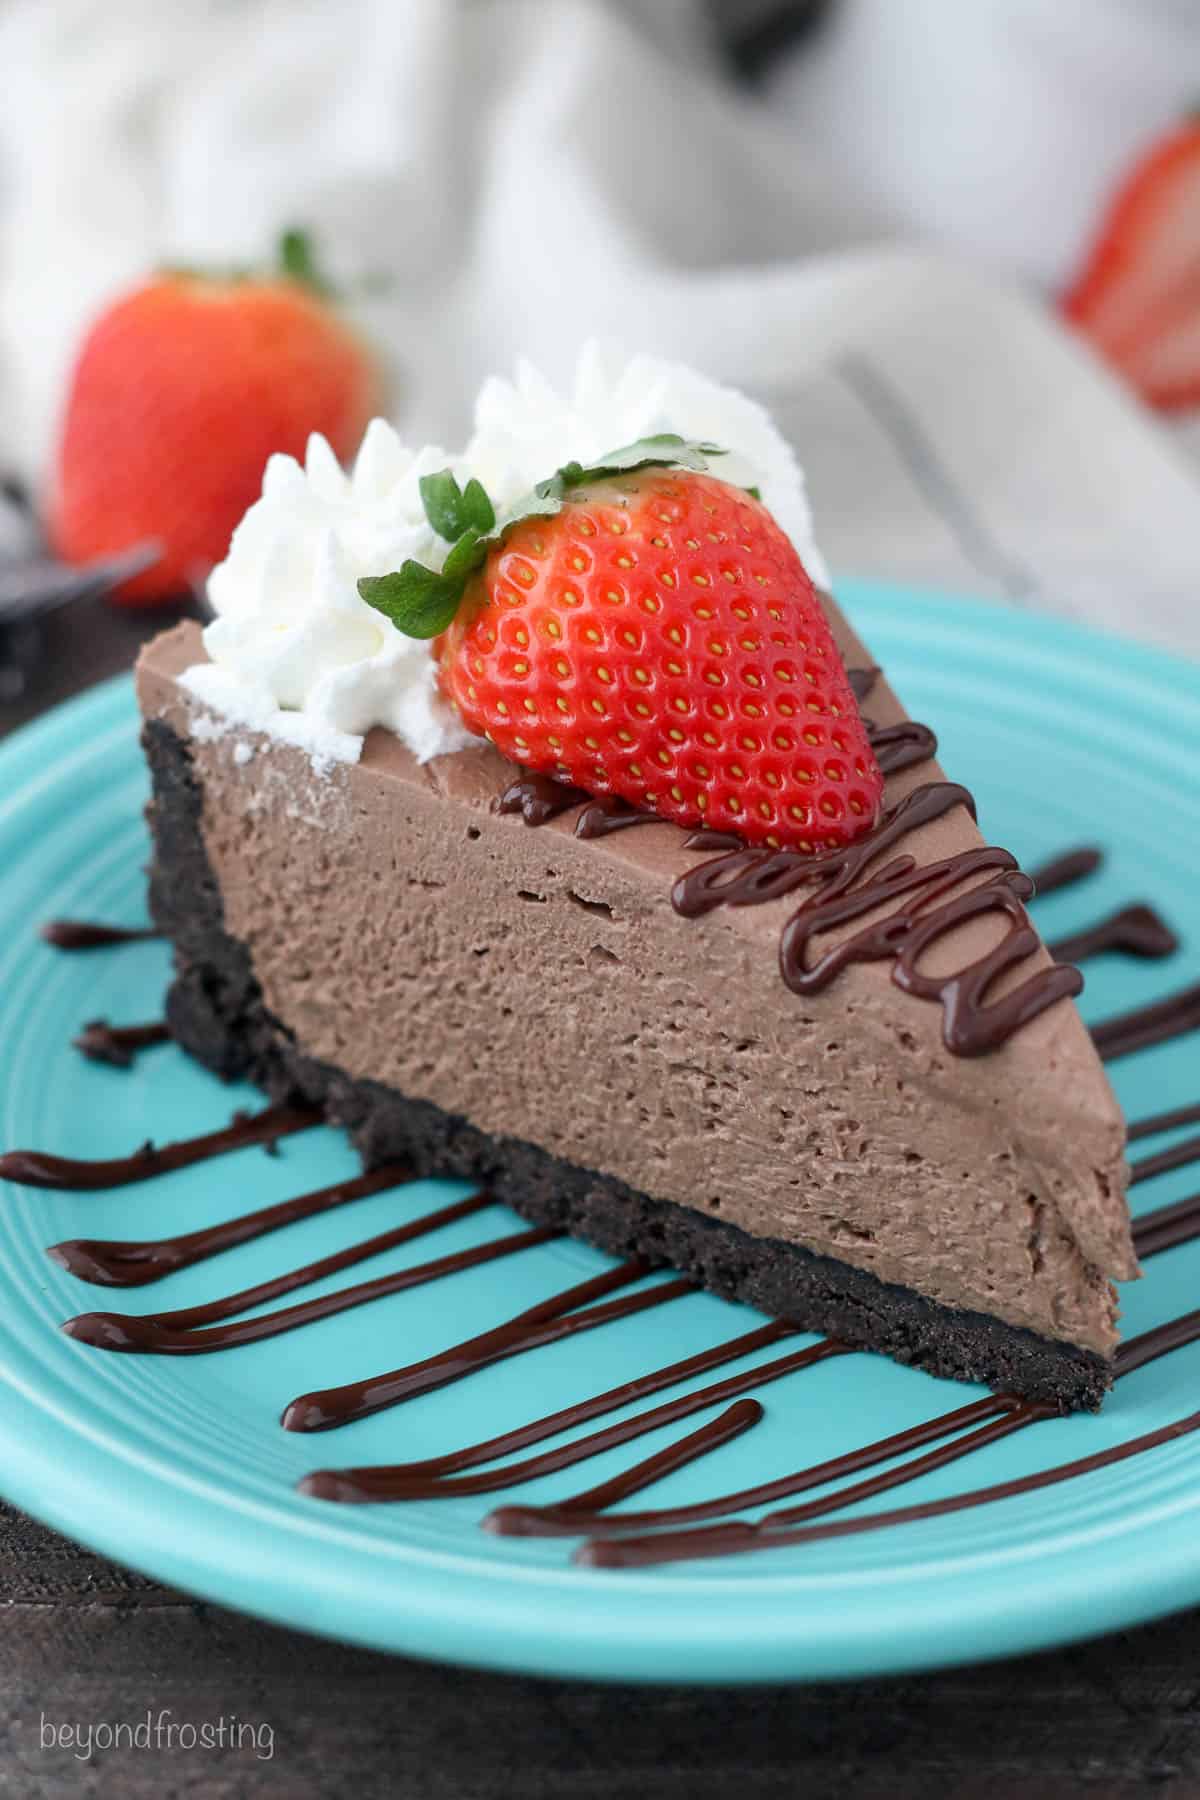
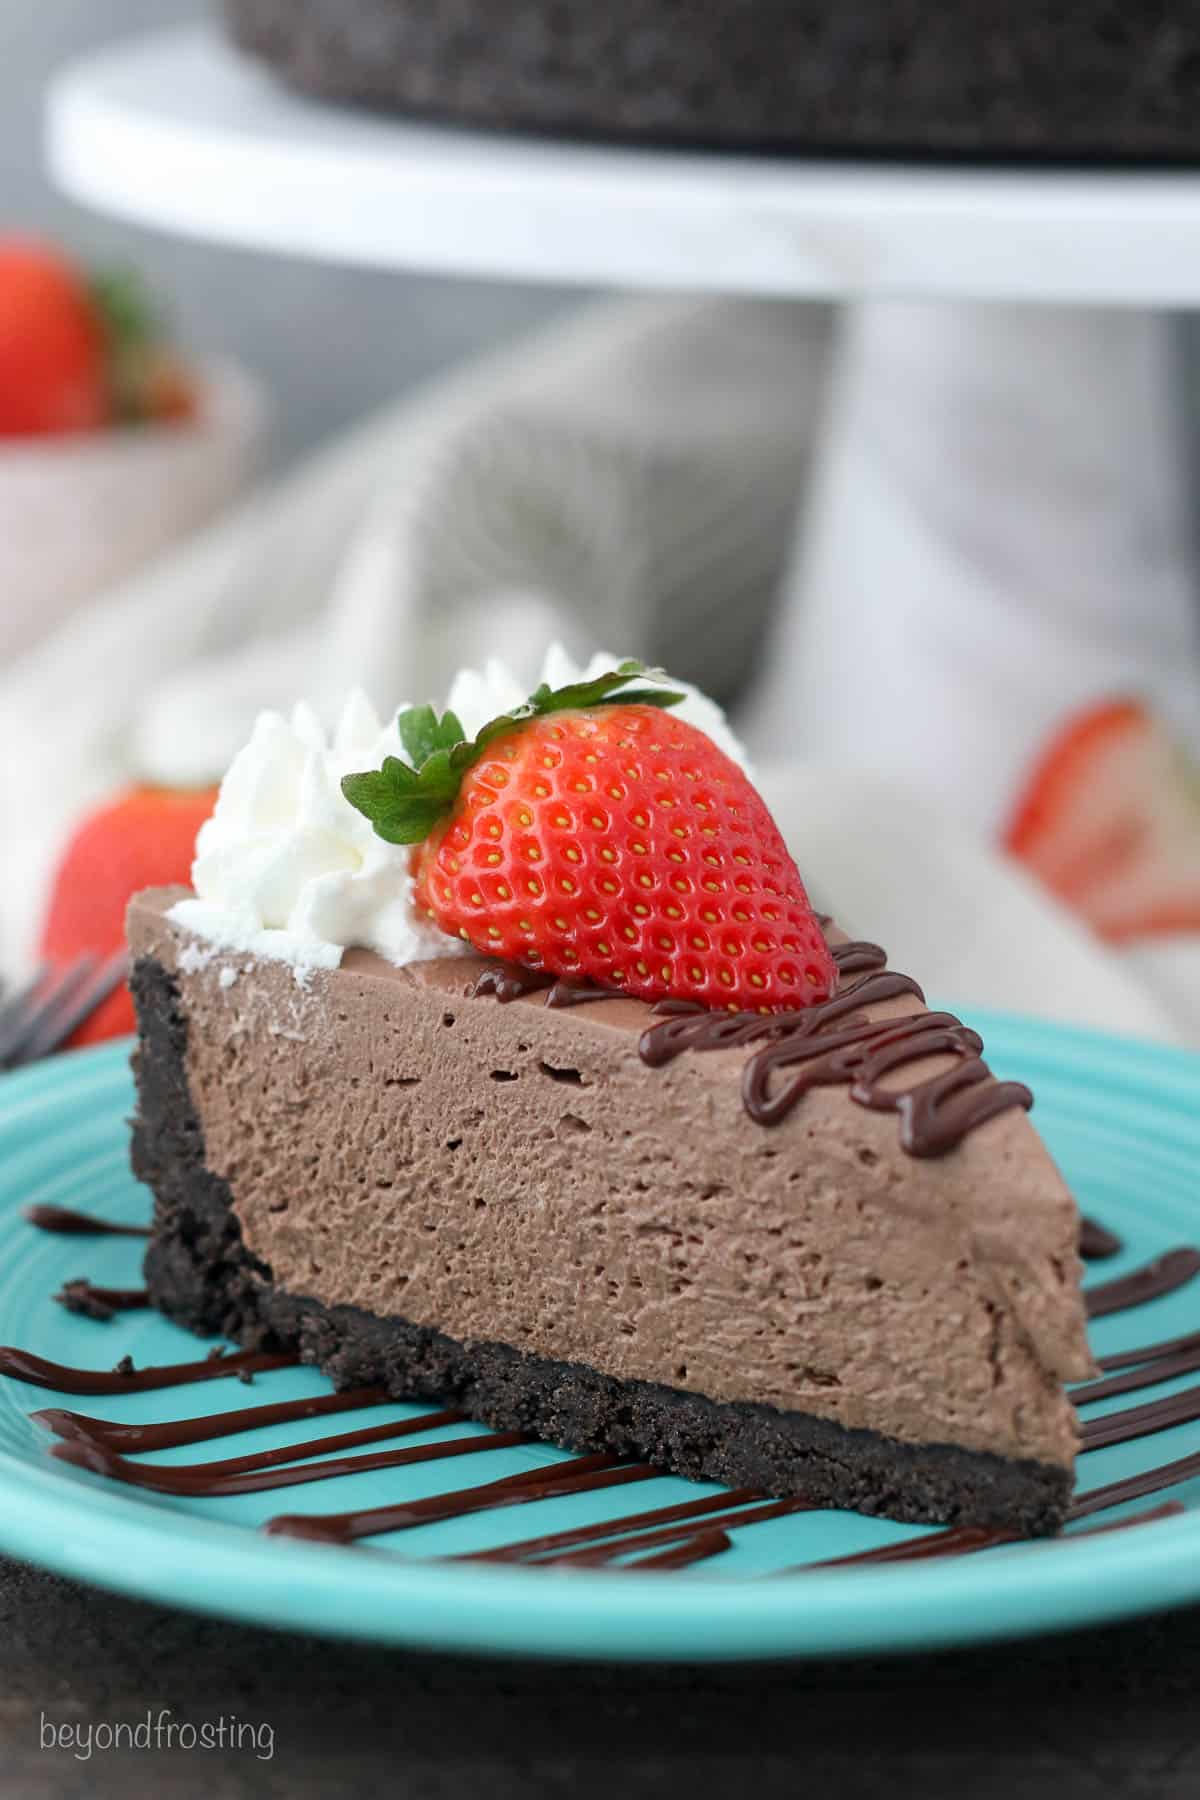
The Best-Ever No Bake Chocolate Cheesecake
No-bake cheesecake is one of my favorite desserts to make, and I’ve shared tons of recipes with you already in my best-selling cookbook. This no-bake chocolate cheesecake is the perfect answer to a summertime chocolate craving when the last thing I feel like doing is turning on the oven.
The filling for this cheesecake is rich and chocolatey, made with real dark chocolate. It’s not overly sweet, and the refreshingly cool and creamy texture hits the spot every time. I
t’s also ridiculously simple to make. Blend up your Oreos for the crust, whip up the chocolate cheesecake filling, and then pop your homemade cheesecake into the fridge. I can’t wait for you to make it!
Why You’ll Love This No-Bake Dessert
A no-bake cheesecake is exactly what the name implies: no baking involved! Yes, you can make rich and creamy homemade chocolate cheesecake that cuts into thick, indulgent slices, minus the oven. This chocolate cheesecake recipe is one of my best. Here’s why:
- Perfect no-bake filling. The chocolate cheesecake filling is silky and thick like a baked cheesecake, even without stabilizers like Cool Whip or gelatin. The texture is light and airy, like Chocolate Mousse. In a word: heavenly.
- Easy to make. This stress-free cheesecake recipe comes together in a snap and produces consistent results. There’s no water bath or baking involved and zero possibility of cracking!
- Freezer-friendly. Once your cheesecake is set, it freezes beautifully for an easy, make-ahead dessert. Make one for now, and freeze one for your next special occasion.
Key Ingredients
You can make the ultimate chocolate cheesecake with only a handful of fridge and pantry ingredients. Here is a quick overview of the key ingredients you’ll need, with the full recipe details available in the recipe card below the post:
- Oreo Crust – I use my favorite 2-ingredient Oreo Pie Crust recipe. All you need is butter and Oreo cookies (filling and all).
- Dark Chocolate – Use high-quality chocolate that comes in bars rather than chips (see below). If you’d prefer to use milk chocolate, that’s perfectly fine, too but the filling will be sweeter.
- Heavy Cream and Powdered Sugar – You’ll need both to make an easy whipped cream to use in the cheesecake filling as well as the topping. If you’re pressed for time, the homemade whipped cream in this recipe can be substituted with Cool Whip.
- Cream Cheese – For best results, use the full-fat cream cheese that comes in blocks. Remember to take your cream cheese out of the fridge ahead of time to let it come to room temperature. This way it’s easier to whip.
Which Chocolate Is Best for the Cheesecake Filling?
The role of chocolate is two-fold in this cheesecake recipe. The melted chocolate hardens again after it’s chilled, giving structure to your no-bake cheesecake.
Chocolate is also the star flavor here, so the type of chocolate you choose makes a difference. I highly recommend using bars of chocolate, and not chocolate chips, as bars melt down more smoothly and tend to be better quality. If you do want to use chocolate chips, you might want to take a look at this handy tutorial for melting chocolate.
Ghirardelli (I like the 60% Cacao), Guittard, and Lindt are all good options, whether you prefer dark or milk chocolate.
How to Make a No-Bake Chocolate Cheesecake
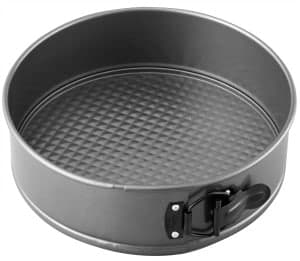
First, lightly grease and line a springform pan. I have a handy step-by-step guide on Preparing a No-Bake Crust in a Springform Pan that offers plenty of tips, and it’s really easy to do:
- Prepare the Oreo crust. Begin by pulsing the cookies in a food processor or blender, then combine the crumbs with melted butter. Add the mixture to your prepared pan and use your fingers to press the crust firmly into the bottom of the pan and up the sides. Afterward, pop the crust into the fridge while you get started on your filling.
- Melt the chocolate. Break up your chocolate bars and combine them in a microwave-safe bowl with a few tablespoons of heavy cream. Melt the chocolate in increments, stirring in between, and then set the melted chocolate aside to cool for now.
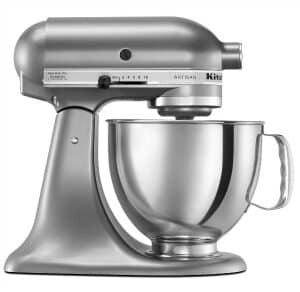
- Chill your tools. Next, you’ll need to get the tools you’ll use to whip the heavy cream nice and cold. Place your stand mixer’s bowl and whisk attachment into the freezer, wait 5-10 minutes, and then add the whipping cream to the chilled bowl.
- Whip the cream. Beat the heavy whipping cream until it’s thickened to soft peaks, and then slowly add powdered sugar. Whip again until stiff peaks begin to form.
- Combine the filling ingredients. Using your mixer, beat the cream cheese, then add sugar and vanilla, followed by the melted chocolate. Continue to beat the filling until smooth, and then fold in the whipped cream.
- Assemble and chill. Lastly, pour the cheesecake filling into your prepared Oreo crust. Place the chocolate cheesecake into the fridge and leave it to chill for at least 3-4 hours, though I like to refrigerate it overnight.
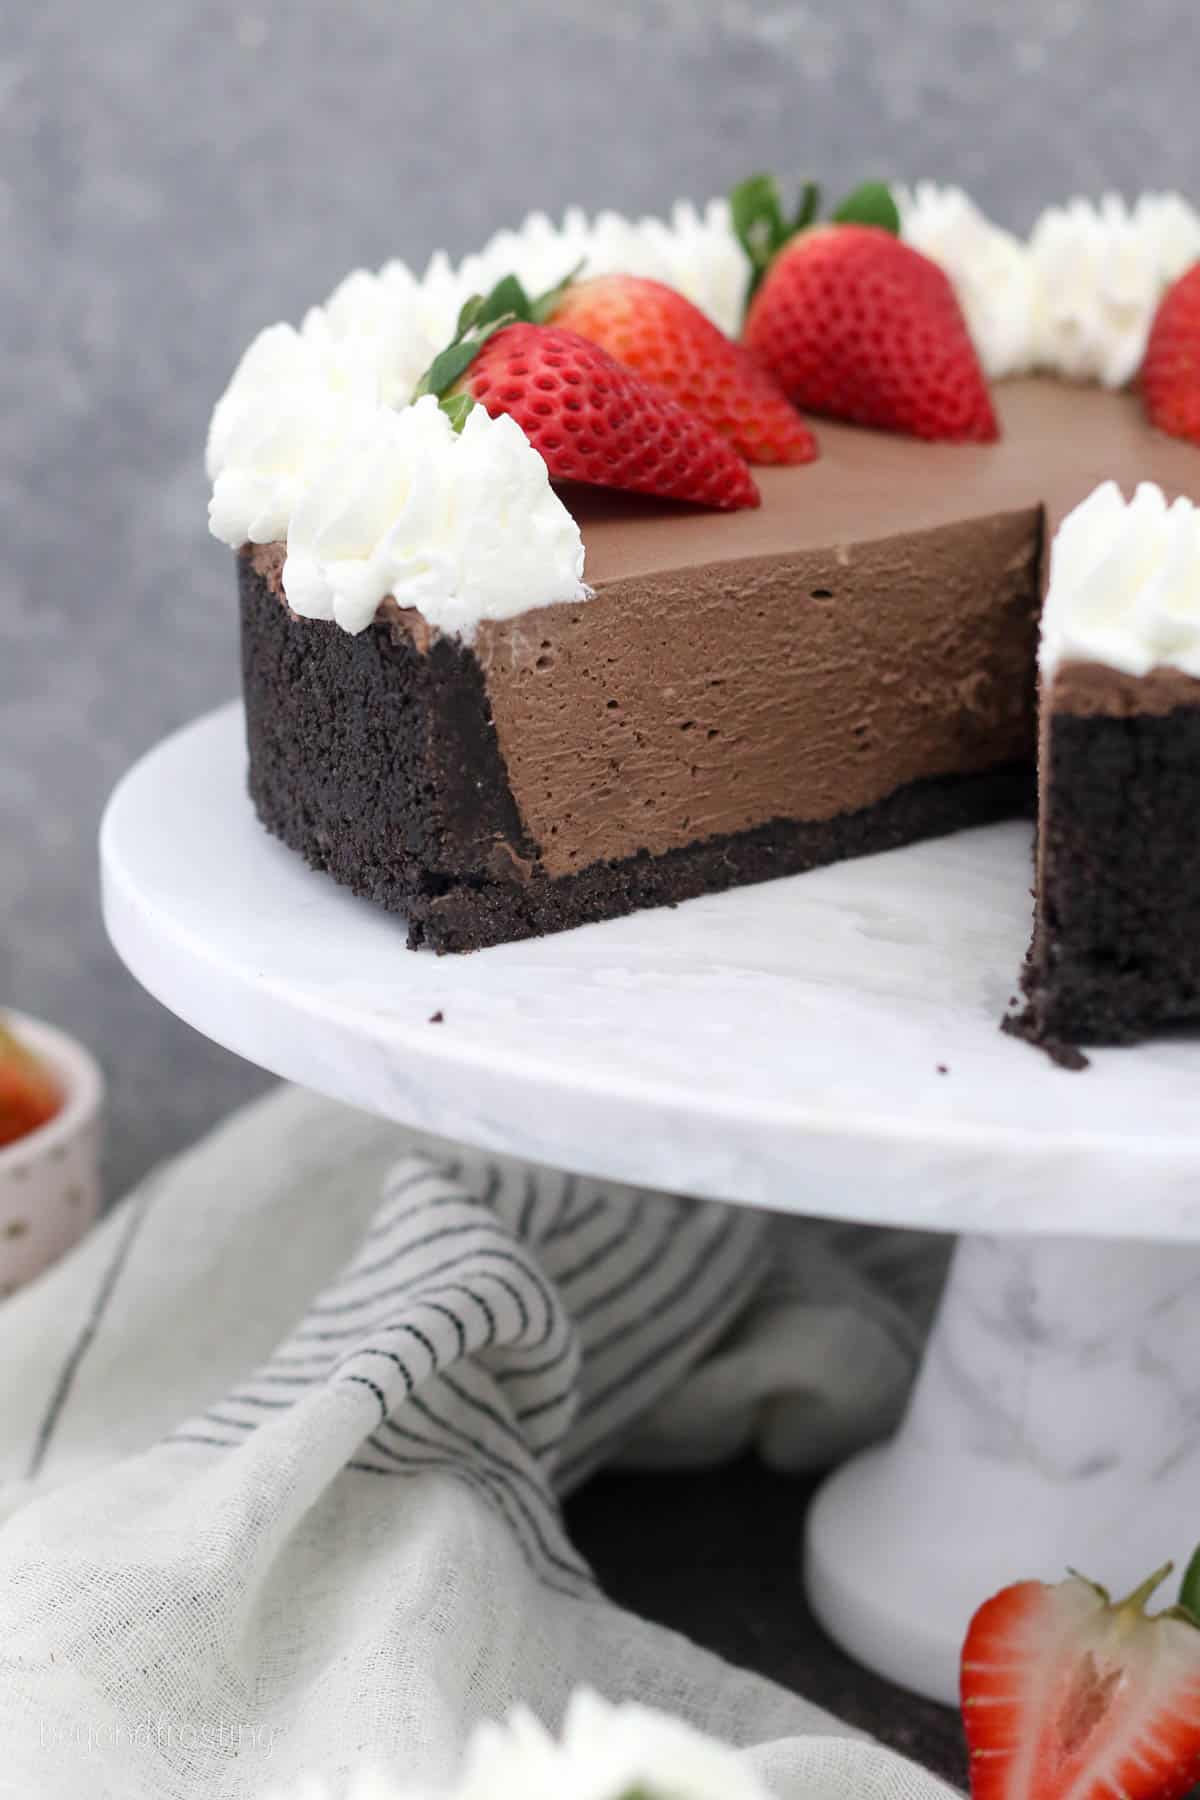
- Add the topping. When you’re ready to serve your cheesecake, whip up a fresh batch of whipped cream. Use a piping bag and a large open star tip to pipe a border around the outside of the cheesecake. Garnish with fresh fruit if you’d like, then serve! See below for more topping ideas and serving suggestions.
Recipe Tips
Here are my maybe-not-so-secret secrets to no-bake cheesecake success:
-
- Use full-fat ingredients. Full-fat cream cheese and full-fat heavy whipping cream will yield a creamy and firm cheesecake filling. Low-fat cream cheese has a higher water content, and won’t hold up as well.
-
- Chill the crust. Refrigerating helps to set the butter so that the crust holds together. This is why I like to prepare the crust first, as it has time to chill in the fridge while I make the filling.
-
- Let the melted chocolate cool off before adding it to the cheesecake filling. It should still be melted, but not hot when you beat it into the cream cheese.
-
- Don’t under whip your whipped cream. Make sure that you whip your cream into stiff peaks. Underwhipping may result in a cheesecake filling that won’t set.
-
- Springform pans are best, however, you can also make this cheesecake in an 8-inch or 10-inch round pan without adjusting the recipe.
-
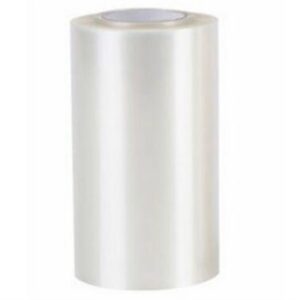
- Remember to grease and line the pan. This prevents the cake from sticking. Alternatively, you can use a cake collar, which is my preferred method. If you notice your crust is sticking to the pan as you release the spring, pause and use a knife to gently loosen the crust from the sides so that it doesn’t break.
-
- Add toppings just before serving, so that the toppings don’t weigh down the cheesecake. This also allows you to remove the springform pan, making it much easier to decorate.
More Common Questions
In case you’re new to making cheesecakes, or desserts that don’t require an oven, below are some no-bake cheesecake FAQs:
Melted chocolate and full-fat ingredients are key. Also make sure that you refrigerate your finished chocolate cheesecake for at least 4 hours, if not overnight. The longer the better.
If you’ve chilled your cheesecake and the filling still hasn’t set, try placing it into the freezer for 15-30 minutes or so. Don’t leave it in the freezer unwrapped for too long, however, as this can impact the texture.
Chocolate cheesecake is best when it’s made up to 2 days ahead, but will keep covered in the fridge for up to 5 days. See below for detailed storing and freezing instructions.
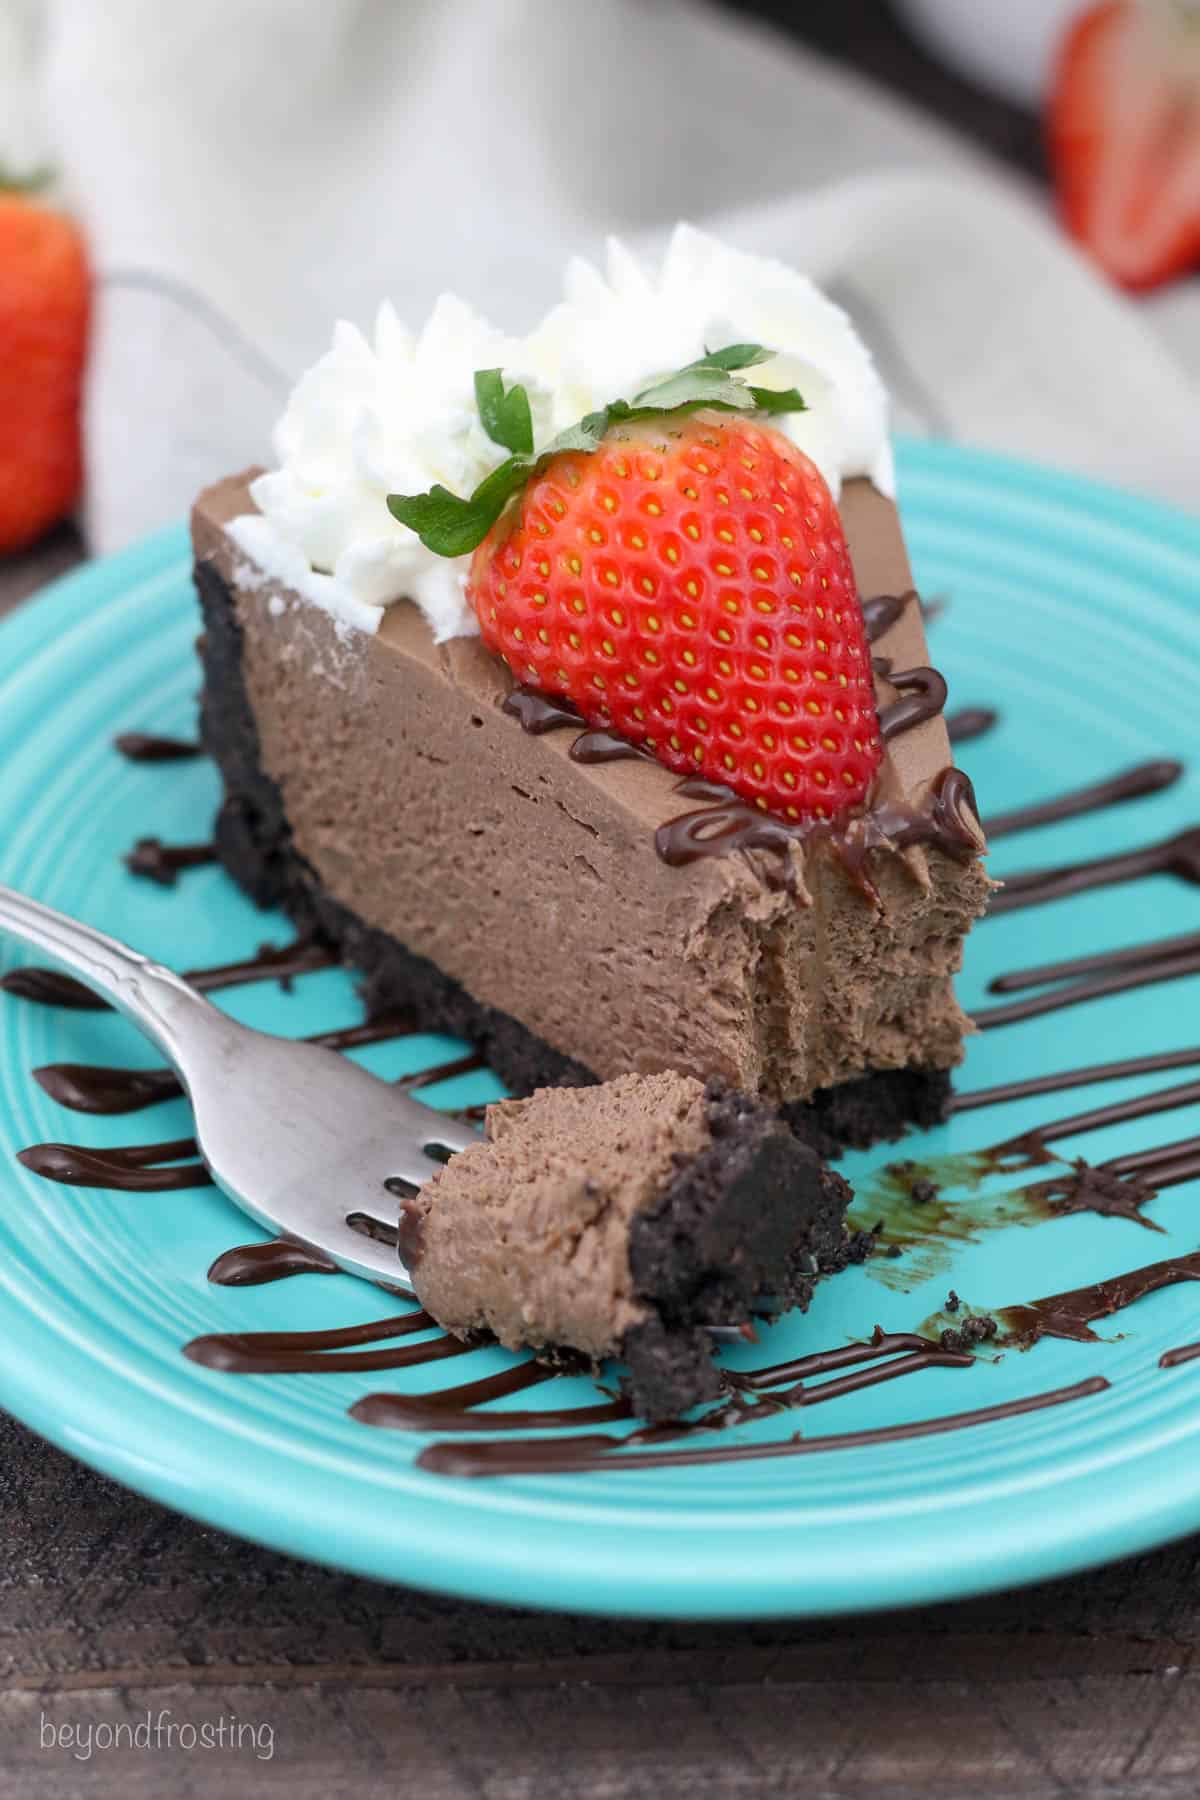
Variation Ideas
I’ve used this no-bake chocolate cheesecake recipe as the base for similar no-bake cheesecakes over the years, like this German Chocolate Cheesecake, Chocolate Oreo Cheesecake, and my no-bake Baileys Cheesecake. It’s so versatile! Here are some more easy topping ideas and variations that you can try:
- Chocolate Drizzle – Top your cheesecake slices with a drizzle of hot fudge sauce. Caramel sauce is another tasty option.
- Cookies and Cream – Crumble chopped Oreo cookies over the top of your finished cheesecake just before adding whipped cream and serving. They’ll tie in nicely with the Oreo crust!
- Different Whipped Cream – In place of regular whipped cream, use another flavor. Try homemade Strawberry Whipped Cream or double up on the chocolate with my Chocolate Whipped Cream recipe. For a tangy twist, give Cream Cheese Whipped Cream a try.
- More Toppings – I love this chocolate cheesecake topped with fresh fruit like strawberries and raspberries. You can play around with any toppings you’d like. Sprinkle over shaved chocolate, chocolate chips, crushed nuts, or even rainbow jimmies.
- Add-ins – Add a handful of chopped chocolate, chunks of edible cookie dough (like my No-Bake Cookie Dough Cheesecake), or peanut butter cups (see my No-Bake Peanut Butter Cup Cheesecake). Remember to go easy with add-ins for no-bake cheesecakes, and try not to overload the batter. It can interfere with how the cheesecake sets up in the fridge.
How to Store No-Bake Cheesecake
It might go without saying, but no-bake cheesecake must be kept refrigerated. Once it’s set, store your chocolate cheesecake chilled airtight, either covered with plastic wrap or foil or in a cake carrier. After slicing, I recommend covering any exposed edges with plastic wrap to keep skin from forming.
Can I Freeze This Chocolate Cheesecake?
Yes! No-bake chocolate cheesecake is perfect for preparing ahead and freezing. The cheesecake filling must be fully set in the fridge before you freeze it. After, gently press plastic wrap or parchment paper directly against the surface of the cheesecake to prevent condensation, then double wrap the whole thing in another layer of plastic wrap or foil. No-bake cheesecake freezes wonderfully for up to 2 months. Thaw the cheesecake in the fridge overnight, then add any whipped cream and toppings just before serving.
More Easy Cheesecake Recipes
- No-Bake Nutella Cheesecake
- No-Bake Pumpkin Cheesecake
- Chocolate Cheesecake Bars
- No-Bake Oreo Cheesecake
- Blueberry Cheesecake Bars
- No-Bake Lemon Cheesecake
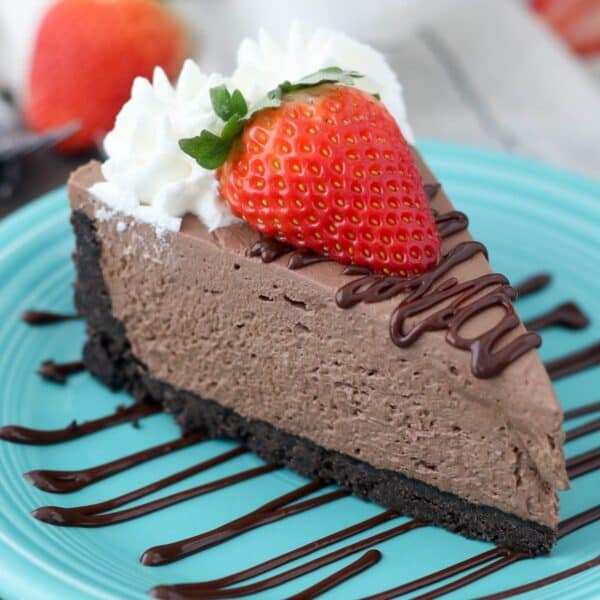
Easy No Bake Chocolate Cheesecake
- Prep Time: 30 minutes
- Chill Time: 4 hours
- Cook Time: 0 minutes
- Total Time: 4 hours 30 minutes
- Yield: 10 slices
- Category: Cheesecake
- Method: No-Bake
- Cuisine: American
Description
Skip the oven, because this indulgent No-Bake Chocolate Cheesecake recipe comes out perfectly rich, chocolatey, and creamy without it!
Ingredients
For the Crust:
- 1 package (14.3 oz) Oreos
- ½ cup (113g) Unsalted butter, melted
For the cheesecake Filling:
- 8 ounces Dark chocolate (recommend 60% Cacao)
- 1 ½ cups (355ml) + 1/4 cup (60ml) Heavy whipping cream, divided
- ½ cup (65g) Powdered sugar
- 16 ounces (452g) Full-fat cream cheese, at room temperature
- 1/2 cup (95g) Granulated sugar
- 1 teaspoon (5ml) Pure vanilla extract
For the Topping:
- 1 cup (236ml) Heavy whipping cream
- ½ cup (65g) Powdered sugar
- Fresh fruit for topping
Instructions
For the Crust:
- Prepare a 9-inch springform pan by lightly greasing the edges of the pan with cooking spray, and then wiping gently with a paper towel. Line the bottom of the pan with parchment paper.
- Grind the cookies into a fine crumb using a food processor blender. Pour the melted butter over the cookie crumbs and stir until the crumbs are well coated.
- Pour the crumbs into your springform pan and press firmly into the bottom and up on the sides to create a thick crust. Refrigerate the crust while you are preparing the filling.
For the Filling:
- In a microwave-safe bowl, combine the chocolate and 1/4 cup of heavy whipping cream. Microwave at 50% power in 30-second increments, until the chocolate is melted, stirring occasionally.
- Prepare the whipped cream. Place the mixing bowl and whisk attachment in the freezer for 5 to 10 minutes to chill. Beat the heavy cream on medium-high speed until thickened to soft peaks. Add the powdered sugar and continue beating at high speed until stiff peaks form. Set aside.
- Beat the cream cheese until it’s completely smooth, scrape down the sides of the bowl as needed. Next, add the sugar and vanilla and continue beating until smooth. Next add the melted chocolate, beating until it’s completely combined.
- Slowly fold in the whipped cream until smooth. Pour the filling into the prepared crust, spreading evenly. Refrigerate for 3-4 hours minimum.
For the Topping:
- Prepare another batch of whipped cream as directed above. Pipe the borders of the cheesecake with whipped cream using a large open star tip. Garnish with fresh fruit.
Notes
- Whipped Cream substitute: You can use Cool Whip instead of homemade whipped cream for the filling or topping. One 8-ounce container of Cool Whip for the filling. Additional container for the topping if desired.
- Storage: This cheesecake needs to be stored in the refrigerator. For best results, keep it in an airtight container, such as a cake carrier. Otherwise, keep this cheesecake covered with plastic wrap or foil.
- Freezing: First refrigerate this cheesecake and allow the filling to set, then you can freeze it. Place plastic wrap directly on the surface of the cheesecake to prevent any condensation from forming and then double-wrap the pan with more plastic wrap so it’s airtight. When ready, thaw this in the refrigerator, preferably overnight.
Nutrition
- Serving Size: 1 slice
- Calories: 668
- Sugar: 35.7g
- Sodium: 183.1mg
- Fat: 54g
- Saturated Fat: 32.3g
- Carbohydrates: 42g
- Fiber: 1.8g
- Protein: 6g
- Cholesterol: 132.3mg

