Learn how to decorate cupcakes with this easy step-by-step tutorial. We’re covering everything from how to choose the right piping tips to how to pipe picture-perfect swirls on top of your favorite cupcake recipes. Plus loads of cupcake decorating inspiration along the way!
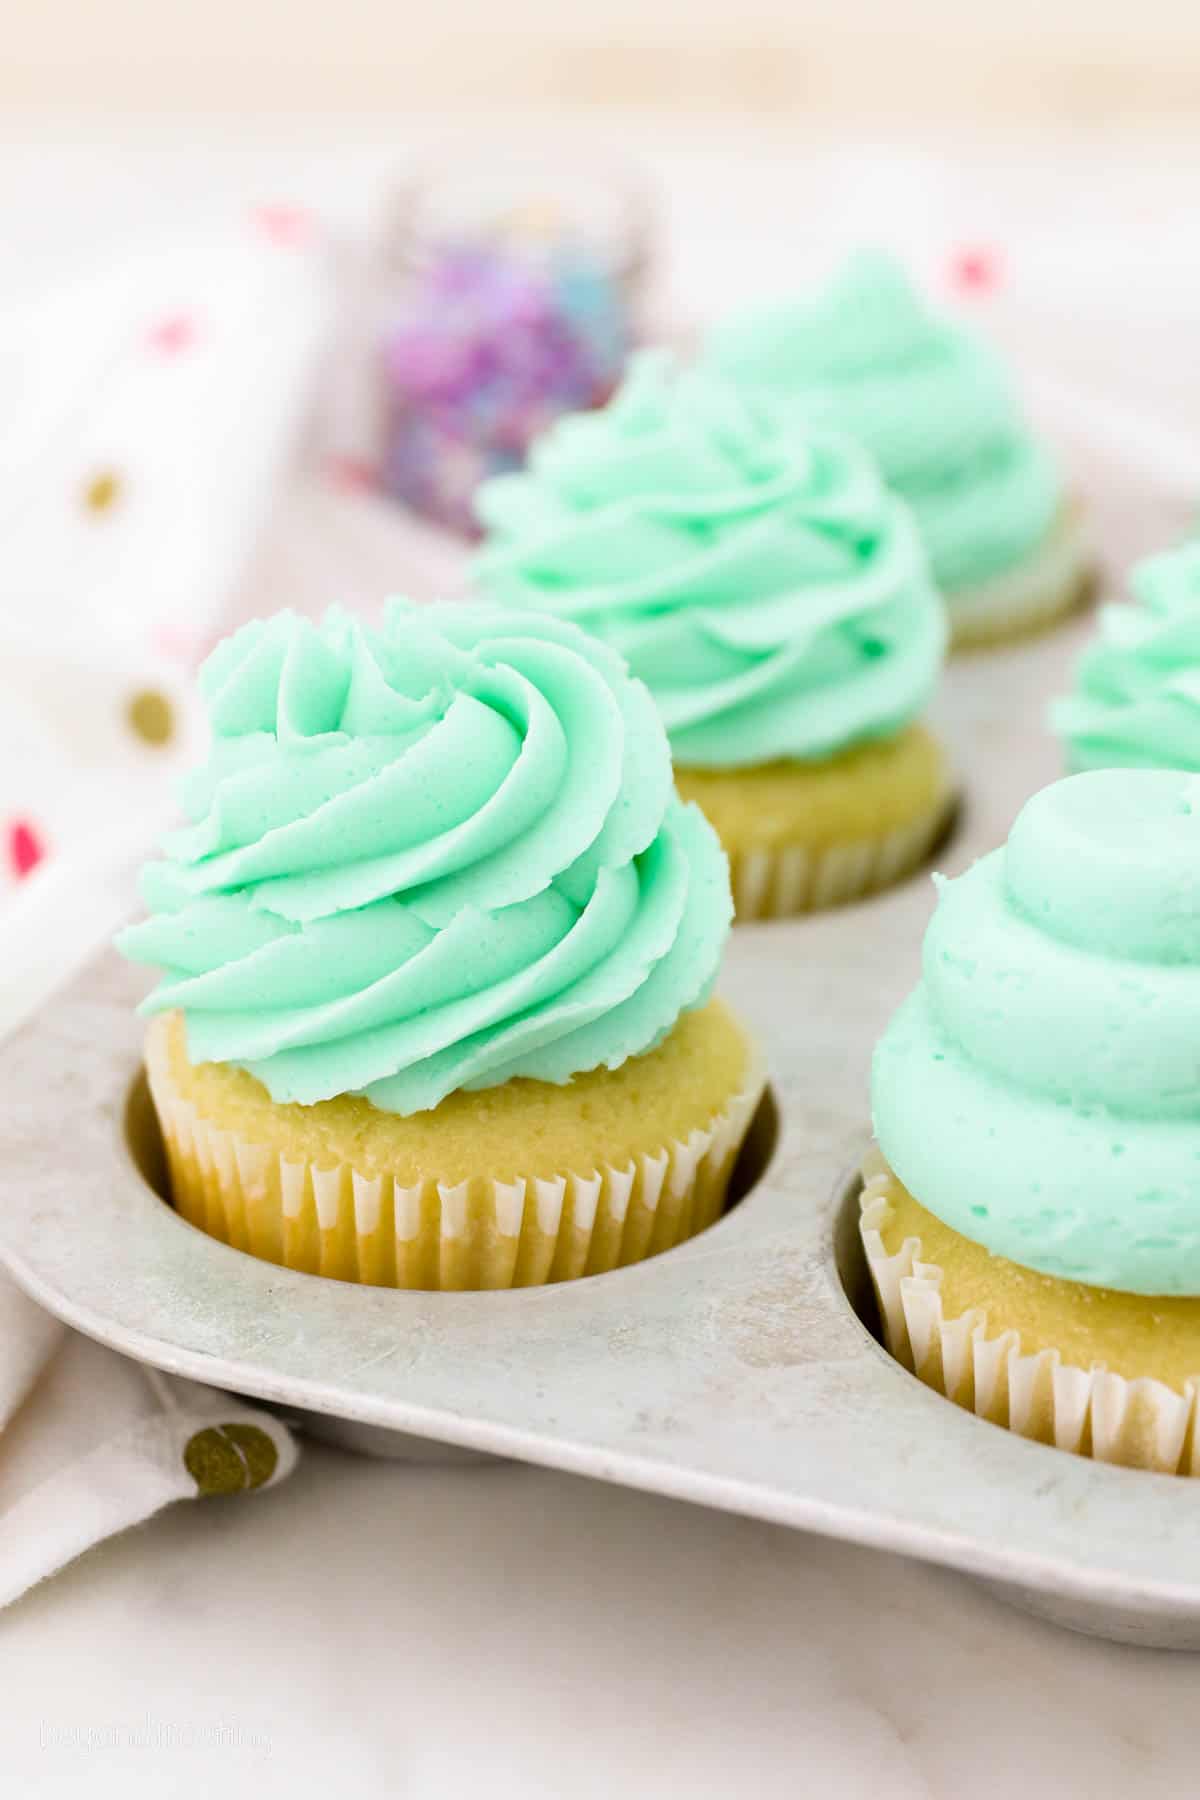
Learn How to Decorate Cupcakes Like a Pro!
When I started out decorating cupcakes, I couldn’t wait to pipe buttercream swirls like the ones I’d seen on my Pinterest feed and in bakery windows. If that sounds familiar, then today’s tutorial is right up your alley.
Armed with a bit of practice and the proper tools, I can safely say that anyone can learn how to frost homemade cupcakes like a professional. I’m sharing all my best tips and techniques for how to decorate cupcakes with beautiful buttercream swirls, rosettes, and more. Frosting cupcakes isn’t as hard as you think!
Decorating cupcakes comes down to the following: pressure, position, and a reliable, pipeable frosting recipe. I go over all of these points in my how-to guide below.
Looking for an easy cupcake recipe to practice on? I recommend my fluffy vanilla cupcakes or these moist chocolate cupcakes. You can also check out these easy cupcake recipes for even more inspiration.
What You’ll Need
Welcome to How to Decorate Cupcakes 101. Or maybe you’re just looking to brush up on your skills. Either way, you’ll need 3 things when it comes to decorating the perfect cupcake:
- Frosting – First things first, you’ll need to whip up a batch of your favorite buttercream frosting. You’ll want a simple, sturdy frosting that pipes easily. See below for more suggestions.
- Piping Bags – I use a large 18″ disposable pastry bag. You don’t need to keep refilling the bag with frosting as you go, and larger bags are also sturdier.
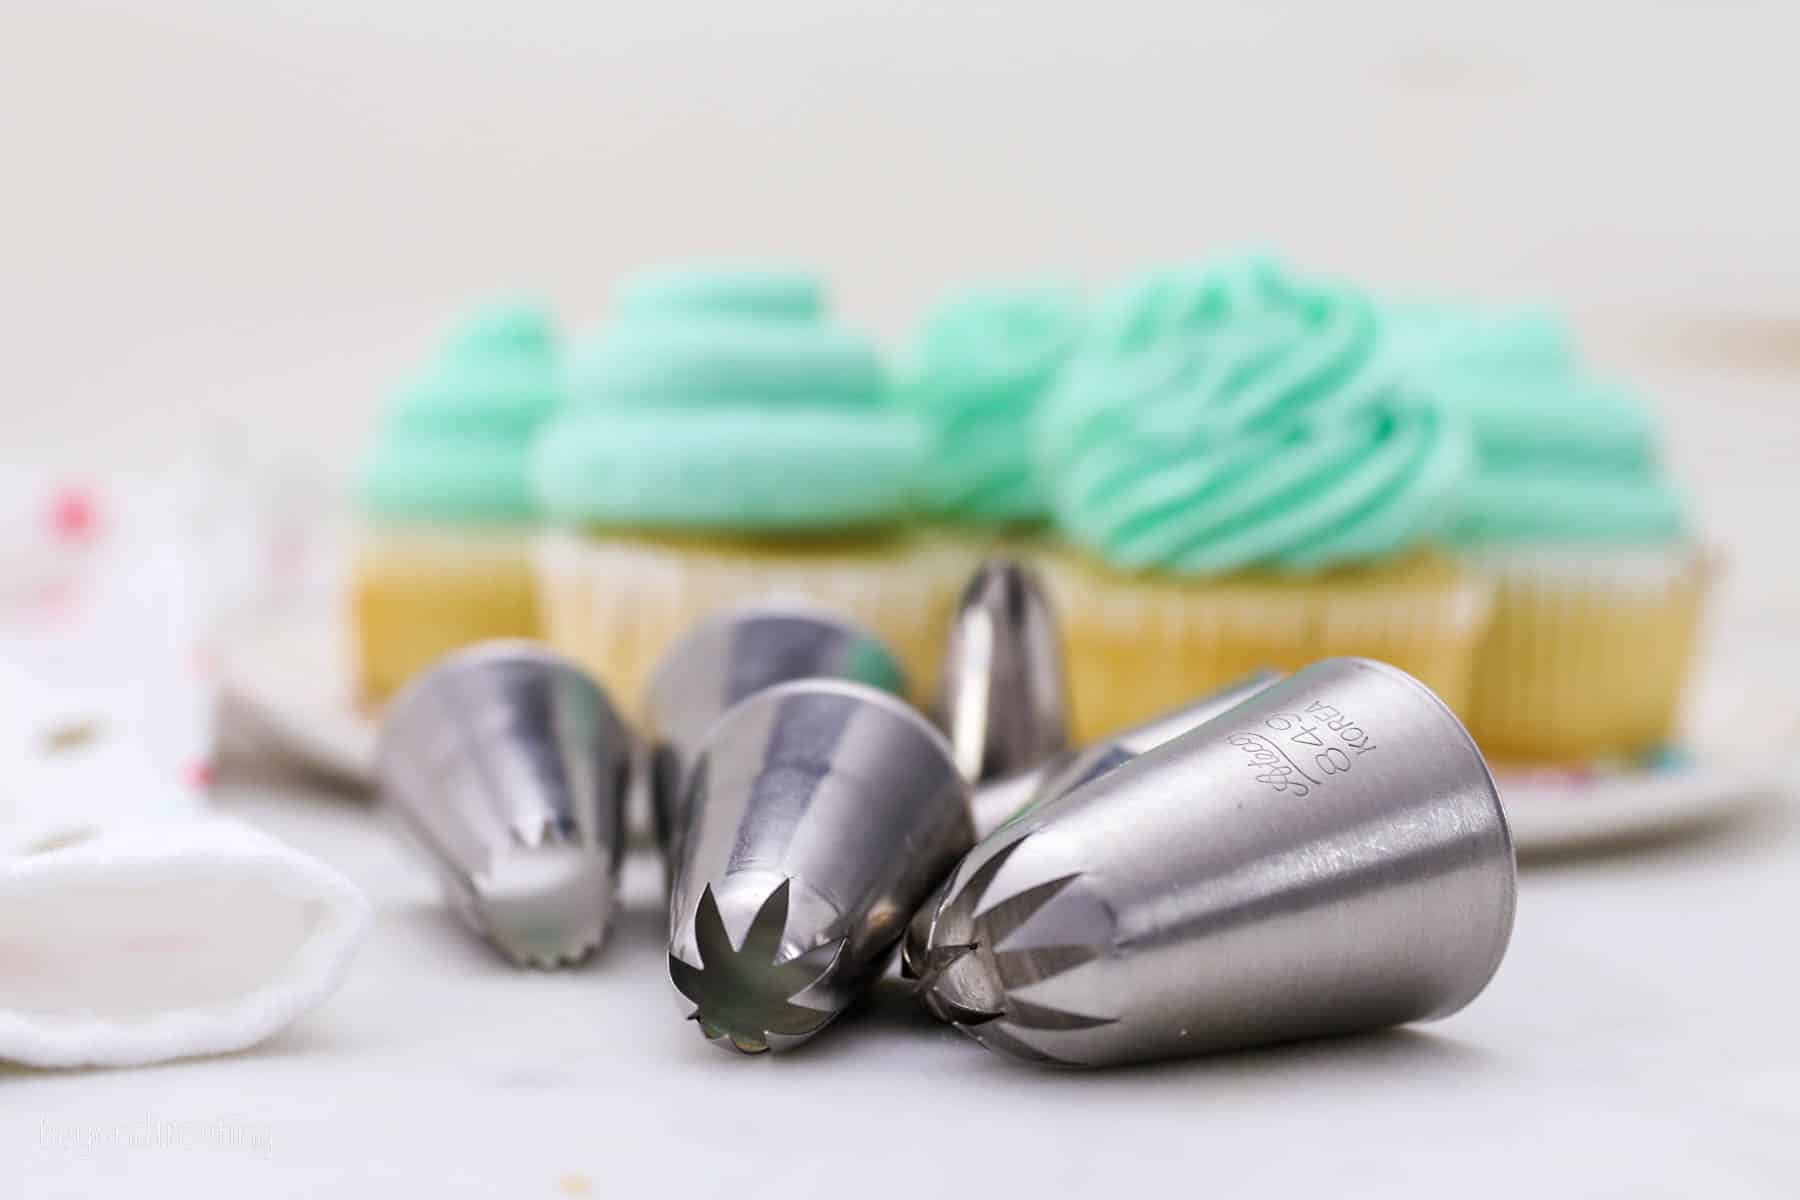
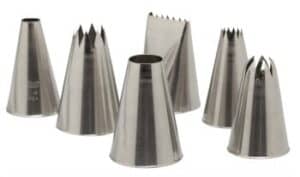
- Piping Tips – A set of versatile piping tips does wonders when learning how to decorate cupcakes. This Ateco 6-piece tips set was my game-changer, and that’s what’s used to make big beautiful swirls of frosting. If you don’t need all 6, I’ve included links to the individual piping tips below. You can also find many common piping tips in craft stores like Michaels or Joann Fabric.
What Frosting Should I Use?
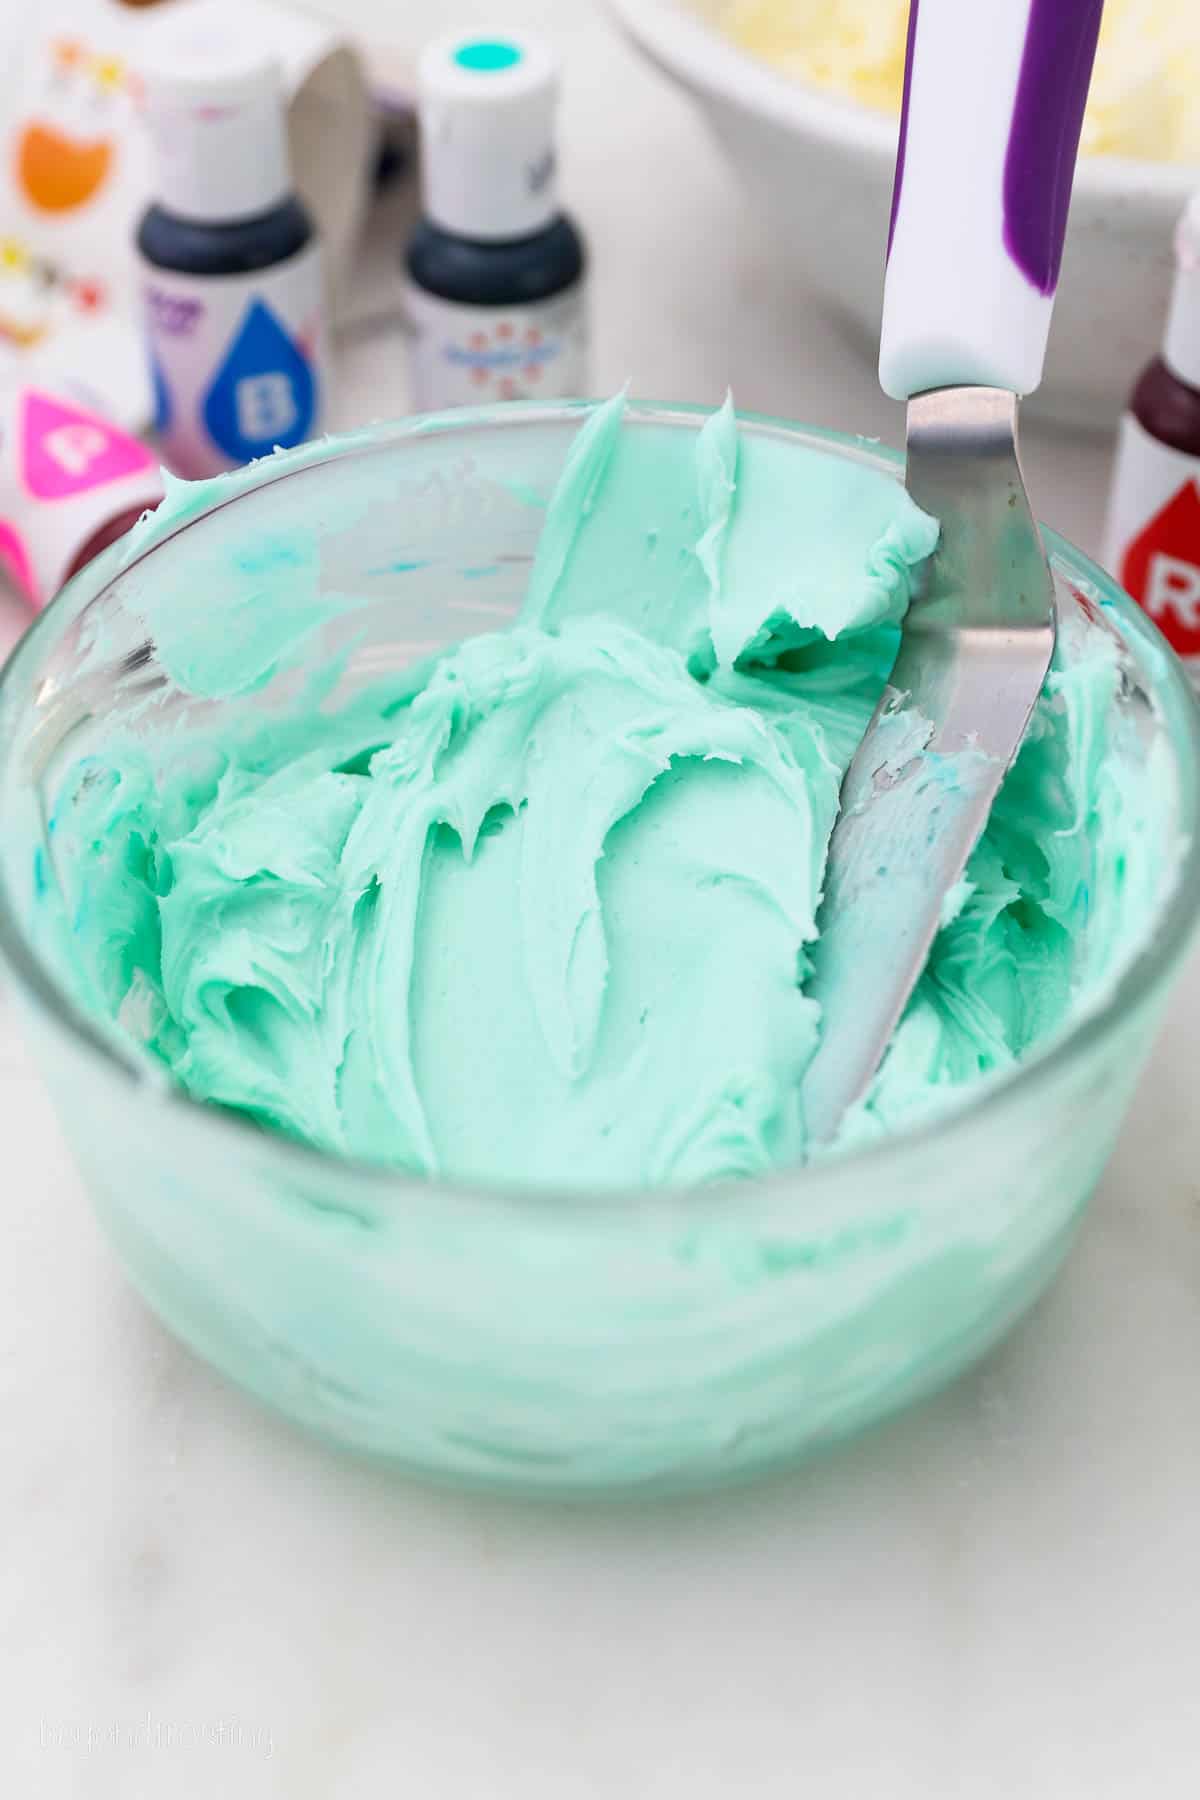
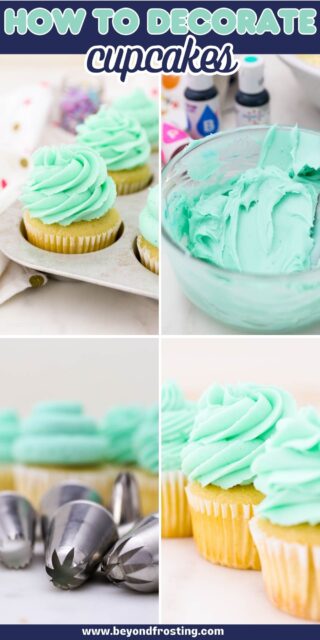
The best frosting for decorating cupcakes is a stable buttercream that holds its shape when piped. For this tutorial, I use my favorite vanilla frosting recipe, which I’ve also included in the printable recipe card below the post. It’s colored using Americolor “Teal” gel color (see also, how to color buttercream).
Another good option is my chocolate buttercream frosting. Or, check out my easy homemade frosting recipes for more fun ideas.
Using a Piping Bag
I have a tutorial on how to use a piping bag that goes over everything from filling a piping bag to fitting it with piping tips. It’s a great lead-up to this decorating tutorial! In the meantime, let’s touch on some basics when it comes to filling a piping bag for frosting cupcakes:
- Use a large piping bag. Using a larger piping bag is super helpful when it comes to learning how to pipe cupcakes. You’ll have enough room to hold the bag at the top and above the piping tip, making it easier to apply even pressure to the bag.
- Choose the right piping tip. Next, you’ll need to fit your bag with a piping tip suitable for the kind of decorating you’re doing. Check out my in-depth tutorial on how to use piping tips, and refer to the guide below for details.
- Don’t overfill. I don’t recommend filling your piping bag more than two-thirds full. This way, it’s easier to handle. Sometimes the larger bags are best when they’re only half-filled.
- Remove excess air. Once you’ve added the frosting to your piping bag, lay the bag and push the frosting down towards the tip to remove any air bubbles. Afterward, twist the end of the bag closed using a rubber band, or these icing bag ties from Wilton.
How to Pipe a Classic Cupcake Swirl
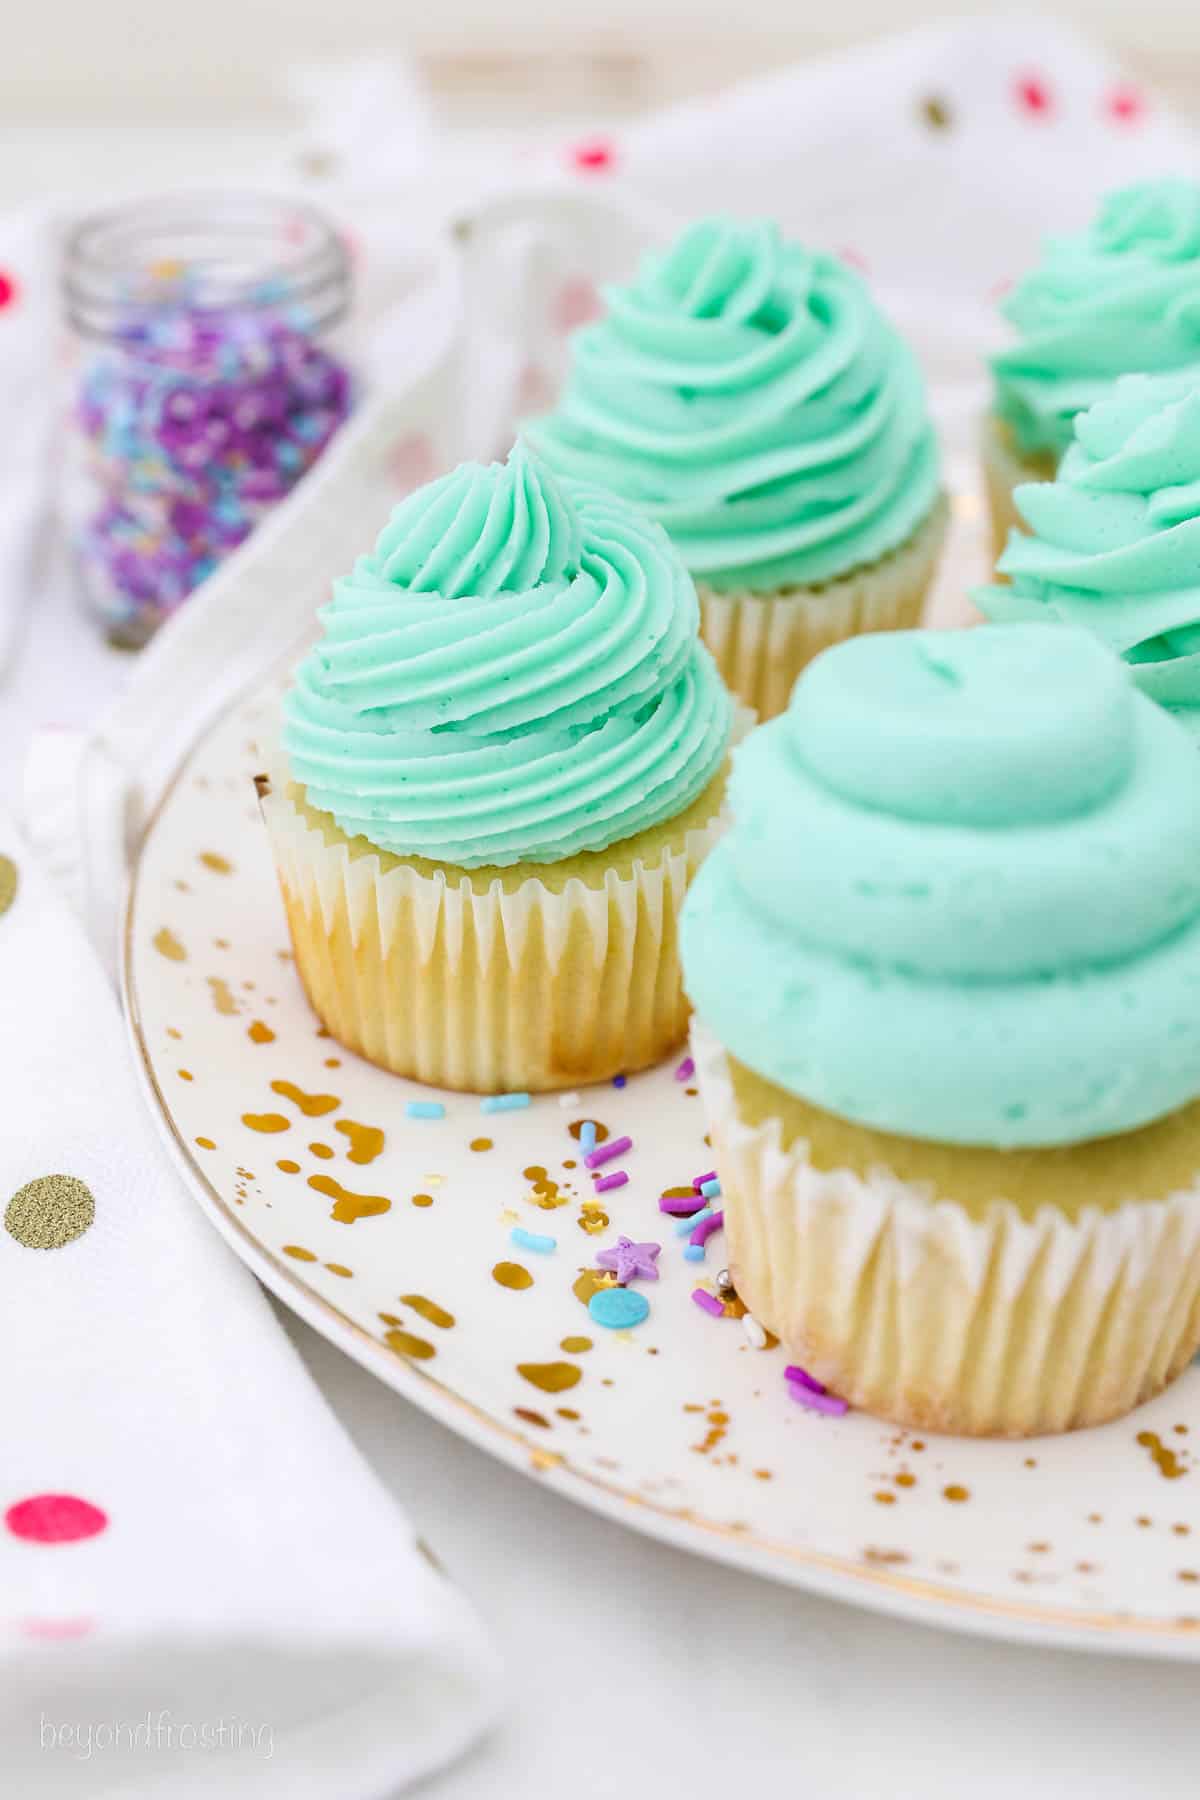
Remember pressure, position, and frosting? Let’s put them into action! Piping a frosting swirl is easy as can be, once you get the hang of it. We’ll start with how to pipe a classic frosting swirl using popular piping tips.
The key to a consistent shape when swirling buttercream is consistent pressure on the bag. To achieve a traditional frosted cupcake look, I recommend using an Ateco 849 closed star tip or Wilton 2D piping tip. Then, you’re ready to create the swirl:
- Position the piping tip at a 90-degree angle over the top of the cupcake.
- Squeeze out a small floret of frosting in the center of the cupcake by applying light pressure until a small amount of frosting comes out. This little dollop in the middle will act as a guide and also help to hold up the swirl.
- Starting at the outside edge, slowly pipe the frosting around the dollop in the middle, continuing to apply pressure to the bag while circling inward and upward.
- As you complete one circle, move the tip inward. At the same time, lift the bag upward until you have three full circles, plus a fourth smaller circle on top to complete the swirl.
How to Pipe a Rosette
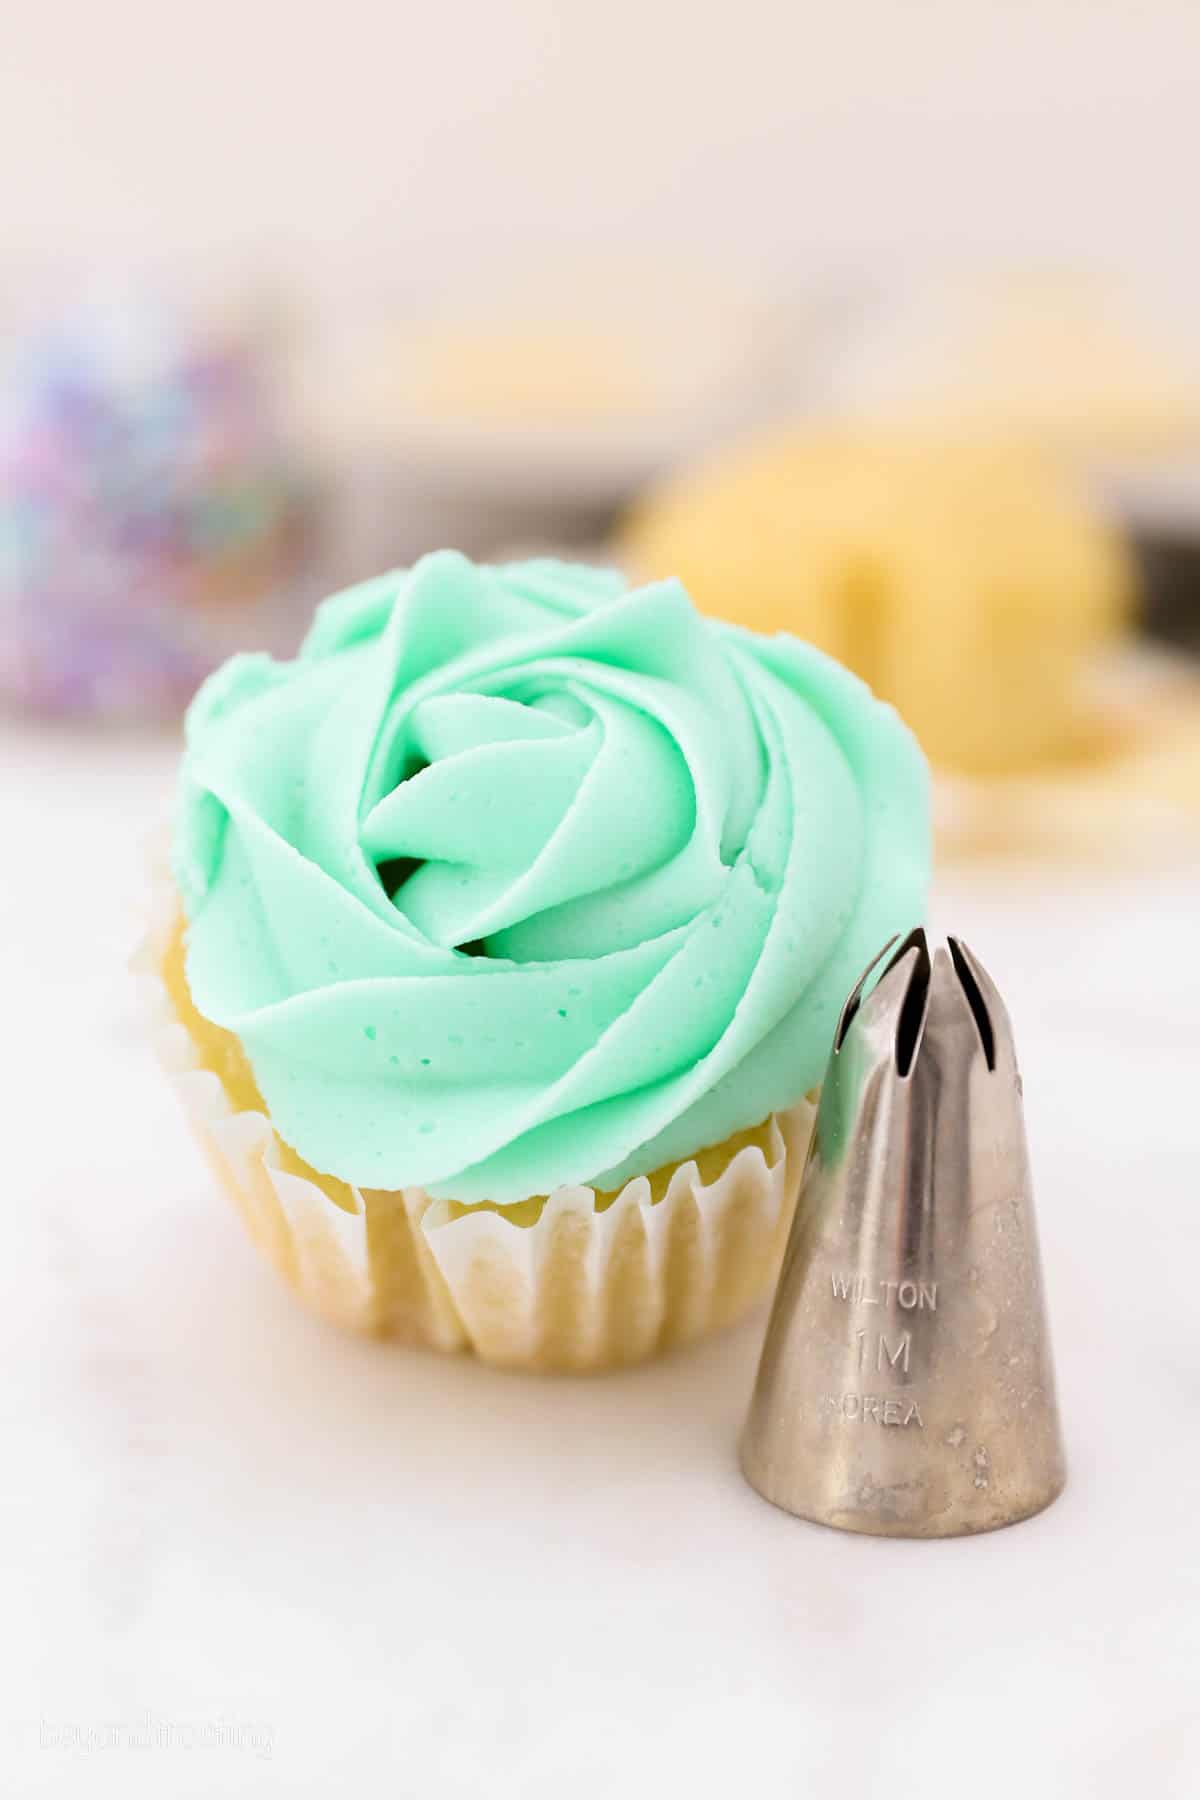
Another common swirl is a simple yet beautiful rosette. The Wilton 1M open star piping tip is my tip of choice for making roses, as you can see in my Unicorn Cupcakes. Here’s how to frost the top of a cupcake with a rosette:
- Again, hold the bag at a 90-degree angle above the cupcake.
- Start in the center of the cupcake. Slowly apply pressure to the bag, piping up and around the center of the rose, swirling outward to the outside edge of the cupcake. Voila! The perfect frosting rosette.
Decorating Cupcakes With Different Piping Tips
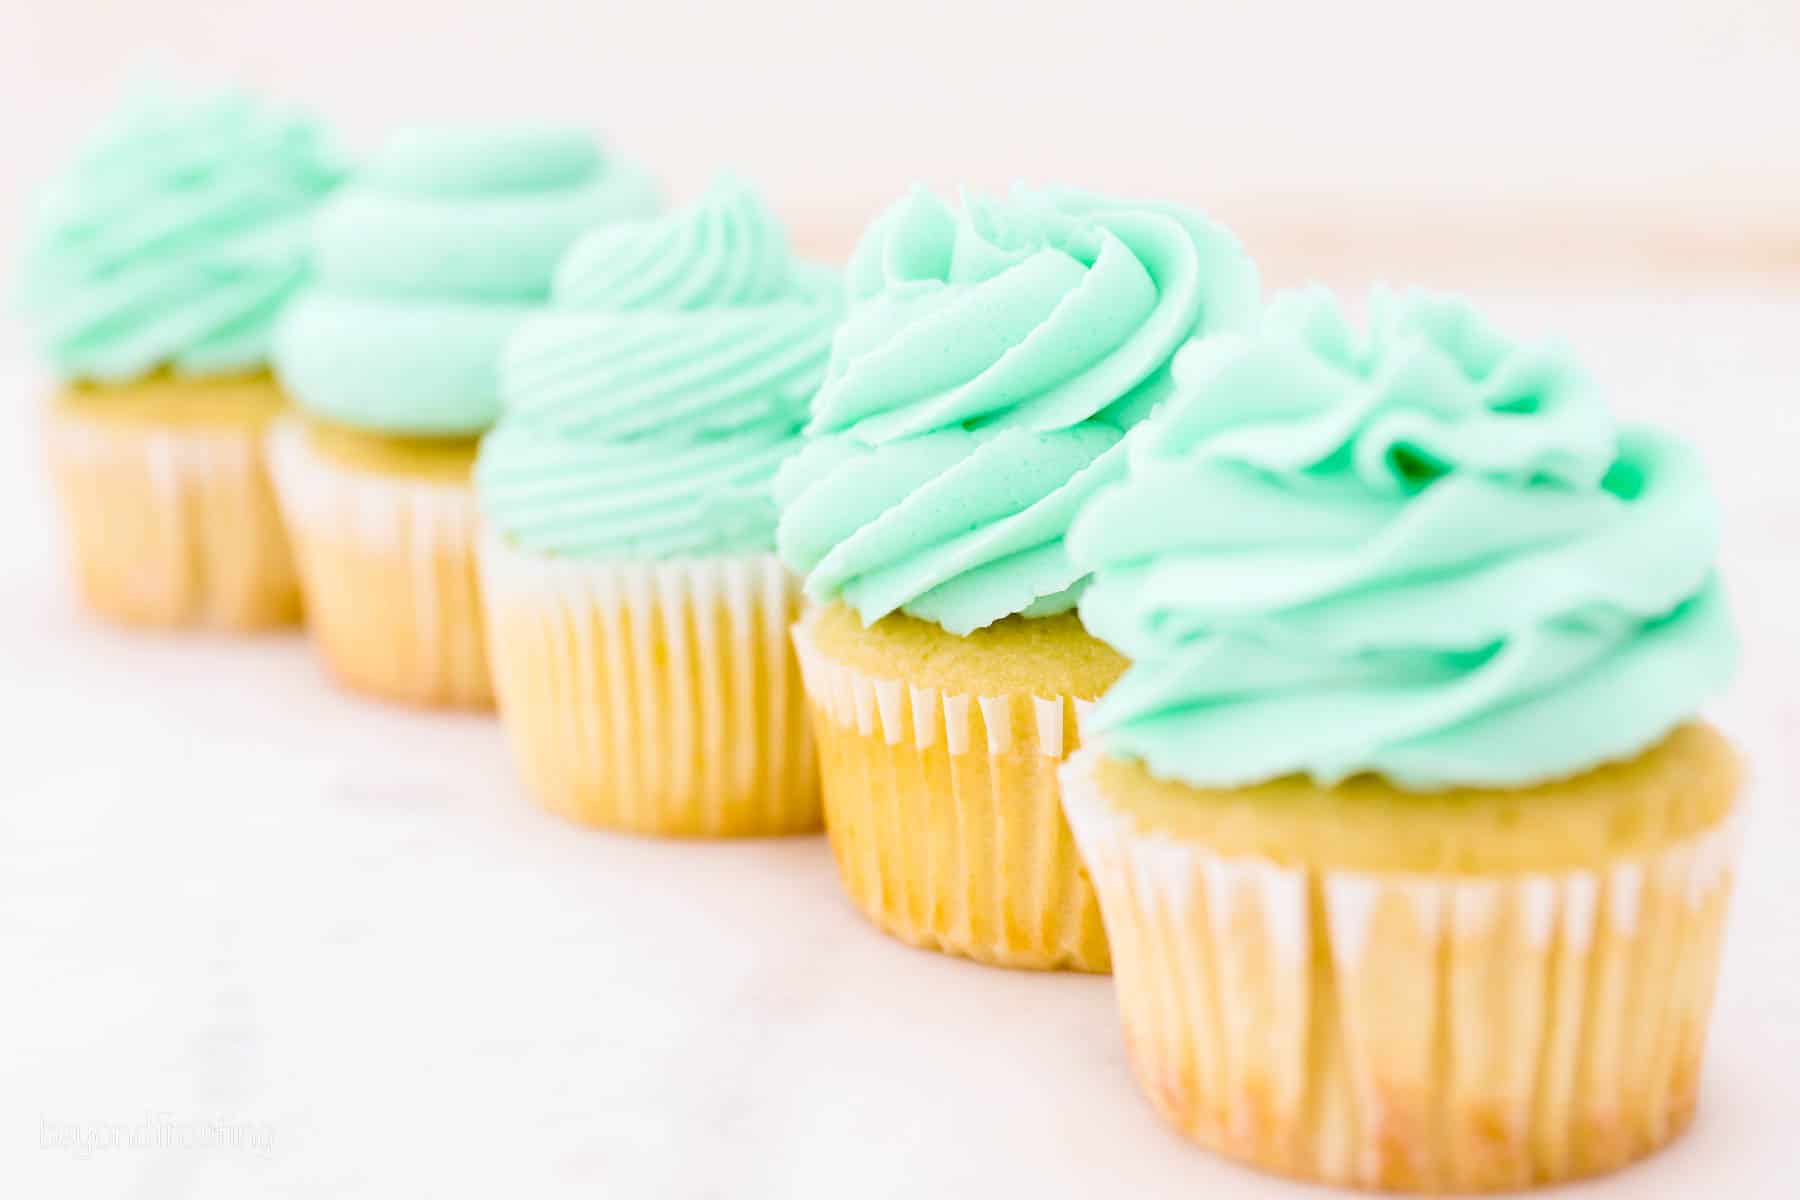
Different piping tips offer different effects when it comes to the texture and shape of the finished, piped frosting. If you’re new to decorating with piping tips, you might be wondering which tips are right for the effect you’re after. Let’s have a more detailed look at some of the piping tips that you can use to frost cupcakes.
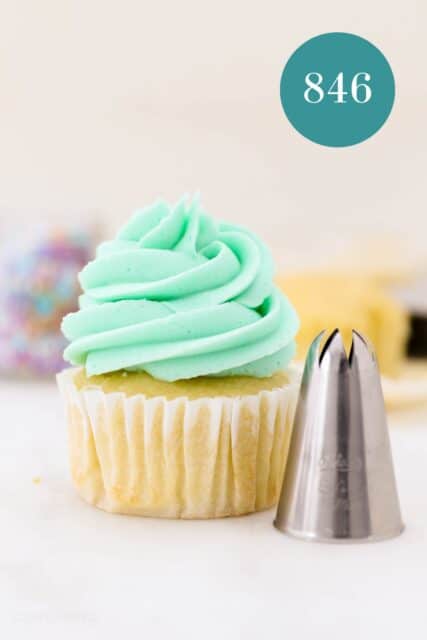
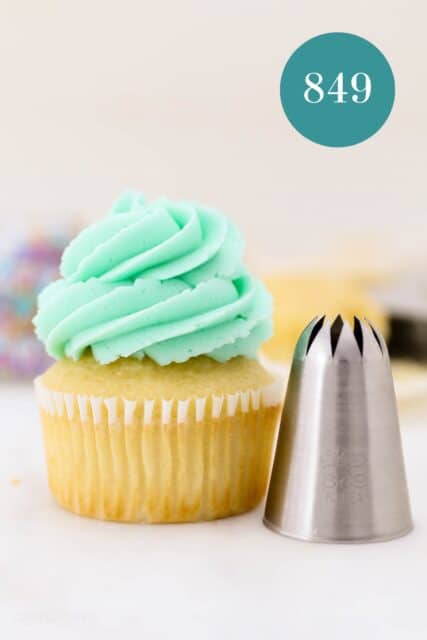
Ateco 846 and 849: Closed Star Tips
These are my favorite closed-star piping tips, and they’re real all-rounders. Both sizes are perfect for frosting traditional swirls on top of cupcakes (see the section above), and they work well with just about any kind of light or dense frosting. Another size in this series is the Ateco 844 piping tip, which is slightly smaller.
Used in Christmas Tree Cupcakes, Oreo Cupcakes
Wilton 2D
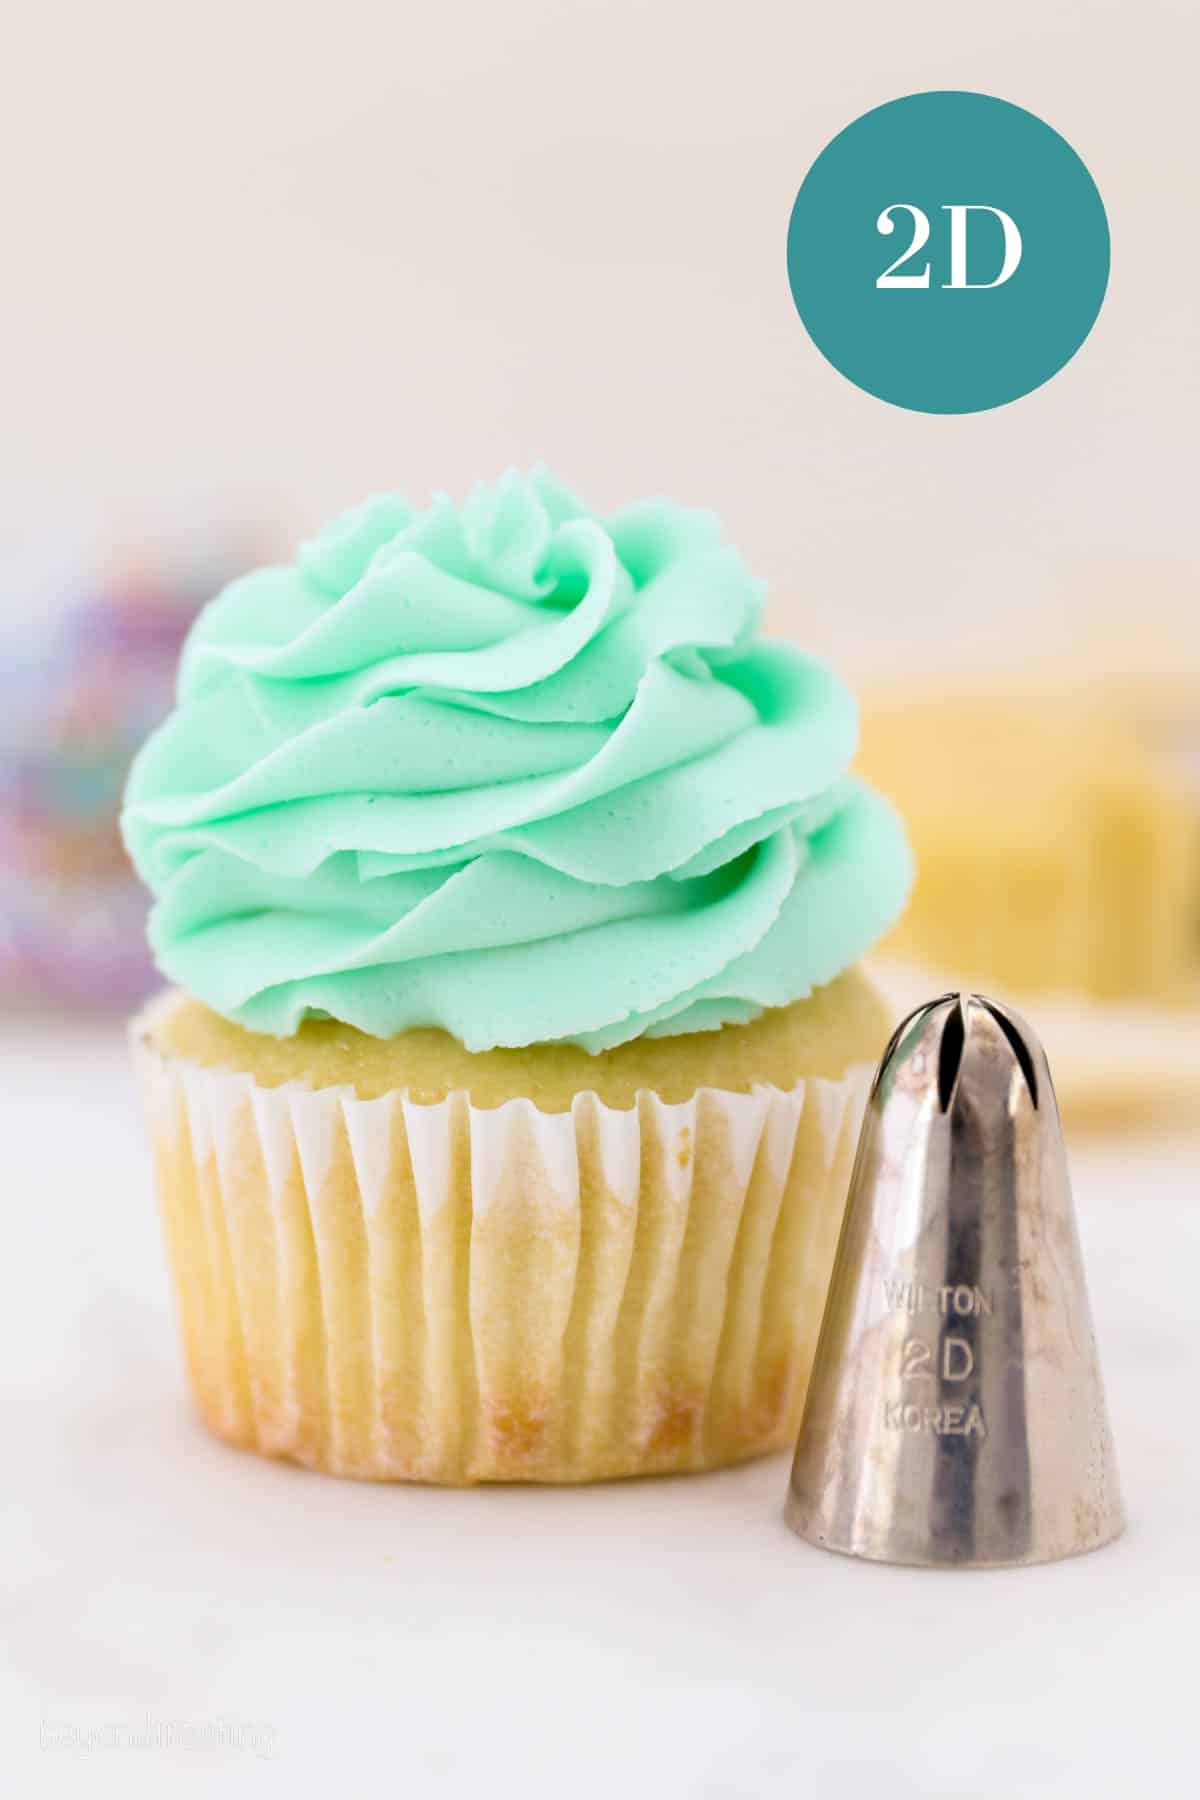
The Wilton 2D piping tip, also called a drop flower tip, is another of my favorite tips for piping cupcakes. It’s found in many craft and baking stores. This type of tip creates a soft, ruffled effect and works best with lighter-style frostings, like Swiss meringue buttercream and whipped cream. I don’t recommend using a drop flower tip if your frosting contains add-ins like cookie crumbs or crushed nuts as they tend to clog up the opening.
Used in Funfetti Cupcakes
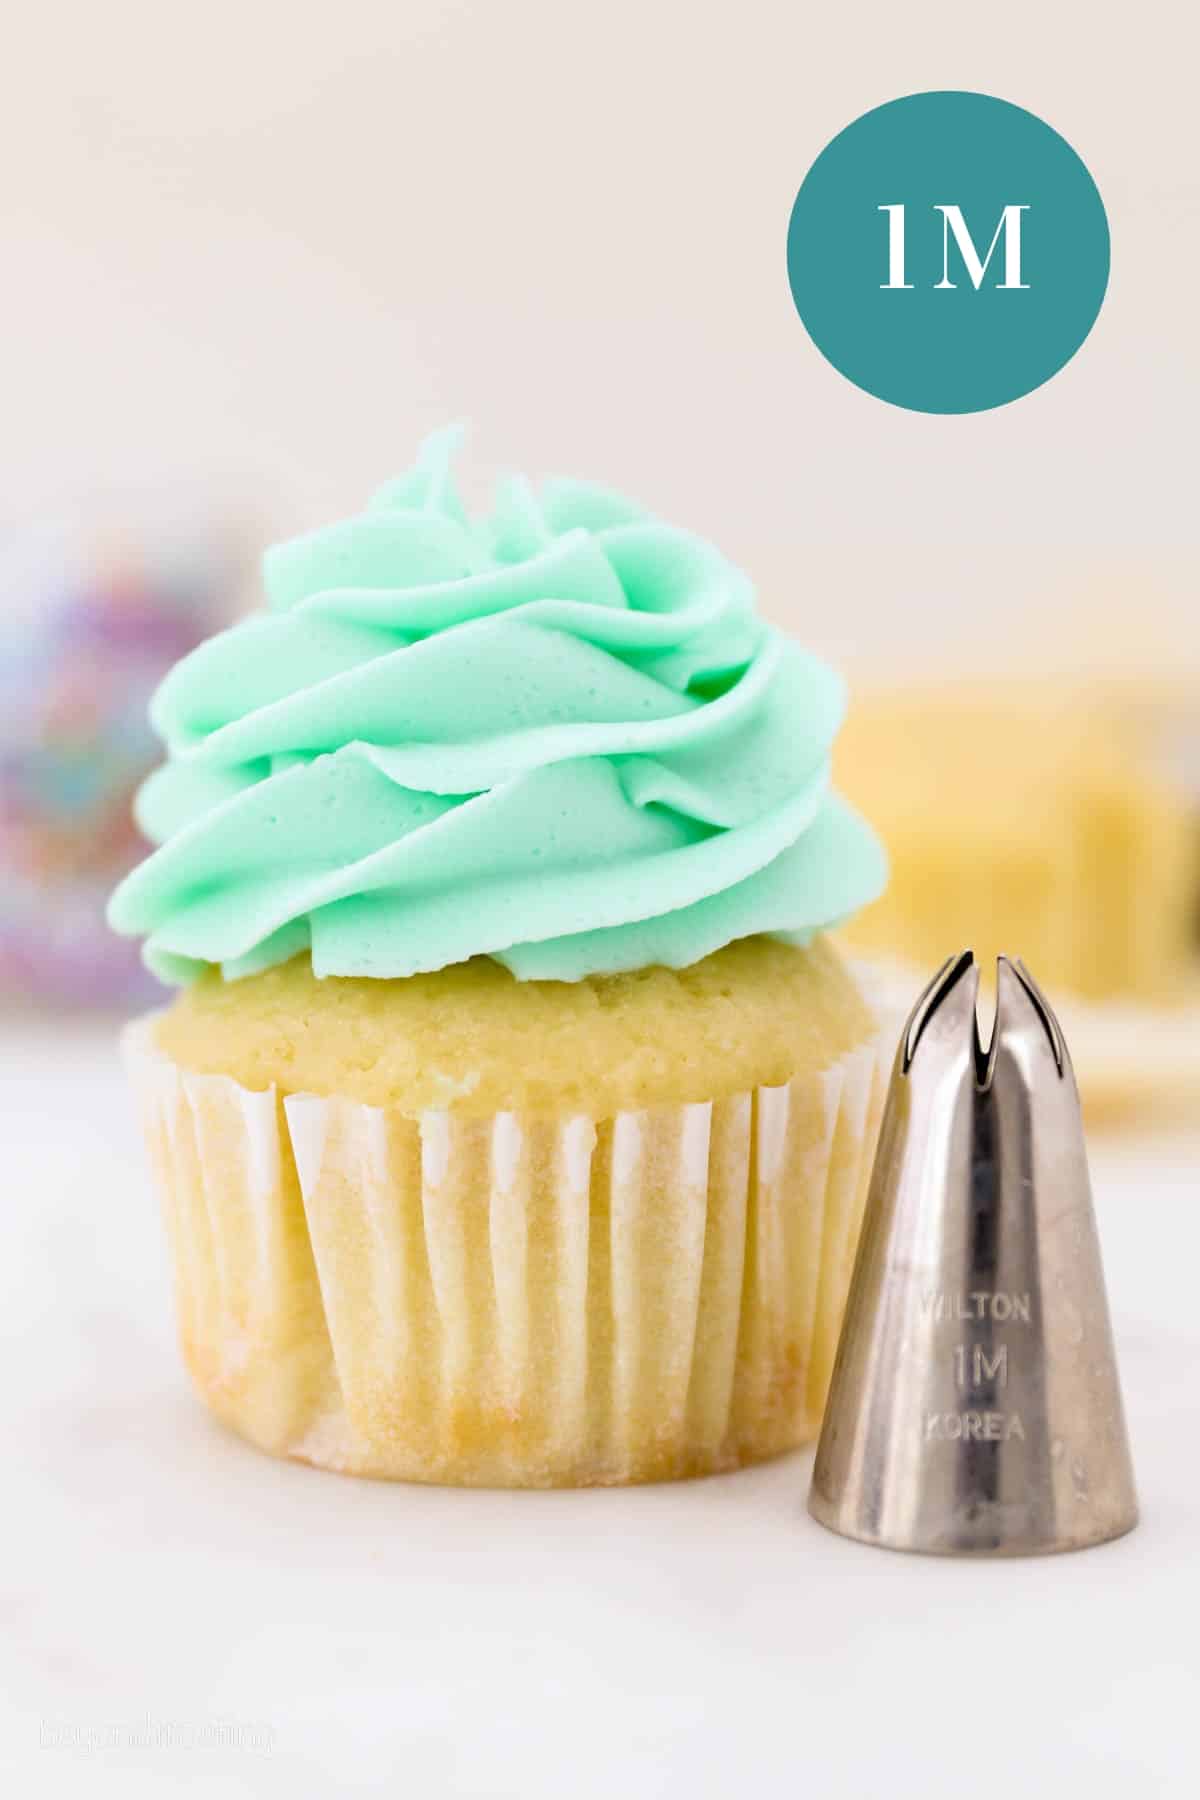
Wilton 1M: Open Star Tip
Next up is the Wilton 1M open star piping tip, linked in the rosette tutorial earlier. It’s a popular choice due to its “ice cream swirl” effect. The 1M creates straighter edges, compared to the Wilton 2D which creates softer ruffles. It works well with most frosting recipes, as well as stiffer cream cheese frosting. I also love this look with a classic Swiss Meringue Buttercream.
Used in Lemon Cupcakes, Strawberry Rosé Cupcakes
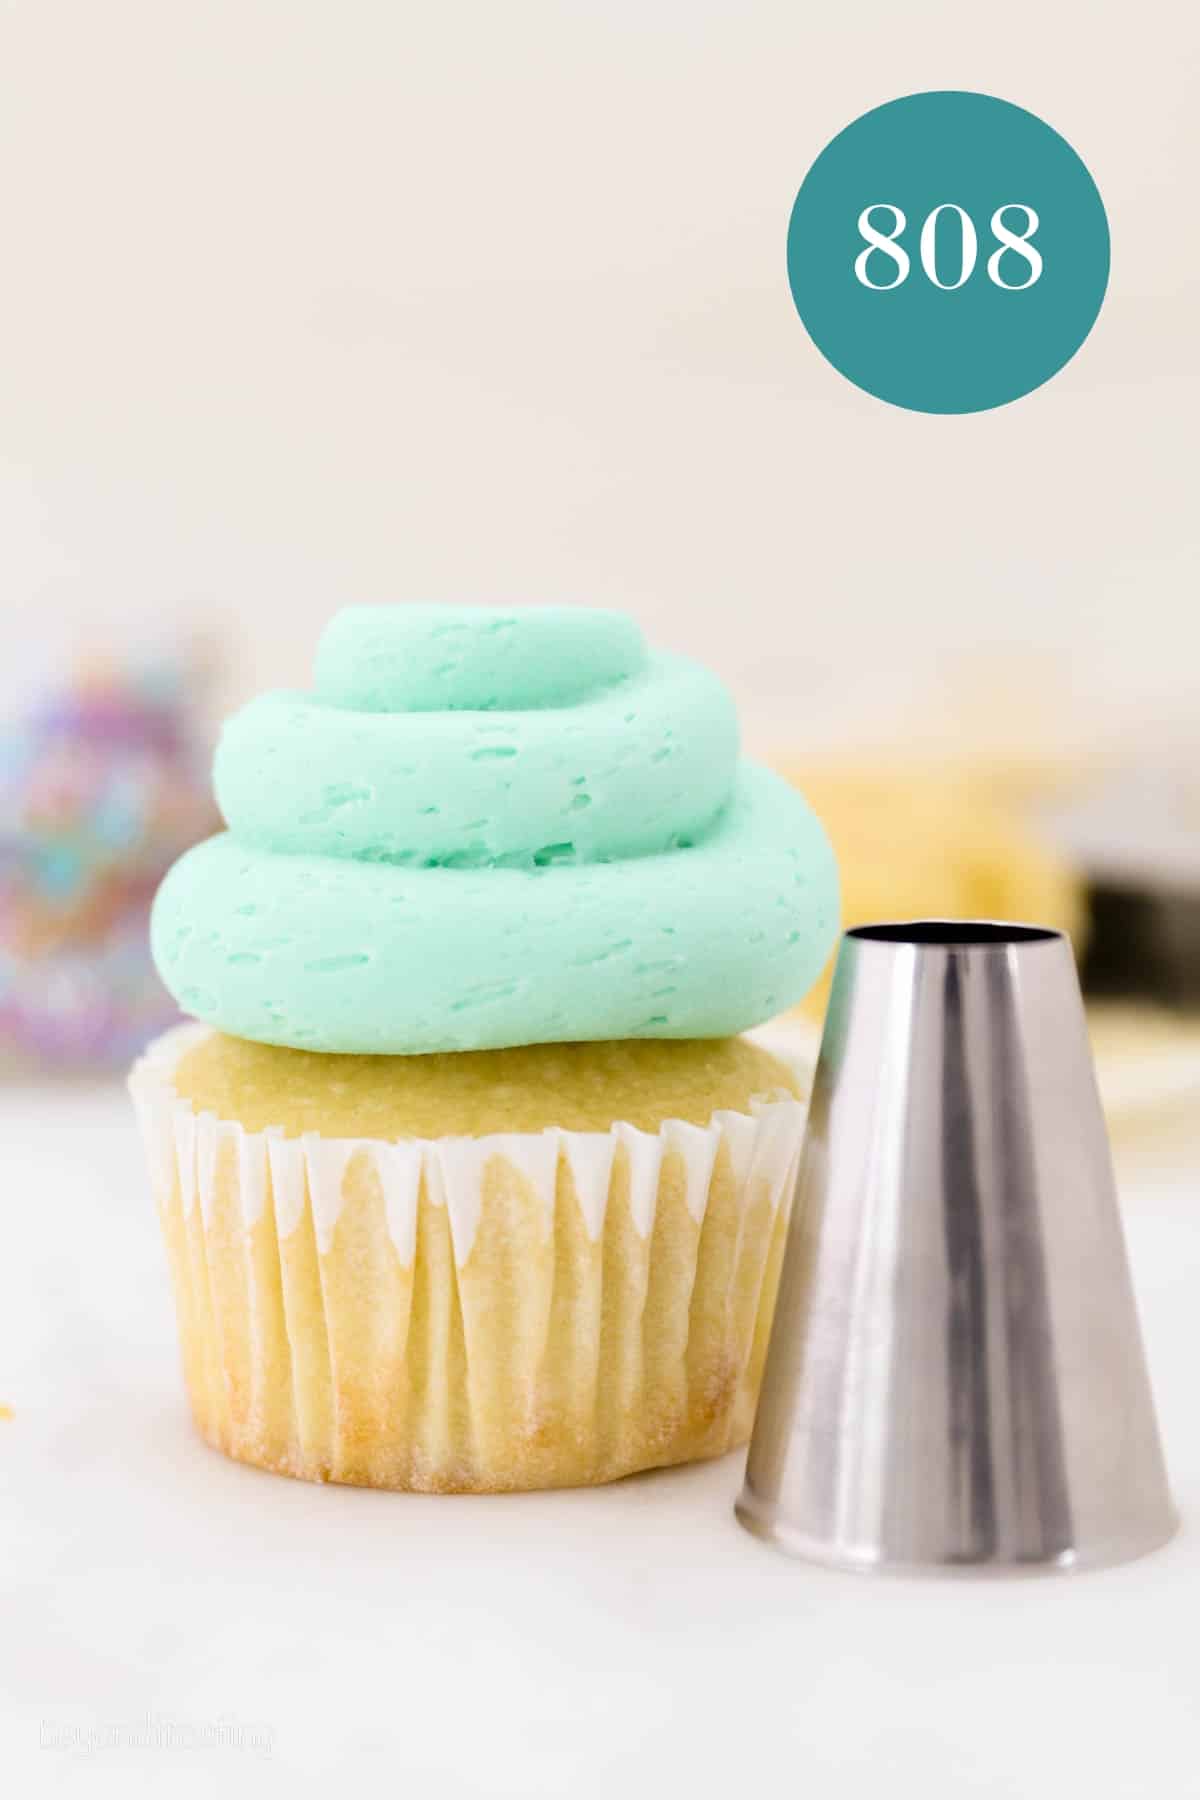
Ateco 808: Open Round Tip
The Ateco 808 open round tip is also called a pastry tube, with a large, round opening. This tip works great when piping out frostings with chunkier add-ins like fruit preserves, coconut, and Oreo crumbs. You’ll find it in most craft and baking stores, or online. This type of open round tip comes in many different sizes ranging from large (5/8” opening) to small.
Used in: Red Velvet Cupcakes, Gingerbread Cupcakes
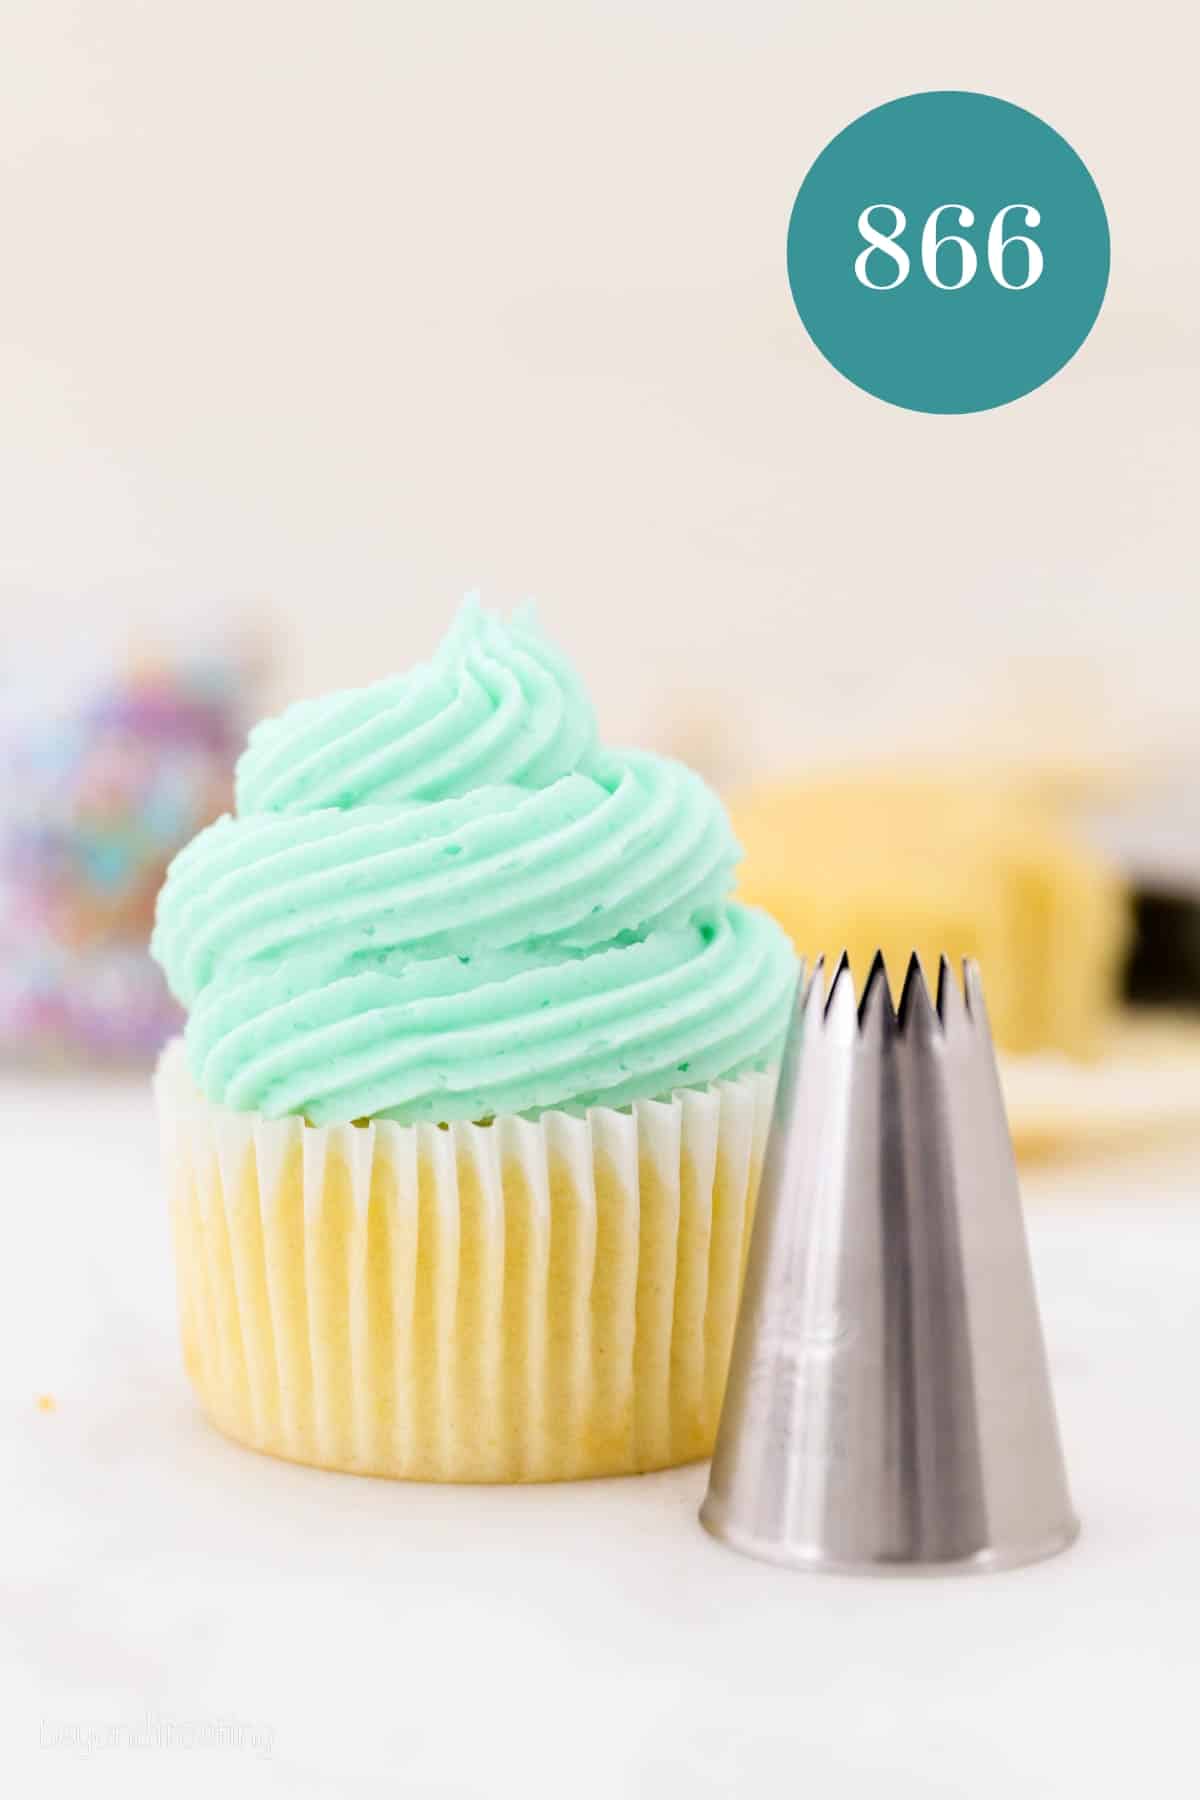
Ateco 866: French Star Tip
The Ateco 866 French star tip is often used to pipe pate a choux along with pastry cream in French pasty making. It also creates a unique ridged effect when it’s used to pipe frosting! I’ll often use the larger version of this tip when decorating cupcakes, though it does come in smaller sizes, too.
Used in Rainbow Cupcakes, Strawberry Cupcakes, Football Cupcakes
More Toppings for Cupcakes
Once your cupcakes are frosted, there are tons of garnishes and add-ons that you can use to really amp up the wow factor. Try these bonus decorating ideas:
- Sprinkles – Top your cupcakes with nonpareils, rainbow sprinkles, or something a little more fun.
- Fruit – Sliced fruit like lemon wedges, strawberries, or peaches pressed into the frosting makes a lovely fresh garnish for cupcakes.
- Coconut – Sprinkle untoasted or toasted shredded coconut over the frosting, as in these coconut cupcakes.
- Nuts – Top cupcakes with crushed pecans, toasted almonds, or crushed peanuts.
- Cookies – Sprinkle over some crushed Oreos, or another type of cookie for a bit of crunch.
- Candy – Try adding Mini M&Ms, chopped chocolate (like Reese’s Cups), or chocolate shavings.
- Filling – Before adding your frosting, why not try adding a surprise filling? Check out my chocolate ganache cupcakes for inspiration.
Storing Decorated Cupcakes
Now that your cupcakes are decorated, it’s time to store them. Here are some tips on how to properly store cupcakes that have been frosted:
- Storing: Always refer to the storage instructions for the individual cupcakes and frosting, but most frosted cupcakes are fine to store airtight at room temperature for a day or two. After that, or if you live somewhere particularly warm, I recommend keeping them in the fridge and serving at room temperature.
- Freezing: I don’t recommend freezing frosted cupcakes. Firstly, because not all frosting holds its shape when frozen, and secondly, after all that decorating, why risk smushing the frosting in the freezer? It’s best to freeze your baked cupcakes airtight after they’ve cooled, and before they’re frosted.
Easy Homemade Cupcakes to Try
- Red Velvet Cupcakes
- Carrot Cake Cupcakes
- Strawberry Cupcakes
- Coconut Cream Pie Cupcakes
- Yellow Cupcakes
- Turtle Cupcakes
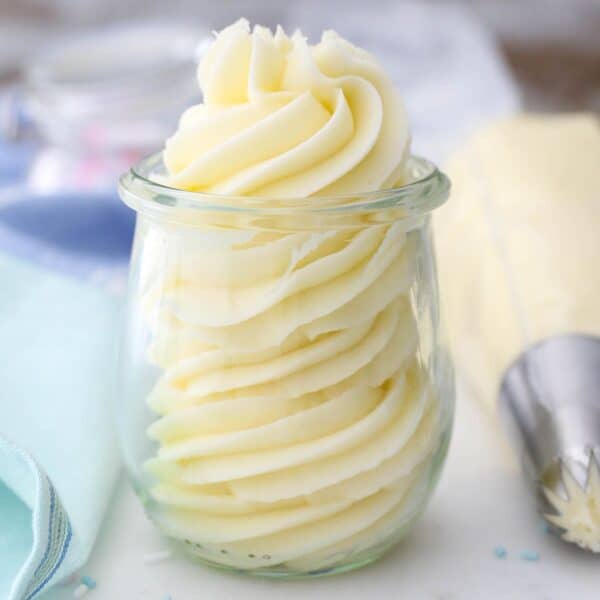
Easy Vanilla Buttercream Frosting
- Prep Time: 15 minutes
- Total Time: 15 minutes
- Yield: 4 1/2 cups
- Category: Frosting
- Method: Stand Mixer
- Cuisine: American
Description
Every cupcake decorator needs a versatile Vanilla Frosting recipe! This is my go-to, never-fail basic vanilla buttercream. It’s an easy buttercream frosting recipe made with just 4 ingredients that’s ready in minutes, perfect for piping and decorating.
Ingredients
- 1 1/2 cup (339 g) (3 sticks) unsalted butter, cold.
- 5 cups (650 g) powdered sugar
- 2 1/2 teaspoons (12 ml) pure vanilla extract
- 2 tablespoons (30ml) heavy whipping cream (or milk)
Instructions
- Cut the butter into pieces. Using the paddle attachment, whip the butter for 5-7 minutes, scraping down the bowl occasionally, and beating until the butter look light in color.
- Add 2 cups of powdered sugar and mix on low speed until incorporated into the butter then add the vanilla extract and mix to combine. Beat for about 60 seconds.
- Next, add an additional 2 cups of powdered sugar and beat on low speed until sugar is incorporated. Increase speed to medium-high and beat for 3 minutes.
- Add the last 1 cup of powdered sugar along with the heavy whipping cream. Beat on low until the ingredients start to mix together. Increase speed to medium-high and beat for another 3-5 minutes to whip additional air into the frosting. Fill a piping bag with a tip and some buttercream to decorate.
Notes
- Store frosting in an airtight container. This frosting can be stored at room temperature if served within 24 hours. Otherwise, refrigerate until you’re ready to use it.
- This frosting can be made ahead of time and kept refrigerated for 7 days. Store it in an airtight container. Bring the frosting back to room temperature and re-whip the frosting before use.
- To freeze buttercream, seal in an airtight container or bag for up to one month. Thaw to room temperature and rewhip before using.
- Flavor with different extracts or zest of lemon, orange, or lime.
- This makes enough to frost 24 cupcakes
Nutrition
- Serving Size: 1/2 cup
- Calories: 540
- Sugar: 65.4g
- Sodium: 6mg
- Fat: 31.3g
- Saturated Fat: 19.5g
- Carbohydrates: 66g
- Fiber: 0g
- Protein: 0g
- Cholesterol: 83.2mg


Hi Ally! Whenever I see professionally frosted cupcakes, I always wonder why they are not frosted all the way up to the paper cup! Surely the exposed cake gets dry!
I am not sure who Ally is, maybe for the comment below? If properly stored in an airtight container, the cupcakes should not be dry. I’m not a bakery, so I am not storing cupcakes for more than a couple days, they aren’t sitting out in a case and unless required, I don’t refrigerate my cupcakes.
First time cupcake decorator and this went great! Thank you!
Love that Ally! Thank you for sharing.
really helpfull
Hello
Can i use heavy cream instead of whipping cream
Thank you
Yep!
Hi. This recipe differs from the vanilla buttercream recipe on your “most vanilla cupcakes” post and recipe but is close. Wondering which one is accurate? 5 cups of powdered sugar or 6? 2 Tbsp of heavy cream or 2 1/2? Thanks
Hi Mimi, my vanilla cupcake recipe makes up to 26 cupcakes, so the recipe is slightly scaled. I’ve made this recipe with 5 and 6 cups of powdered sugar depending on the consistency of frosting I am looking for, and overall yield I need. With the additional powdered sugar, I add a little more heavy cream.
This Buttercream recipe is the best…it’s so light and silky , the best park it is not over the top sweet!! I appreciate the detailed info in the directions with the beating times. It made such a difference. Thank you for sharing
Thank you so much Nancy for your kind review!
Love the recipe..
As always – you have the best ideas and beautiful creations I’ve found. Always excited to print your ideas for my collection. Loving the praise and compliments when I share your good treats.
Thanks for sharing the news on your family events and how the baby is doing.
Thank you Reba! Hope you enjoyed the weekend
I love to follow your tips and recipes ! Do you have any way to create a “Mushroom” cupcake? A
“daughter” of mine would like me to make some for her wedding. I am at a loss.
I would search Pinterest for some ideas, but off the top of my head, probably frosting using a large open round tip, holding it right on top of the cupcake, and don’t pull it up (this will force the frosting out to the sides), then use maybe white fondant and cut out small circles to make the dots on top?
Hi, I am going to make the chololate pie and was wondering, what is the frosting, or is it whipped cream that you pipped on top. After piping the cream on top, how long will it last. It’s only for my husband, so he won’t be eating the pie in one sitting. Thank you
Hi Cheryl, as long as your have the correct consistency with thick peaks the whipped cream will stay fresh for 2-3 days ontop of the pie.